Holiday 2021 Promo15% off all artwork, limited time offer!

Newsletter Subscription

Subscribe to my newsletter to receive 4 to 5 emails per year where I highlight important news, available originals, and seasonal specials.

Blog Category: Colored Pencil

Acrylic and Colored Pencil

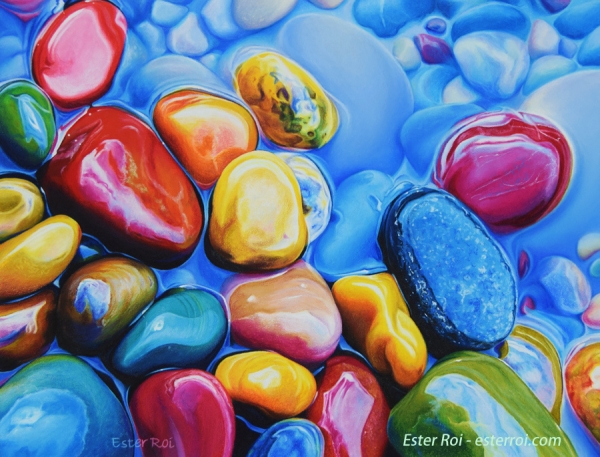
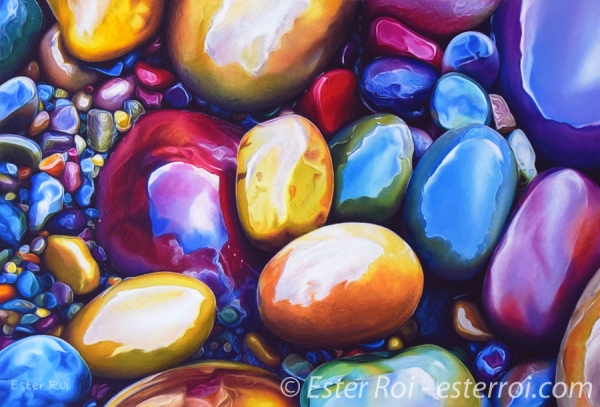
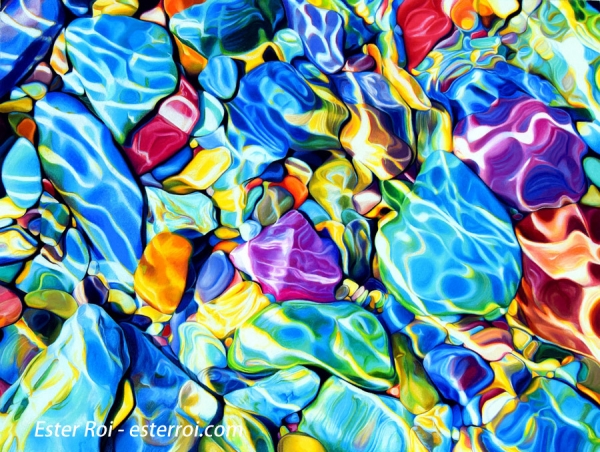
My latest artwork, titled "McDonald Creek, No. 3", was inspired by the ripples reflected on the colorful pebbles of the McDonald Creek, Glacier National Park, Montana. This piece has a very abstract slant due to its close-up take and the refraction caused by the running water.  

Size: 12" x 16"
Medium: Luminance and Prismacolor colored pencils, and Golden Matte Acrylics
Surface: Art Spectrum Colourfix Supertooth board
Technique: Icarus Painting Board 
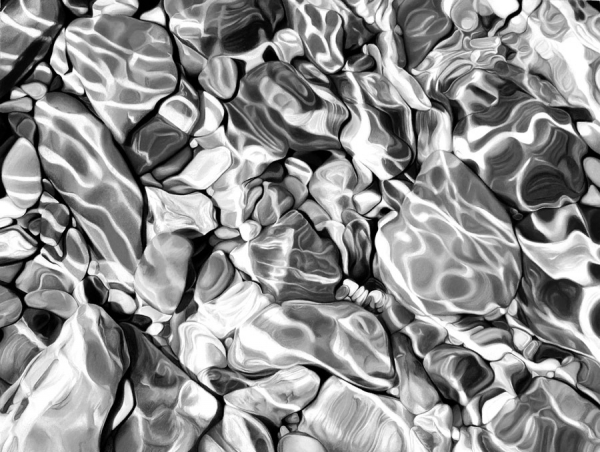
 

Even with abstract work, value and composition are still of the outmost importance. A value range from 0 to 10 brings form and depth to life. Colors, of course, always evoke a strong emotional response but if the values are incorrect, the colors will not work. 

I normally block in the main colors with artist crayons and wax pastels (Neocolors). This time I wanted to experiment with acrylics. Since colored pencils adhere only mechanically to acrylics, it's crucial to use a surface with a strong tooth, especially when framing without glass. After acrylics dry, the tooth is then still available for colored pencils. 

Regular acrylics are usually glossy and that finish interferes with colored pencil adhesion. However, Golden Matte Acrylics, Fluid or Heavy Body, are less sleek than gloss acrylics and provide a better surface for colored pencils.

So, what are the advantages of using acrylics with colored pencils? I discovered two helpful applications.


USING ACRYLICS TO BLOCK IN COLORS   
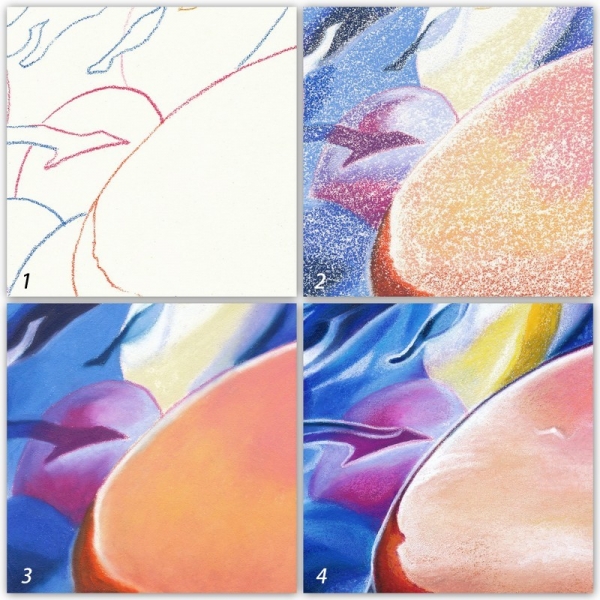
Acrylics are perfect for covering large areas of flat color; they can be brushed on quickly and they dry in a jiffy. I chose to paint this pebble with a middle value. With a few brush strokes, using paint thinned with water, I completely obliterated the white of the paper.
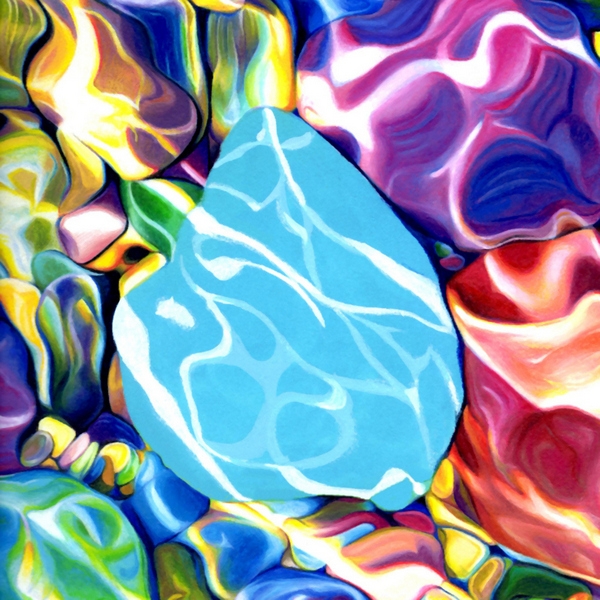
 

I then created the ripples with white paint and a lighter value of the local color. I don't worry about being precise at this point; that's where colored pencils will come in handy. 
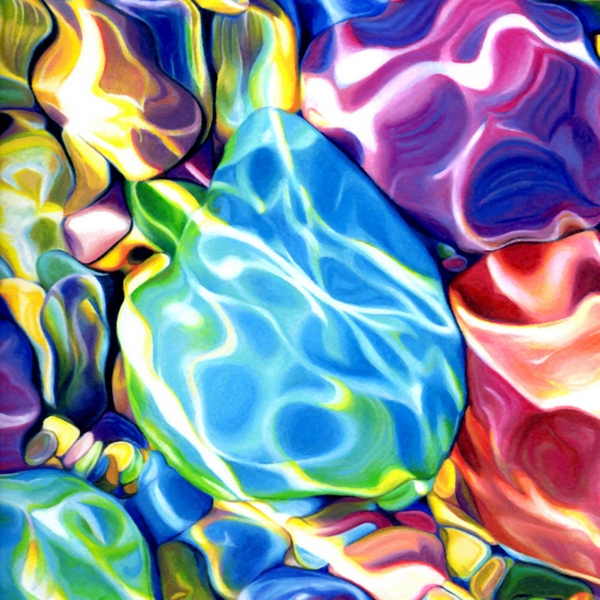
 

After turning on the heat of my Icarus Painting Board (medium setting), I began developing colors, values and details with colored pencils in my usual fashion, blending with a paper stump when necessary. The acrylic under-layer is left uncovered in some areas to allow for optical blending.


USING ACRYLICS TO GLAZE
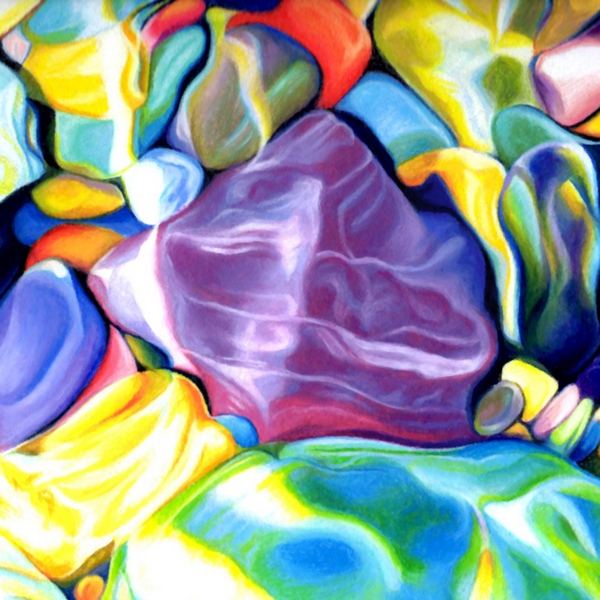
I use only lightfast colored pencils and some of the colors in the pink, purple and violet family are a little dull and not as bright as their fugitive counterparts.
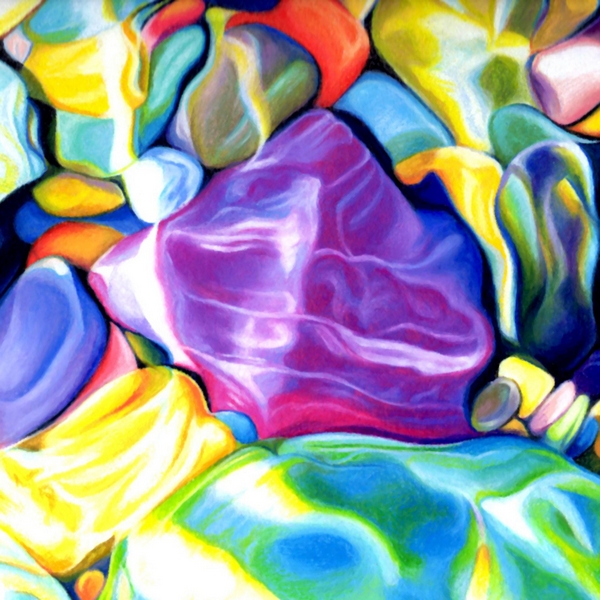
 

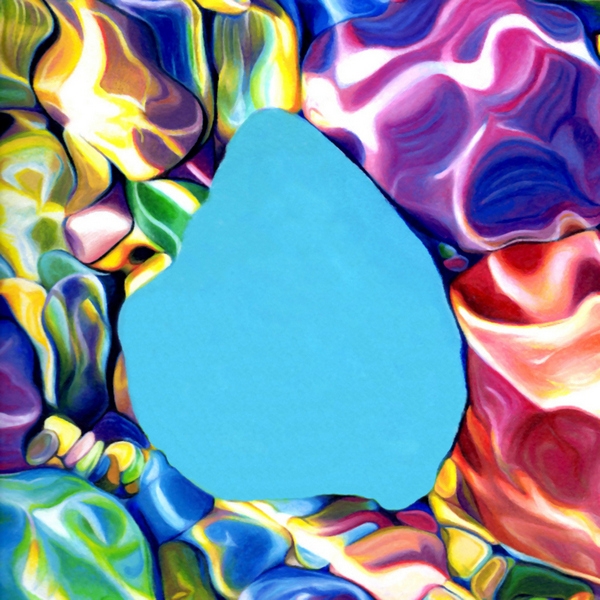
If you're a fan of bright colors like I am, you'll be happy to know that there's a way to remedy that dullness. Acrylics are lightfast and can be glazed over colored pencils. On this pebble I painted a very light mixture of Golden Quinacridone Magenta and Golden Acrylic Glazing Liquid. The glaze worked wonderfully but it took me two tries to get it right.

On the first try, the glaze darkened the overall values. So I reworked the pebble on my Icarus Painting Board; the heat allowed me to easily remove the acrylic glaze using colored pencils alone. After lightening the values, I then re-glazed the pebble (no heat). Acrylics can also be used for touch-ups, especially when highlights have lost their luster; a little Titanium white can do wonders.


Wax Bloom: How to Remove it

If you use wax-based colored pencils or wax pastels and artist crayons, you're familiar with wax bloom, that cloudy, white film that forms on the artwork. Don't wipe it off with a cloth or you'll risk smearing the pigment.

I have a simple solution; just blow warm air over the surface with a hair dryer or a heat gun. If you're not in a hurry, let the heat of the Icarus board do the job for you. When you're done with your drawing, final fixative or varnish will take care of wax bloom for ever.

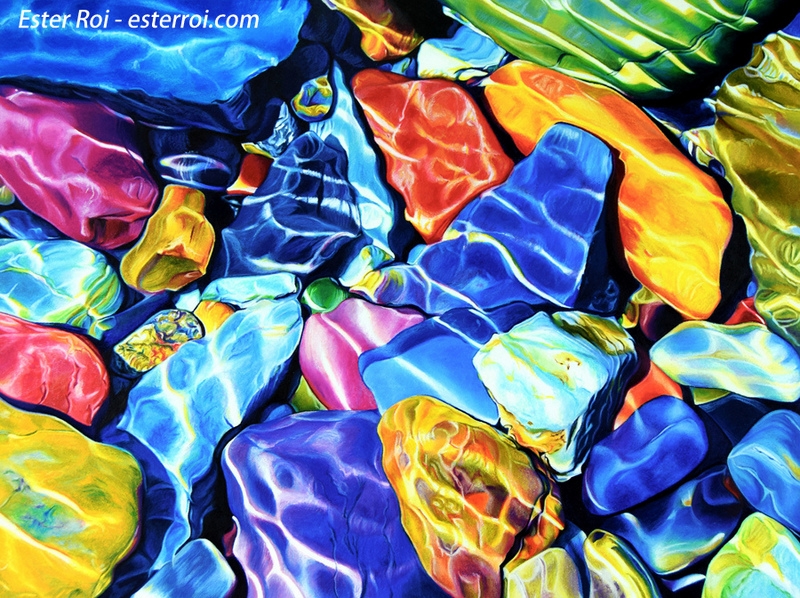
“McDonald Creek, No. 2”

Second in a series of artworks inspired by my 2014 trip to Glacier National Park, Montana. 

Title: "McDonald Creek, No. 2"
Size: 12" x 16"
Medium: Prismacolor and Luminance colored pencils, Neocolor artist crayons
Tools: tortillions, paper stumps, color shapers
Surface: Art Spectrum Colourfix Supertooth board
Technique: Icarus Painting Board

For pricing information check here.


“Opus Magnum” WIP

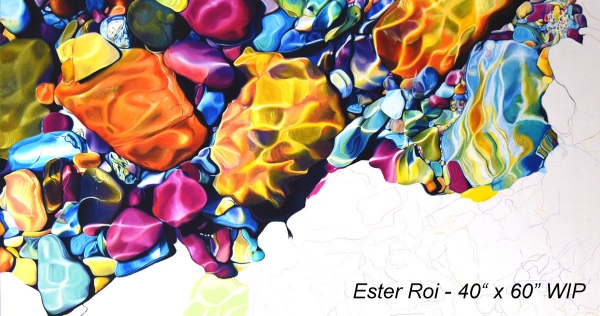
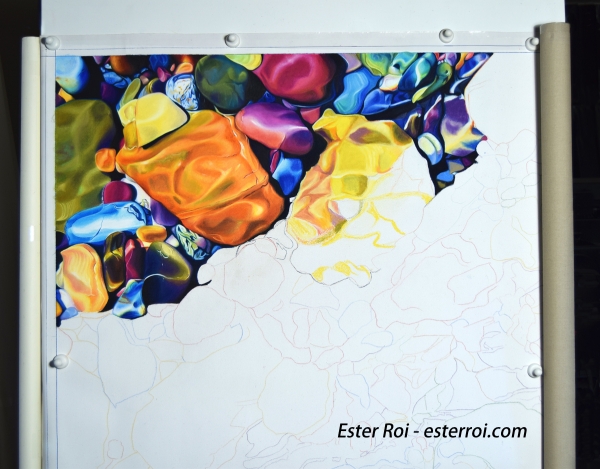
This is a progress photo of my "Opus Magnum", a 40”x 60” canvas. The section I completed is a little less than 1/4th of the whole canvas. I'm working on it between other smaller projects because I don't have a deadline.

This piece is definitely a challenge for me due to its size and complexity but I'm enjoying the process very much.

Size: 40" x 60"
Medium: Prismacolor and Luminance colored pencils, Neocolor artist crayons
Tools: tortillions, paper stumps, color shapers
Surface: extra fine texture canvas primed with Art Spectrum Colourfix primer
Technique: Icarus Painting Board


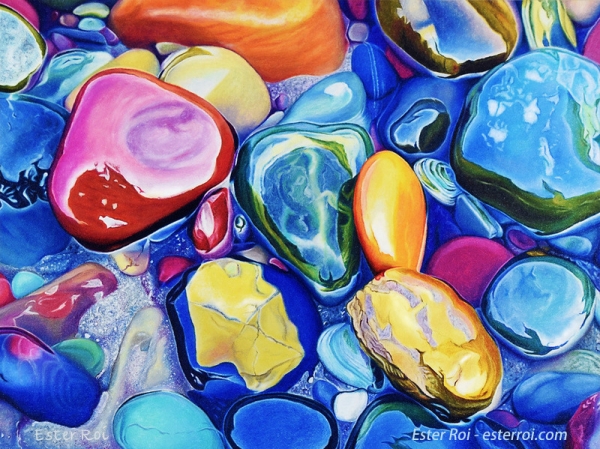
“McDonald Creek, No. 1”

First in a series of artworks inspired by my 2014 trip to Glacier National Park, Montana. 

Title: "McDonald Creek, No. 1"
Size: 12" x 16"
Medium: Prismacolor and Luminance colored pencils, Neocolor artist crayons
Tools: tortillions, paper stumps, color shapers
Surface: extra fine texture canvas primed with Art Spectrum Colourfix primer
Technique: Icarus Painting Board

For pricing information check here.


One Down, One to Go

"After the Rain" is finished and in the process of being framed.
Size: 12" x 18"
Medium: Prismacolor and Luminance colored pencils, Neocolor artist crayons and oil pastels
Tools: tortillions, paper stumps, and color shapers
Surface: Art Spectrum Colourfix Supertooth board
Icarus Technique: http://icarusart.net/
Originals and giclees available here: http://esterroi.com/artwork/view/rocks-water/after-the-rain

I made some progress on my "Opus magnum", a 40”x 60” canvas. The section I completed is about 10% of the whole canvas (10" x 24").

I plan to work on it a couple of times a week, in between other projects. This is my first tribute to Montana's Glacier National Park, specifically the McDonald Creek. 


“River Pebbles, No. 13”

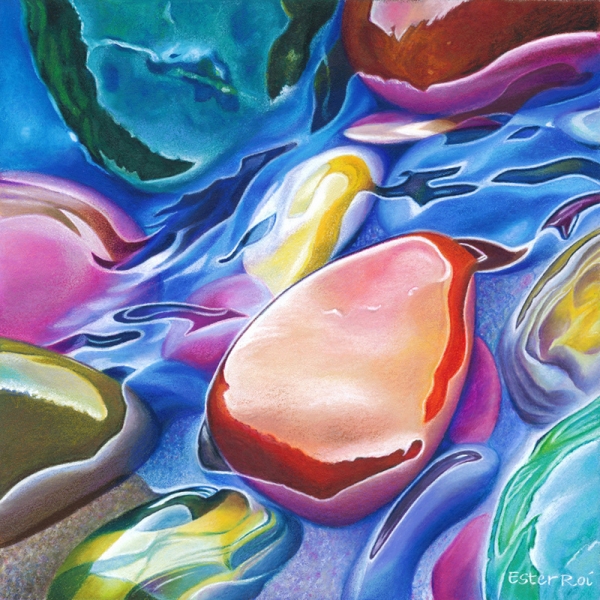
Title: "River Pebbles, No. 13"
Size: 8" x 8"
Medium: Prismacolor colored pencils, Luminance colored pencils, Neocolors artist crayons
Tools: tortillions, paper stumps, and color shapers
Surface: Art Spectrum Colourfix Supertooth board
Icarus Technique

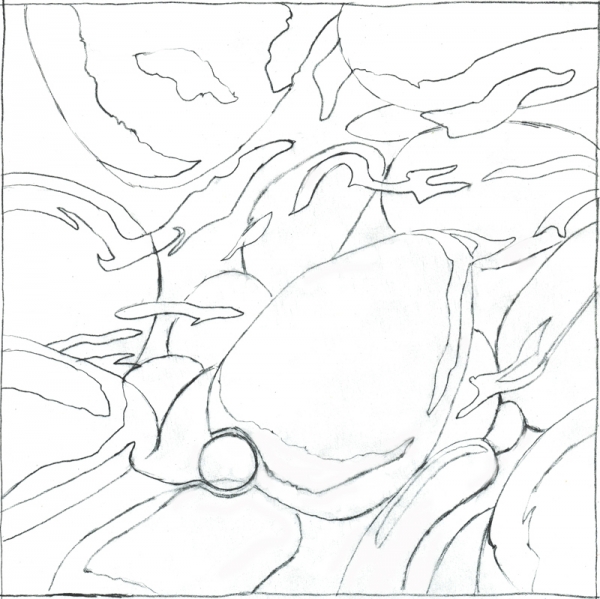
I created a graphite sketch from five different photo references I took during my trip to Montana. I always make sure to have many photos of the same subject, especially when dealing with moving water, so that I can combine the best parts into a drawing.

I then transferred the original sketch using Verithin colored pencils to avoid having to erase the graphite pencil.

After drawing the outline, I proceeded to map the main colors with Neocolor artist crayons on the warm zone of the Icarus board at low temperature. During this step it's not important to include all nuances and details as these can be developed later with colored pencils.

For more on color mapping with artist crayons you can view the following video: Mussel Shell - Blocking in Colors with Artist Crayons

With temperature set at maximum, I melted and blended the artist crayons with a clay shaper (also known as color shaper). 

For more on melting artist crayons you can view the following video: Mussel Shell - Melting Artist Crayons

With the Icarus board set at medium temperature I developed the colors, values and details by layering and blending colored pencils with a variety of tools (tortillions, paper stumps, Caran d'Ache blender). During this step I made quite a few changes from the original outline; I removed a bubble and several small pebbles, aiming to simplify an already complex drawing.

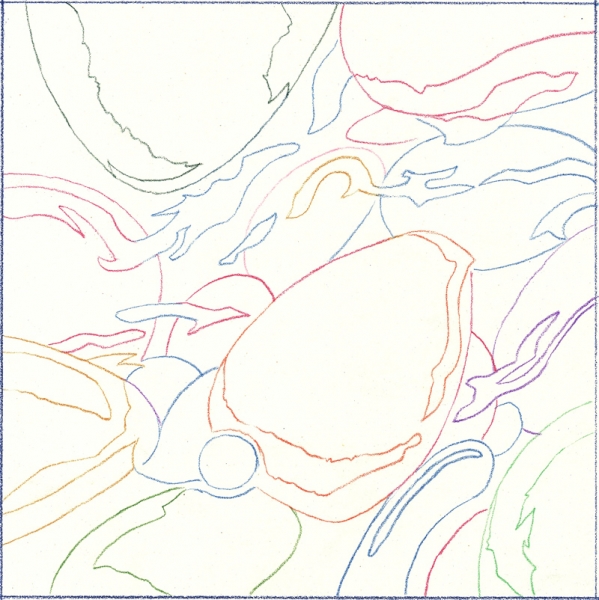
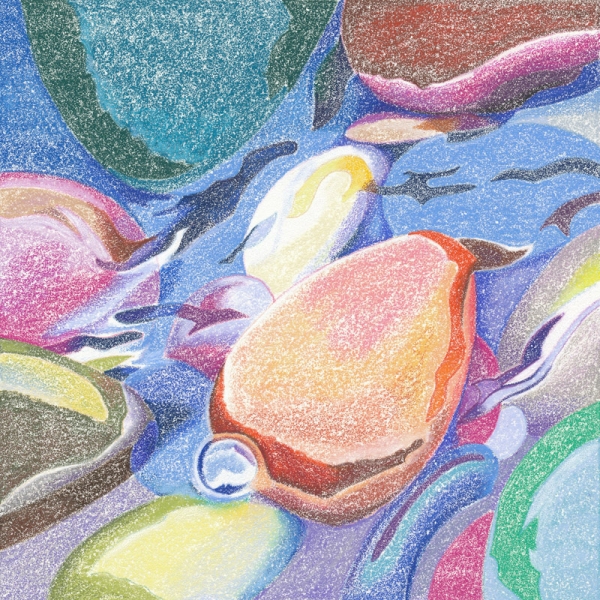
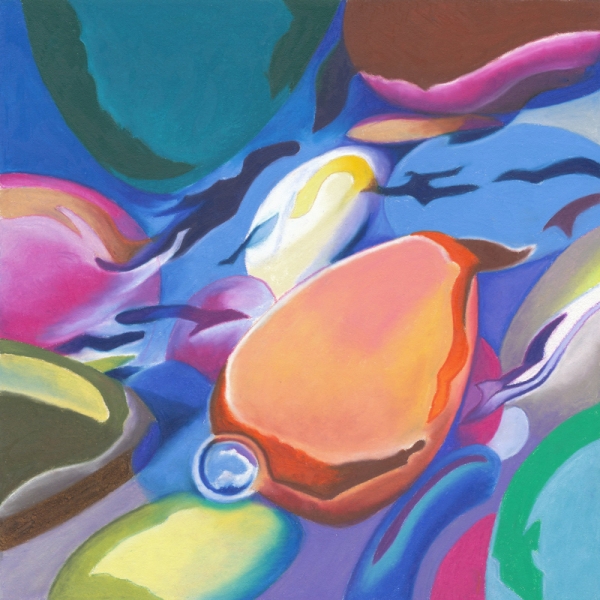
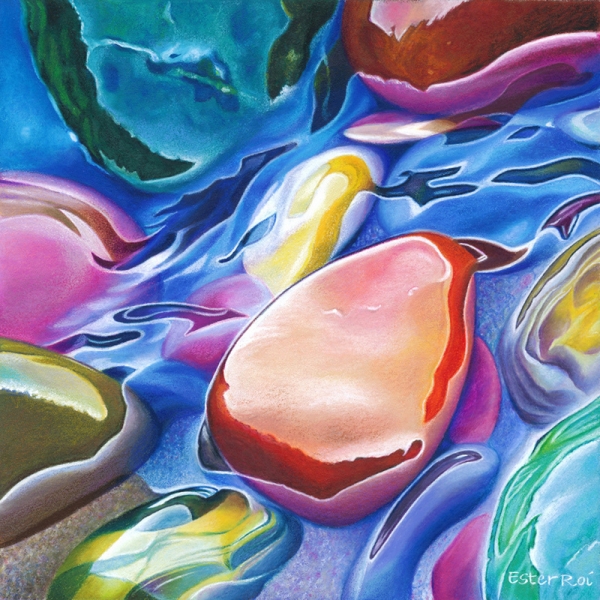
Here are close-ups of the main steps: outline, mapping, melting, and developing.

I hope you enjoyed this step-by-step.