After mounting my artwork on 3/4" Ampersand Claybord, painting the sides in acrylic, and varnishing it, I place it in the exact middle of a fabric covered, 3/16" thick Gatorboard which functions as a mat. I insert four very thin sewing pins at the corners of the artwork and make sure they come out on the other side of the Gatorboard to mark the position of the four corners on the back.
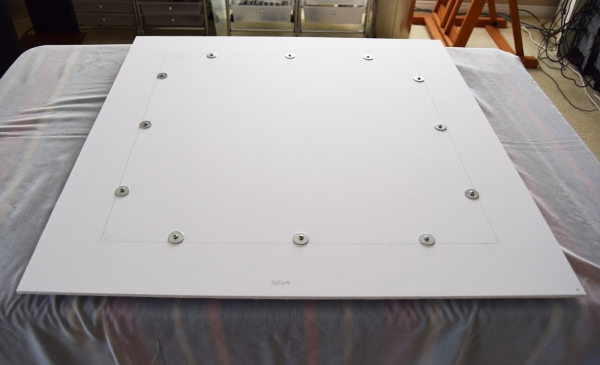
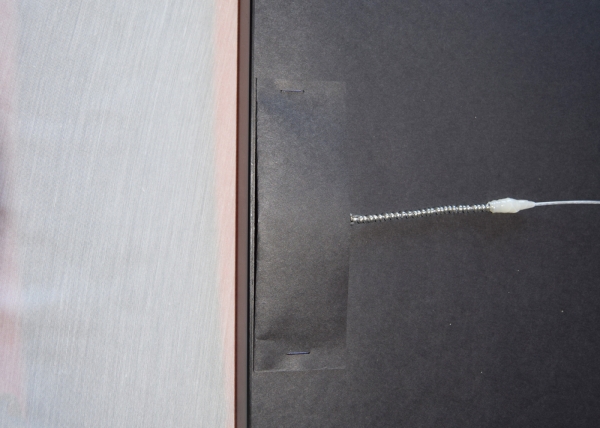
I use screws with large washers to mount the Claybord onto the Gatorboard. The screws need to be inserted in the exact middle of the Claybord's stretch bars.
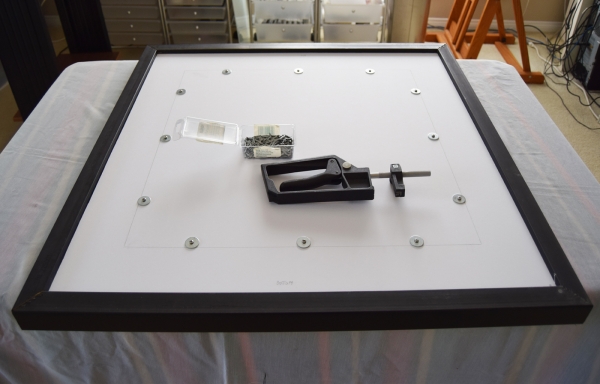
After inserting the artwork mounted on the Gatorboard mat into the frame, I secure it with framers points.
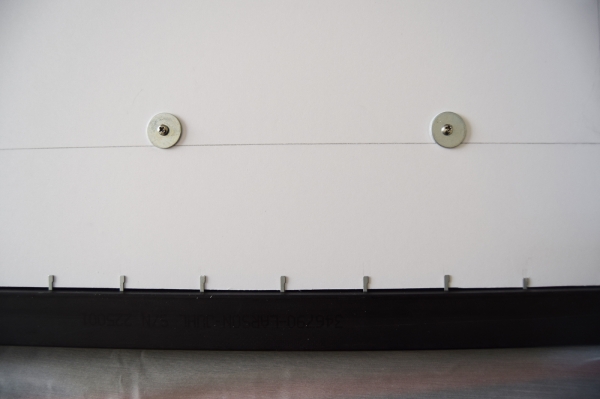
Details of framers points, screws and washers.
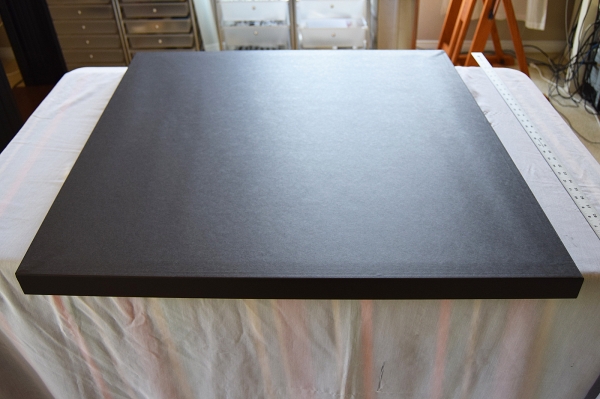
I mount the backing paper with double stick adhesive and trim the edges.
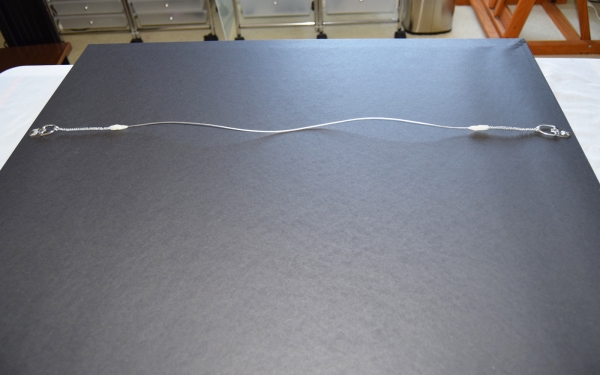
I screw in the D-rings, insert the plastic coated stainless wire, and twist it at both ends.
I wrap self-fusing silicone tape around the ends of the wire to prevent it from scratching the wall. For the same reason I staple some paper, folded four times, over the d-rings and screws.
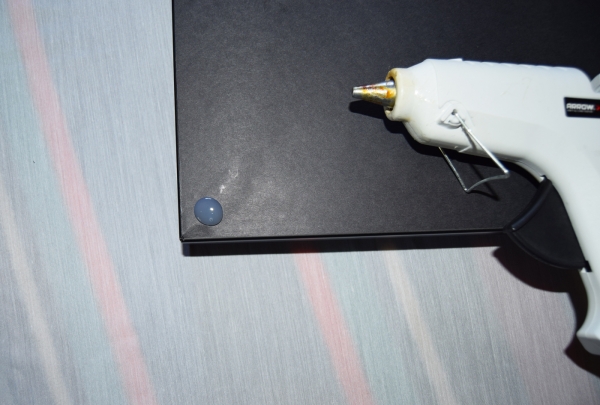
Rubber bumper pads always come off so I make my own with a hot glue gun; these never come off.
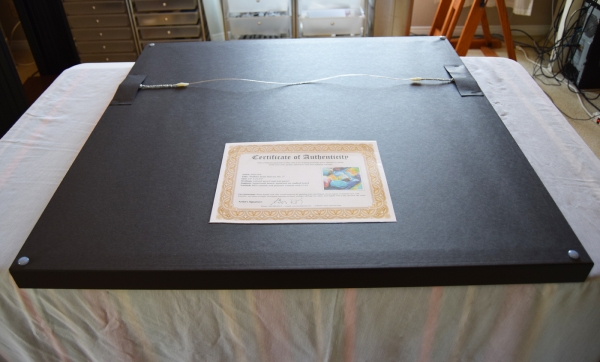
Last step is to secure my signed certificate of authenticity with double stick adhesive on the lower center of the back.
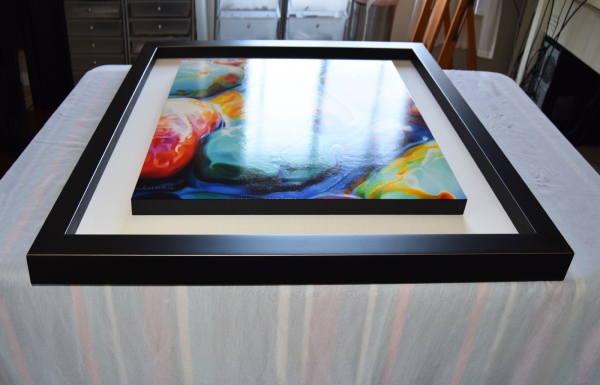
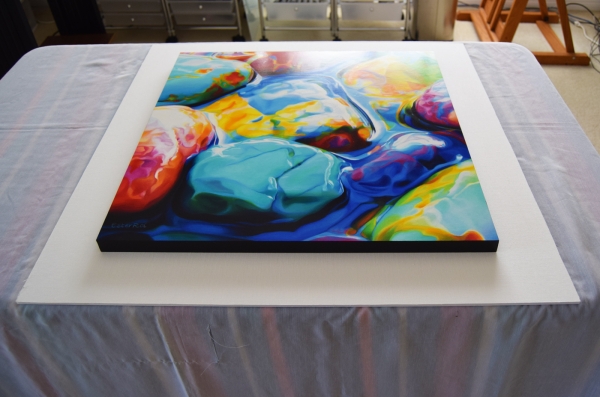
This is how my artwork looks in the frame. I developed this concept myself and I've been framing all my artwork in this manner for years.
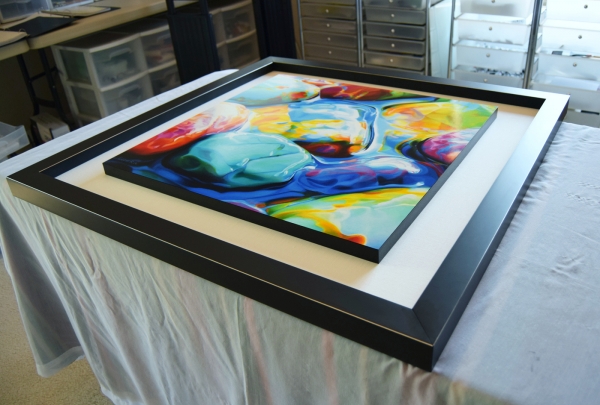
A different angle that better shows the 3D effect of my presentation.
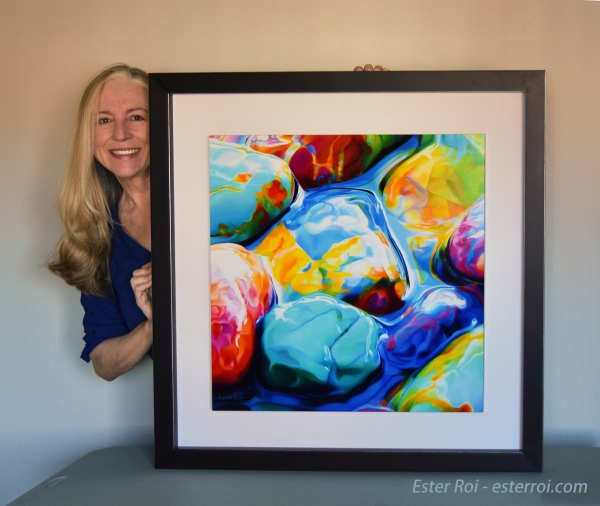
I always try to take a good photo for social media with me by my work. This personalizes the art while giving a better view of its actual size.
Other blog posts on framing:
http://www.esterroi.com/blog/post/2013/02/how-to-mount-paper-on-board
http://www.esterroi.com/blog/post/2014/09/how-to-mount-canvas-on-board
http://www.esterroi.com/blog/post/2010/04/glassless-framing