One of the most important steps in the art reproduction process is the creation of a digital file. A high-resolution, properly lit, color-managed capture is critical to getting the sharpness, detail and color accuracy needed. Even though I have a good quality camera, I let a professional do the work.
The company I use, DaVinci Digitale, not only assists with art scanning, photo capturing and digital color correction, but offers many other services such as giclee printing on different surfaces, art stretching and mounting, custom framing and art packaging and shipping.
I take my artwork to be professionally photographed always before applying the final gloss varnish to minimize the glare of a glossy canvas.
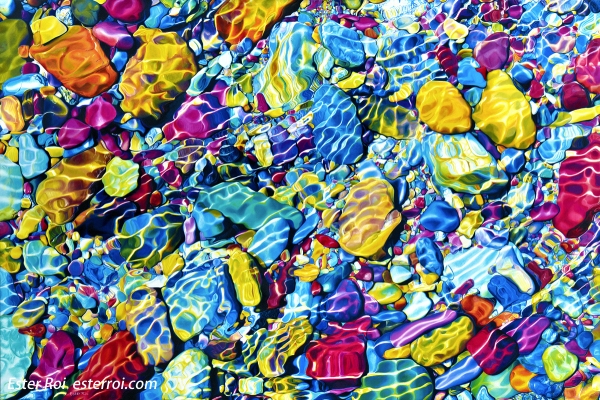
Below is the color corrected image of “Good Vibrations”. The original file is 677MB and measures 18830 x 12562 pixels at 300ppi resolution.
On my next post I will talk about the process of applying the final varnish.
Step 1: before varnishing
Step 2: sealing the artwork
Step 3: mounting the artwork on a panel
Step 4: digital capture of the artwork
Step 5: applying the final varnish
Step 6: framing the artwork