Everybody has a different way to relax; mine is to build something with my hands. That's how this new media organizer came about. My previous one was old and frail and after five years of daily use I could definitely envision a much improved model. I spent a full day planning, cutting, gluing and I'm very pleased with the results.
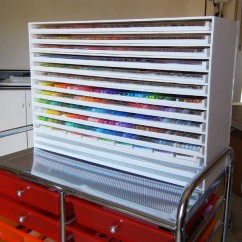
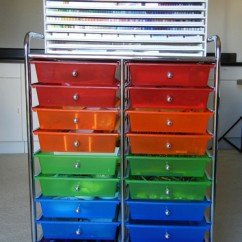
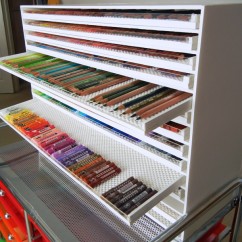
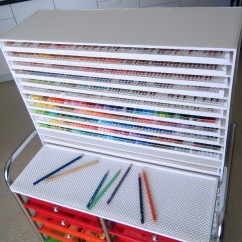
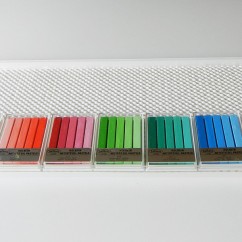
My media organizer is a shelf unit with 14 movable trays where I store all my wax-based drawing media (colored pencils, artist crayons, and oil pastels). I place it on top of my taboret right by my desk .
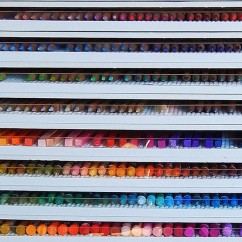
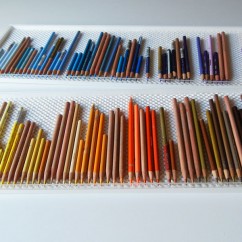
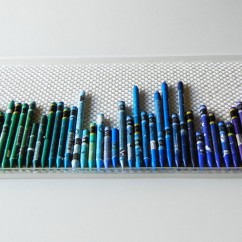
One of its best feature is the plexiglass on the front of each tray. It lets you get a clear view of what's inside without having to pull the tray out.
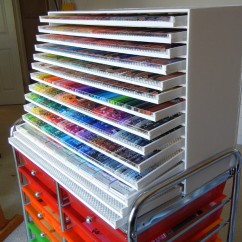
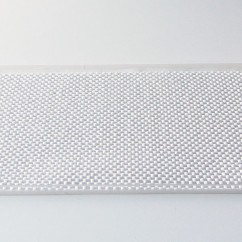
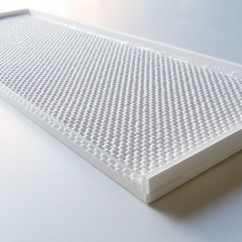
The trays can be pulled out together for complete accessibility of media or individually. They are deep enough that they can hang from the unit without falling.
Sometimes I prefer to place several trays directly on the desk. I usually do this when I select the main colors of my drawing.
Tray dimensions:
bottom - 22 1/4" x 7 1/2"
back - 22 1/4" x 11/16"
sides - 7 1/2" x 1/2"
plexiglass front - 22 1/4" x 11/16"
non-slip liner - 21 3/4" x 7 1/4"
Structure dimensions:
15 shelves - 22 3/4" x 7 3/4"
sides - 15 3/4" (high) x 7 3/4"
back - 15 3/4" (high) x 23 1/8" (corrected - was 22 3/4")
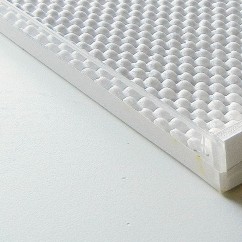
Materials: foam board (3/16" thick), plexiglass (the thinnest you can find), non-slip liner, and a glue gun.
Having my media accessible and organized makes my workflow so much more fluid. I can concentrate on my art and don't have to waste time looking for things.
Feel free to ask questions if you need more clarifications.
Edit (2/27/2011): for step-by-step instructions visit this blog post.

9 comments
Terry Rempel-Mroz
February 14, 2011
How ingenious! Thanks for the wonderful shots and the materials list - I have been looking for something like this for quite a while. I think I will try to make one myself :-)
Ester Roi
February 14, 2011
Thank you, Terry, and good luck with this project. It will be worth your time.
Maxine Blackwell
February 15, 2011
Ester: Can you tell me where you purchased the shelf unit or give the product name/number so that I can try and find it. Also, how did you insert the 15 permanent shelves in the unit (or did they come like this)? I built a unit similar to your old one (and did this several years ago) but it has worn out. If you can help me with feedback on the basic shelf unit, I’ll start this immediately. Thanks so much for the input. (I got so excited when I saw this because I thought that this was for sale!....now there’s a thought for you…). Love my Icarus Board. I’ve had it since they first came out and it still operates like new. Thank you.
Maxine Blackwell
Ester Roi
February 15, 2011
Hi Maxine, the whole unit was home made. I only purchased the foam board, plexiglass, and non-slip liner. I will make a new post with step-by-step drawings and detailed instructions by the end of this week.
Thanks for visiting.
Media Organizer Step-by-Step | Ester Roi
February 27, 2011
[...] put together the step-by-step directions for building a media organizer like mine. Please refer to my previous post for images and description of the unit. Following are detailed instructions on how to build [...]
Ines
February 28, 2011
Ester:
I cannot wait to go and look for appropriate materials over here in Germany.. sigh.. it would be so much easier to order it easily at dickblick..
Thank you so much for sharing your wonderful invention with us!!!
Ester Roi
February 28, 2011
The pleasure is mine, Ines.
Candy
March 21, 2018
Can you make one to sell?
Ester Roi
March 22, 2018
No, Candy, I made only one for myself.