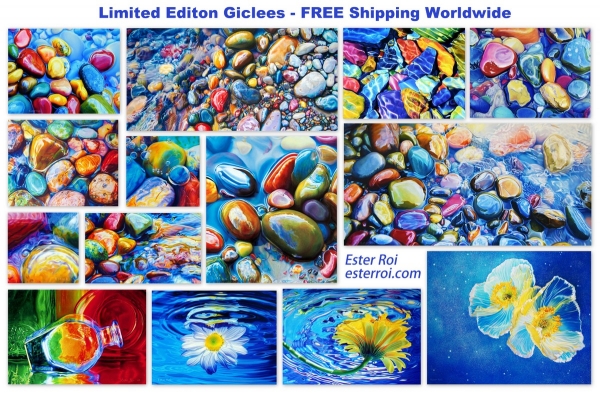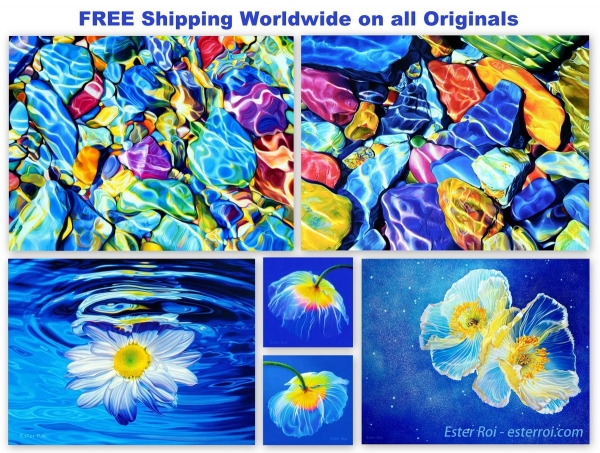
Holiday 2021 Promo15% off all artwork, limited time offer!

Newsletter Subscription

Subscribe to my newsletter to receive 4 to 5 emails per year where I highlight important news, available originals, and seasonal specials.

Blog

How I Frame My Artwork

After mounting my artwork on 3/4" Ampersand Claybord, painting the sides in acrylic, and varnishing it, I place it in the exact middle of a fabric covered, 3/16" thick Gatorboard which functions as a mat. I insert four very thin sewing pins at the corners of the artwork and make sure they come out on the other side of the Gatorboard to mark the position of the four corners on the back.
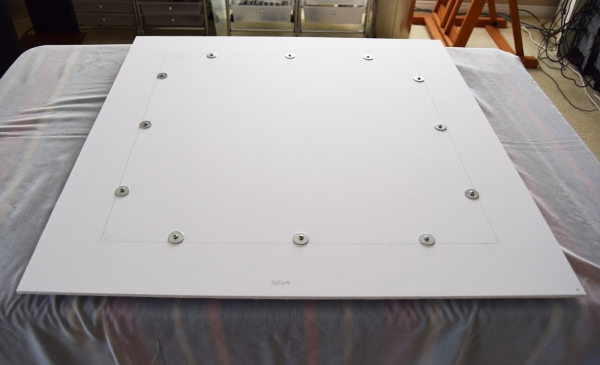
 

I use screws with large washers to mount the Claybord onto the Gatorboard. The screws need to be inserted in the exact middle of the Claybord's stretch bars.
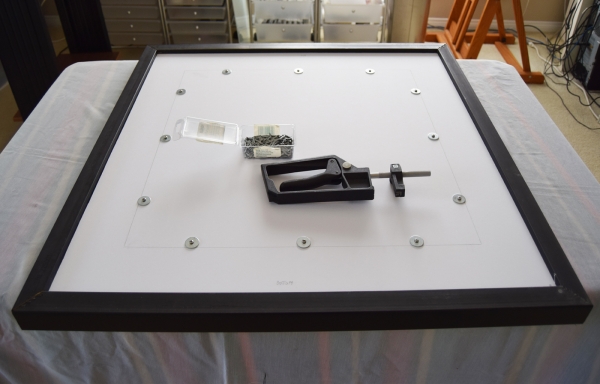
 

After inserting the artwork mounted on the Gatorboard mat into the frame, I secure it with framers points.
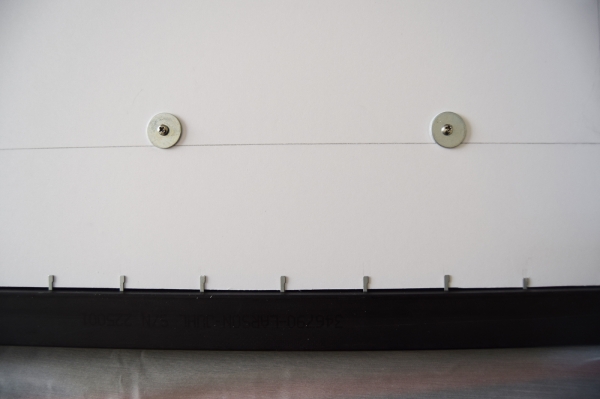
 

Details of framers points, screws and washers.
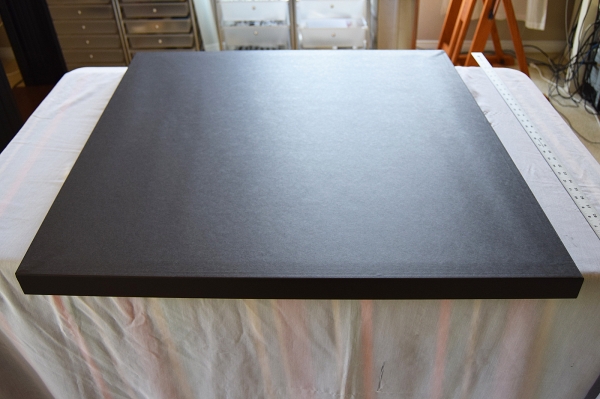
 

I mount the backing paper with double stick adhesive and trim the edges.
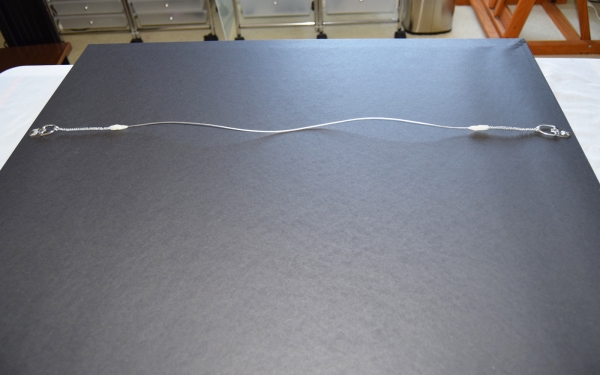
 

I screw in the D-rings, insert the plastic coated stainless wire, and twist it at both ends.
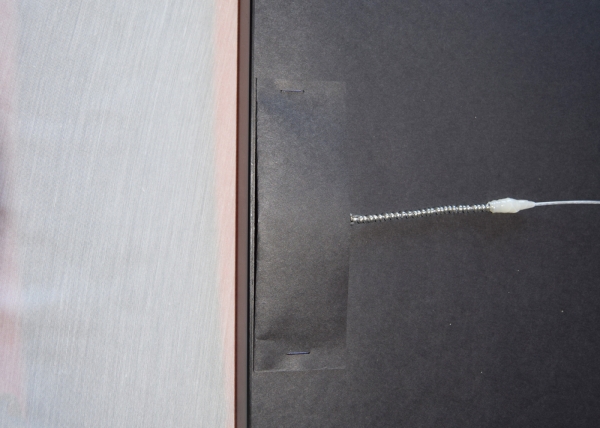
 

I wrap self-fusing silicone tape around the ends of the wire to prevent it from scratching the wall. For the same reason I staple some paper, folded four times, over the d-rings and screws.
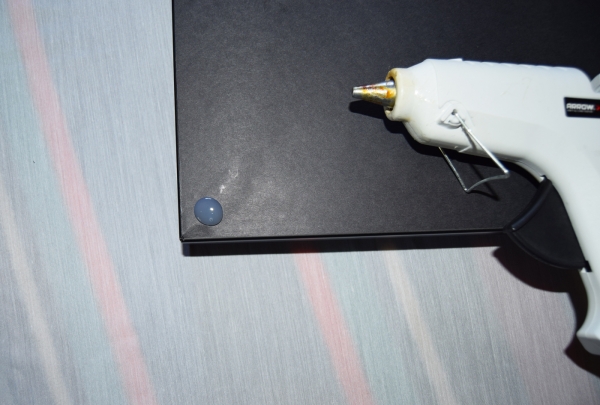
 

Rubber bumper pads always come off so I make my own with a hot glue gun; these never come off.
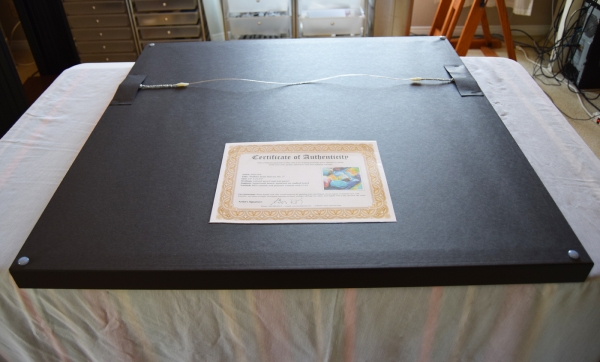
 

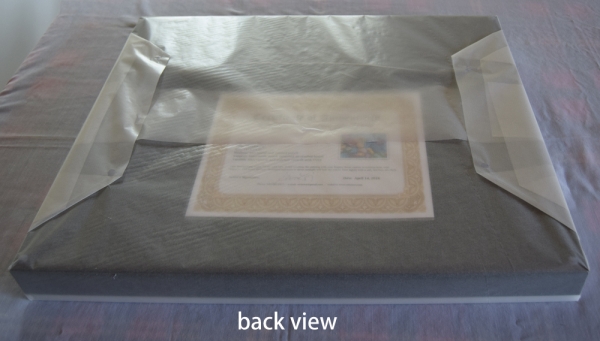
Last step is to secure my signed certificate of authenticity with double stick adhesive on the lower center of the back.
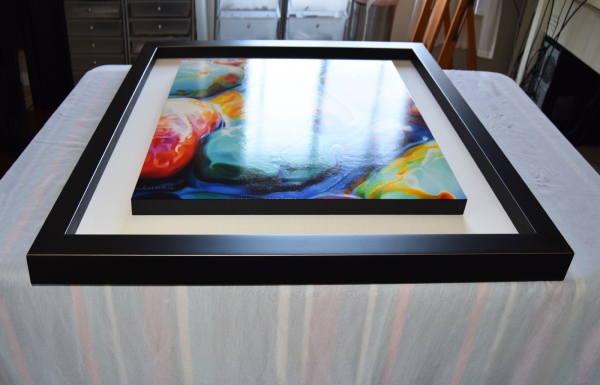
 

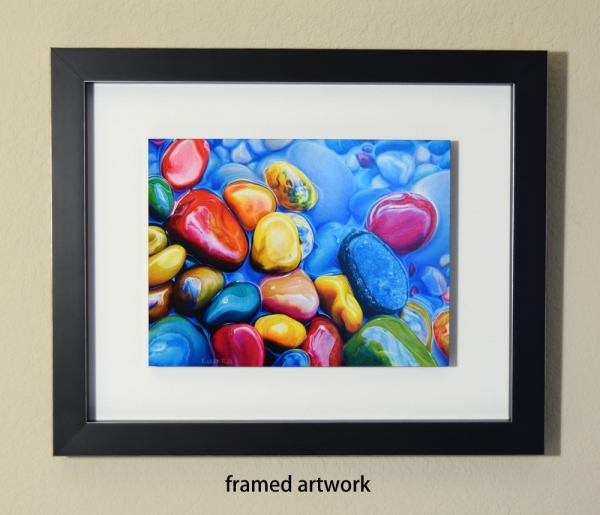
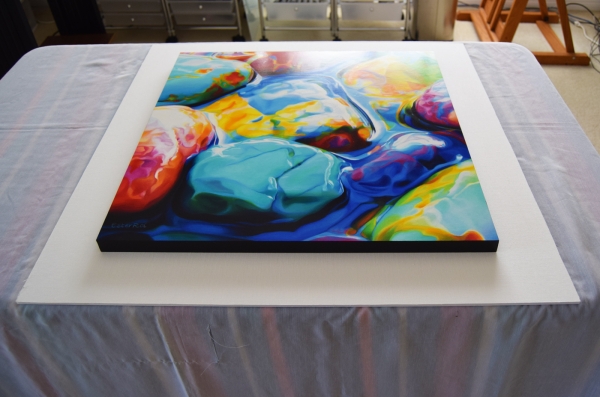
This is how my artwork looks in the frame. I developed this concept myself and I've been framing all my artwork in this manner for years.
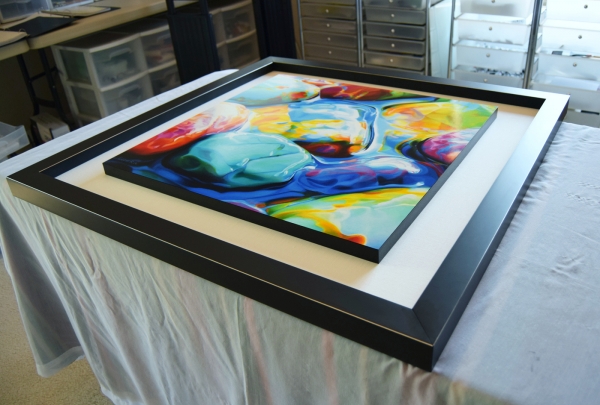
 

A different angle that better shows the 3D effect of my presentation.
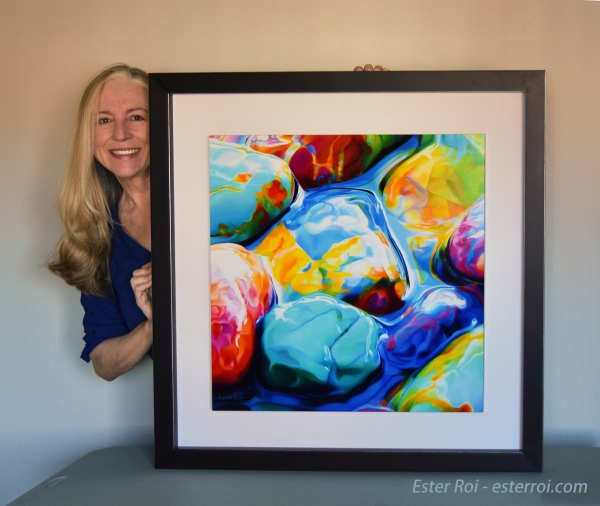


I always try to take a good photo for social media with me by my work. This personalizes the art while giving a better view of its actual size.
 

Other blog posts on framing:
http://www.esterroi.com/blog/post/2013/02/how-to-mount-paper-on-board
http://www.esterroi.com/blog/post/2014/09/how-to-mount-canvas-on-board
http://www.esterroi.com/blog/post/2010/04/glassless-framing


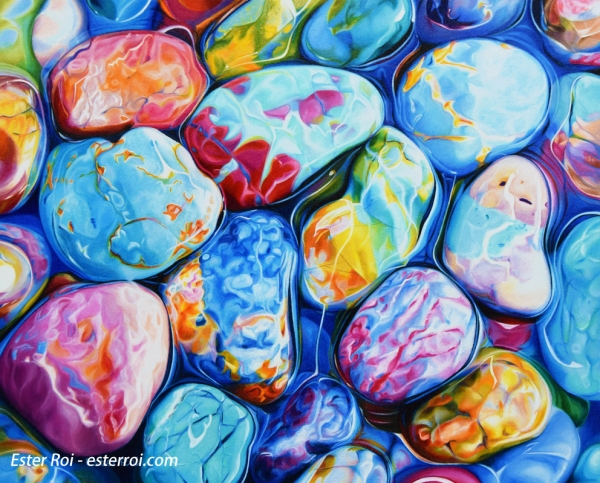
“Pebbles from Heaven, No. 2”

Title: "Pebbles from Heaven, No. 2"
Size: 22" x 22"
Medium: colored pencils and wax pastels
Surface: Art Spectrum Colourfix Supertooth board
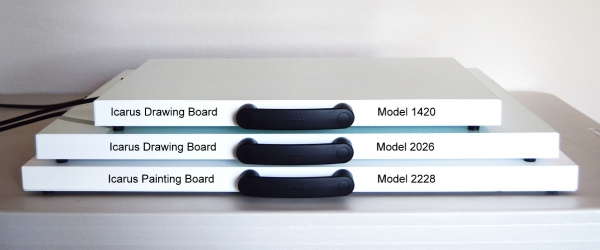
TechniqueIcarus Painting Board

Original sold. Giclees available here

25% of the proceeds was donated to Caterina's Club, a charity that provides free, warm, nutritional meals to underprivileged children in Orange County. 

More information on my "Pebbles from Heaven" series on this blog post.


A New Art Series for a Great Cause

This is the first piece in a new series called “Pebbles from Heaven”. I’ve been yearning to find a meaningful way to give back using my art, and this series is my attempt to do that.

On February 4th, 2017, my good friend Bruno Serato had his restaurant destroyed by an electrical fire. For the last 12 years Bruno has used this very restaurant to provide free, warm, nutritional meals to underprivileged children in Orange County. His charity, Caterina’s Club, feeds nearly 1,200 children, 5 nights a week.

Bruno is the most generous and loving person I know and his philanthropy has received worldwide attention. In this time of need, I want to help support him in his mission to continue feeding these children.

Here is my commitment: for each “Pebbles from Heaven” original sold, I will donate 25% of the sale price directly to Caterina’s Club, indefinitely. 

I feel blessed with this renewed sense of purpose, and am grateful I have an opportunity to help make this world a better place, one pebble at a time.

“Pebbles from Heaven, No. 1” will be available soon on my website store: esterroi.com


Upcoming Demonstration

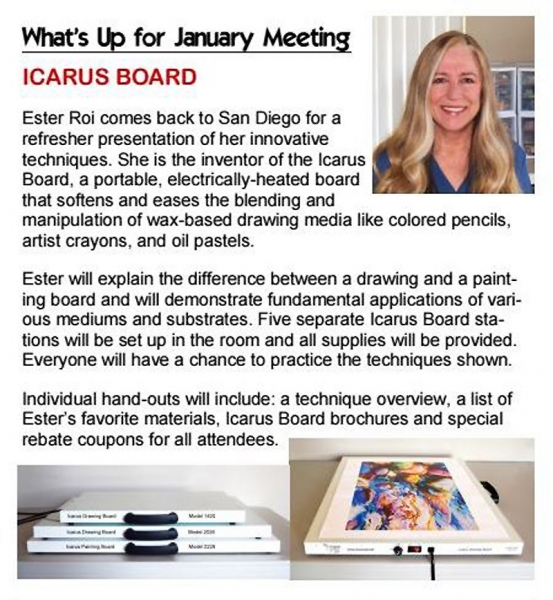
Next Saturday, Feb 11, I will give an Icarus board demonstration during the San Diego CPSA District Chapter meeting. Everybody is welcome!

If you're not a member of the Colored Pencil Society of America, this will be a great opportunity to meet a dedicated group of artists who share a passion for colored pencil. I hope to see you there!

Serra Mesa/Kearny Mesa Library, Community Room, 10:00 AM - 12:30 PM, 9005 Aero Drive, San Diego


Acrylic and Colored Pencil

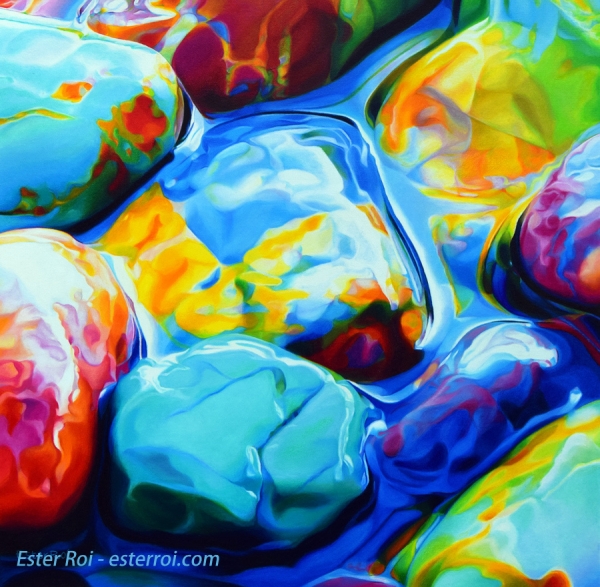
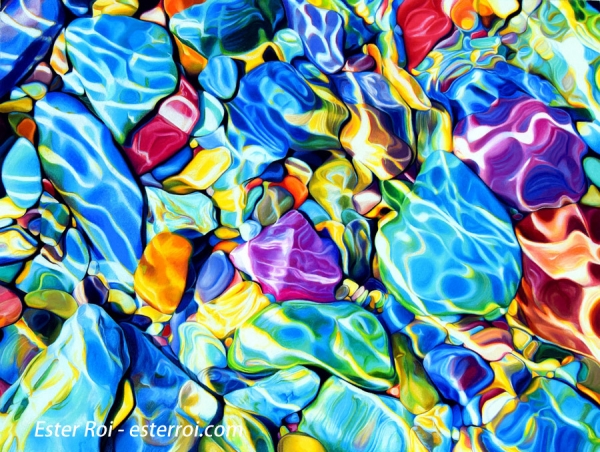
My latest artwork, titled "McDonald Creek, No. 3", was inspired by the ripples reflected on the colorful pebbles of the McDonald Creek, Glacier National Park, Montana. This piece has a very abstract slant due to its close-up take and the refraction caused by the running water.  

Size: 12" x 16"
Medium: Luminance and Prismacolor colored pencils, and Golden Matte Acrylics
Surface: Art Spectrum Colourfix Supertooth board
Technique: Icarus Painting Board 


Even with abstract work, value and composition are still of the outmost importance. A value range from 0 to 10 brings form and depth to life. Colors, of course, always evoke a strong emotional response but if the values are incorrect, the colors will not work. 

I normally block in the main colors with artist crayons and wax pastels (Neocolors). This time I wanted to experiment with acrylics. Since colored pencils adhere only mechanically to acrylics, it's crucial to use a surface with a strong tooth, especially when framing without glass. After acrylics dry, the tooth is then still available for colored pencils. 

Regular acrylics are usually glossy and that finish interferes with colored pencil adhesion. However, Golden Matte Acrylics, Fluid or Heavy Body, are less sleek than gloss acrylics and provide a better surface for colored pencils.

So, what are the advantages of using acrylics with colored pencils? I discovered two helpful applications.


USING ACRYLICS TO BLOCK IN COLORS   

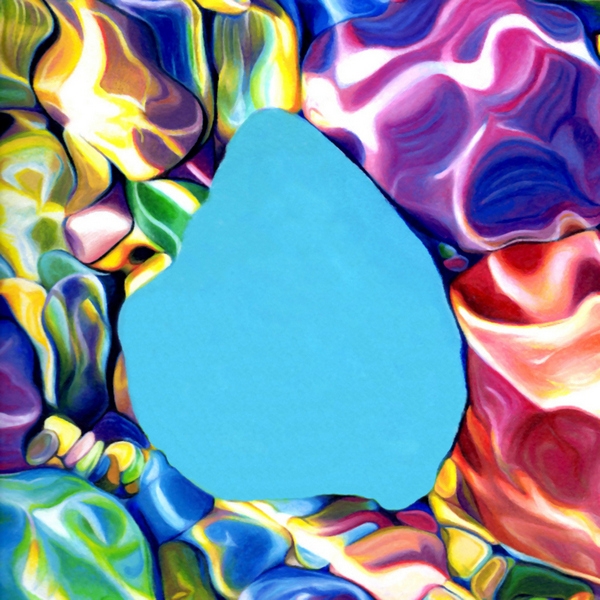
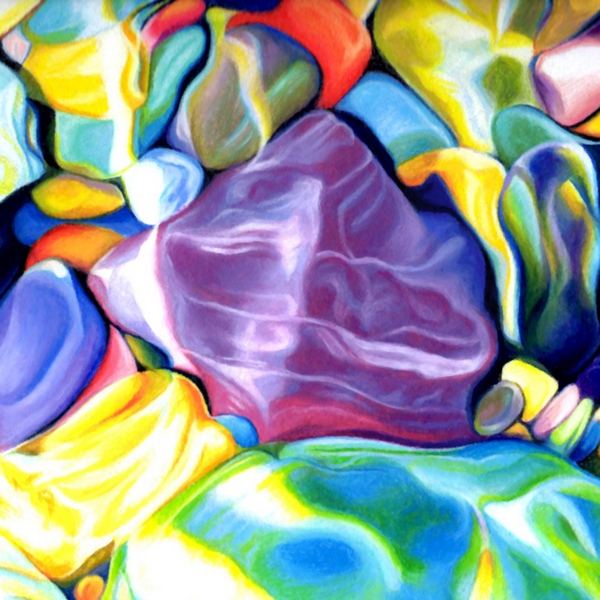
Acrylics are perfect for covering large areas of flat color; they can be brushed on quickly and they dry in a jiffy. I chose to paint this pebble with a middle value. With a few brush strokes, using paint thinned with water, I completely obliterated the white of the paper.


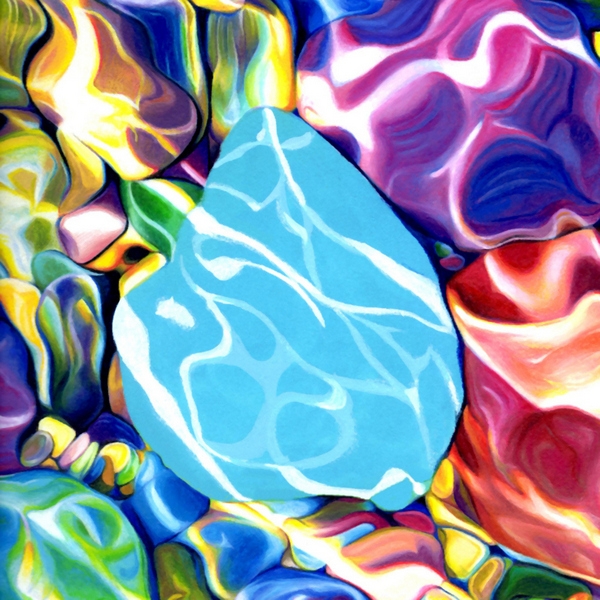
I then created the ripples with white paint and a lighter value of the local color. I don't worry about being precise at this point; that's where colored pencils will come in handy. 


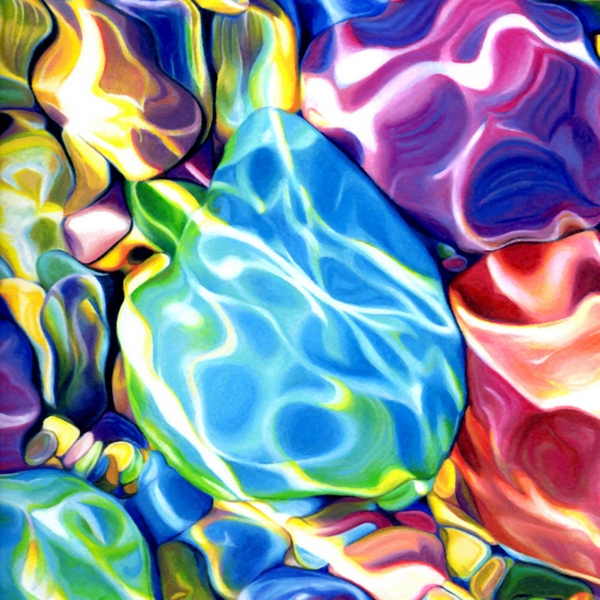
After turning on the heat of my Icarus Painting Board (medium setting), I began developing colors, values and details with colored pencils in my usual fashion, blending with a paper stump when necessary. The acrylic under-layer is left uncovered in some areas to allow for optical blending.


USING ACRYLICS TO GLAZE

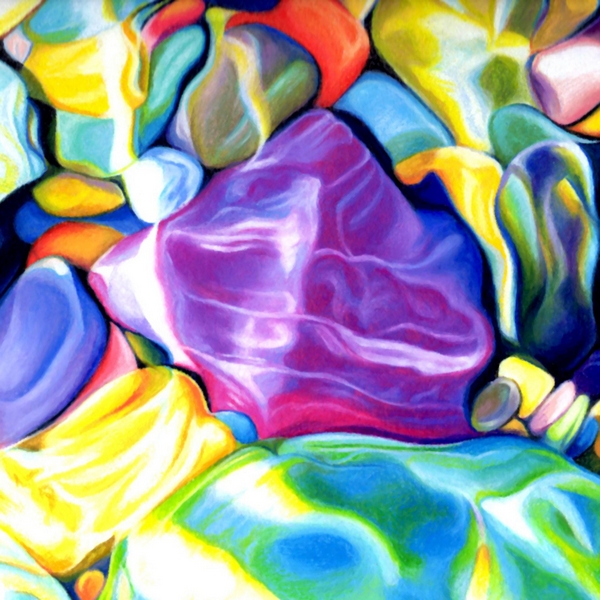
I use only lightfast colored pencils and some of the colors in the pink, purple and violet family are a little dull and not as bright as their fugitive counterparts.


If you're a fan of bright colors like I am, you'll be happy to know that there's a way to remedy that dullness. Acrylics are lightfast and can be glazed over colored pencils. On this pebble I painted a very light mixture of Golden Quinacridone Magenta and Golden Acrylic Glazing Liquid. The glaze worked wonderfully but it took me two tries to get it right.

On the first try, the glaze darkened the overall values. So I reworked the pebble on my Icarus Painting Board; the heat allowed me to easily remove the acrylic glaze using colored pencils alone. After lightening the values, I then re-glazed the pebble (no heat). Acrylics can also be used for touch-ups, especially when highlights have lost their luster; a little Titanium white can do wonders.


Podcast Interview on Sharpened Artist

Listen to my podcast interview on Sharpened Artist. What a great opportunity to talk about my background in art, my experience as a professional artist and what led me to create the Icarus Board. 

Here is what artist Kendra Lamont Nafziger said after listening to the podcast:
"This was one of the most enlightening and enjoyable podcast ever! Ester is an eloquent, gracious human being. I actually teared up toward the end hearing her encouragement for artists! "Don't concern yourself with finding your voice. It was never lost; it just takes time for it". I am so grateful for this podcast. Ester, you are a gem."

Many thanks to John Middick of Sharpened Artist and Lisa Clough of Lachri Fine Art for this enjoyable interview.