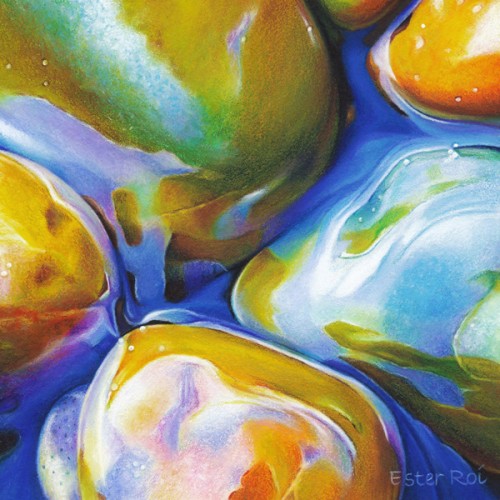
Title: River Pebbles, No. 3
- Size: 6" x 6"
- Medium: Caran d'Ache Neocolor I and II, Prismacolor Premier Colored Pencil, Caran d'Ache Luminance Colored Pencil
- Miscellaneous: Clay Shaper, Gray Paper Stumps
- Surface: Art Spectrum Colourfix Supertooth Board
- Technique: Icarus Drawing Board
- Mounted on a 6" x 6" Ampersand Claybord with 2" cradle (If you are interested in learning how I mount and varnish my artwork, you can read my post on Glassless Framing)
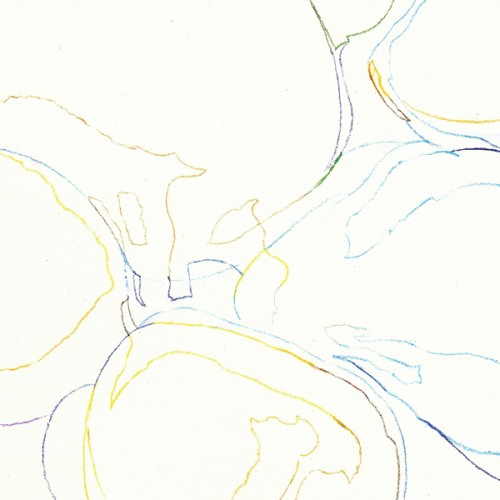
The outline was accomplished with Verithin Colored Pencils on the cool zone of the Icarus Drawing Board.
For more on color mapping with artist crayons you can view the following videos:
- Exercises on Colourfix Paper - Layering Artist Crayons on Colourfix Paper
- Mussel Shell - Blocking in Colors with Artist Crayons
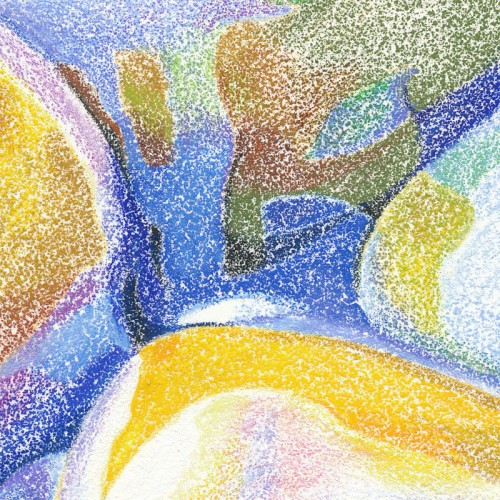
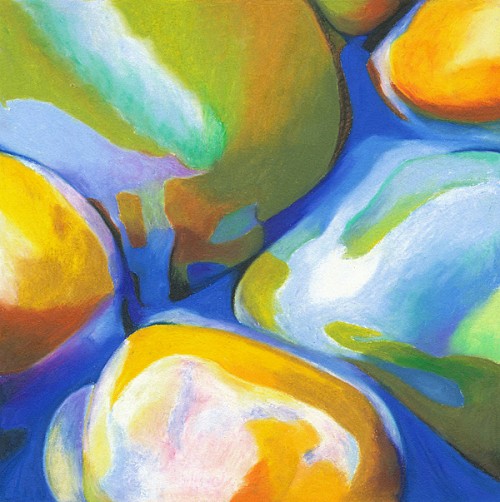
Here you can see the pigment density needed to achieve complete paper coverage after melting.
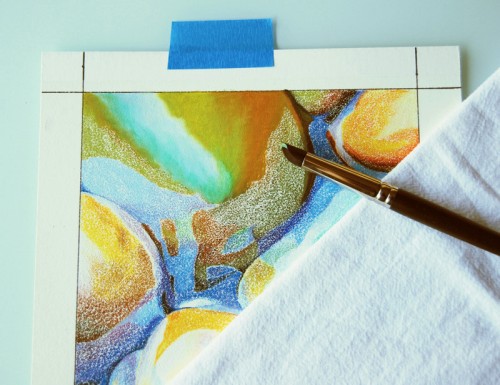
With temperature setting at maximum, I begin melting the artist crayons with a clay shaper (or color shaper).
For more on melting artist crayons you can view the following videos:
- Exercise on Colourfix Paper - Melting Artist Crayon on Colourfix Paper
- Mussel Shell - Melting Artist Crayons
Artist crayons save me a lot of time. After they are melted, the paper becomes completely saturated with vibrant colors. The waxy pigments make an ideal substrate for layering colored pencils on top.
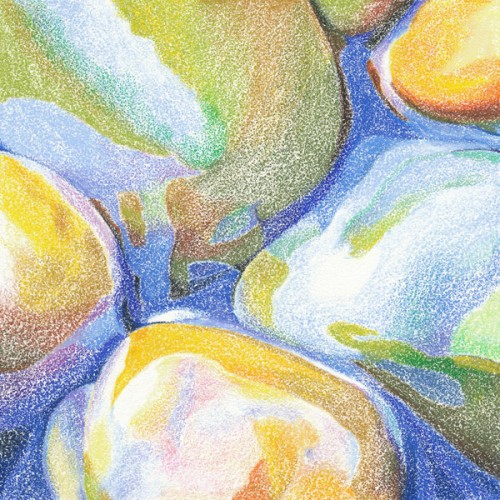
With temperature setting at medium, I finally layer and blend colored pencils to develop colors, values and details.
You can see a slideshow of this project on the following blog post: Slideshow of "River Pebbles, No. 3".

5 comments
Debbi Friedman
February 15, 2012
What a great demo, Ester. I love seeing your stages, and never would have imagined that’s what they are, but it makes perfect sense once I see it.
Ester Roi
February 15, 2012
Thank you, Debbi! With these small step-by-steps I’m attempting to illustrate the various techniques I use with my board. I’m so glad to hear they are making sense to you! Thank you for visiting!
Jill
February 15, 2012
Wow that is beautiful.
Jill
February 15, 2012
It’s like magic how the piece goes from initial pencil sketches to the finished product!
Ester Roi
February 16, 2012
Thanks, Jill! I’m glad you like it.