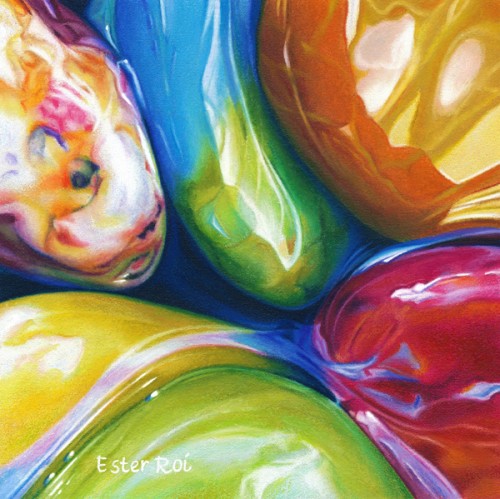
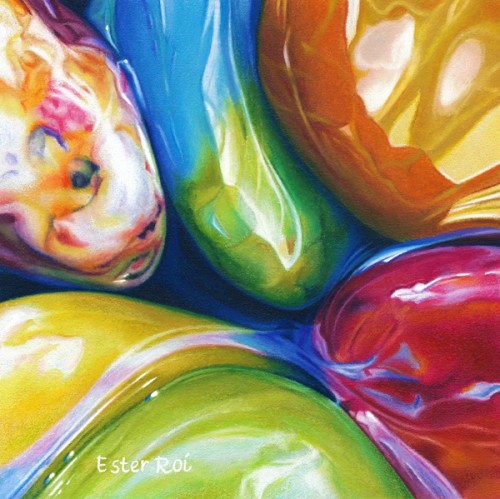
Title: River Pebbles, No. 11
- Size: 6" x 6"
- Medium: Caran d'Ache Neocolor I and II, Prismacolor Premier Colored Pencils (Verithin and Softcore), Caran d'Ache Luminance Colored Pencils
- Miscellaneous: Tortillions, Paper Stumps, Caran d'Ache Blender, Colour Shapers
- Surface: Extra Fine Texture Canvas primed with several coats of clear Art Spectrum Colourfix Supertooth Primer
- Technique: Icarus Drawing Board
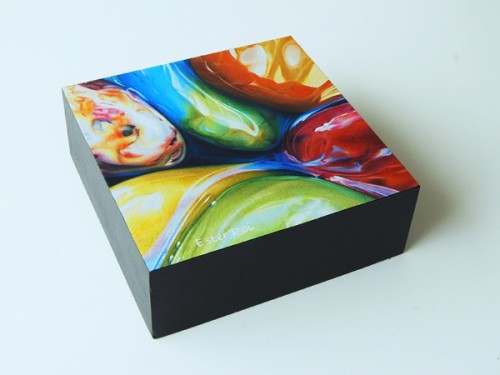
- Mounted on a 6" x 6" x 2" Ampersand Claybord and varnished
- To see how I mount and varnish my artwork please refer to my post on Glassless Framing.
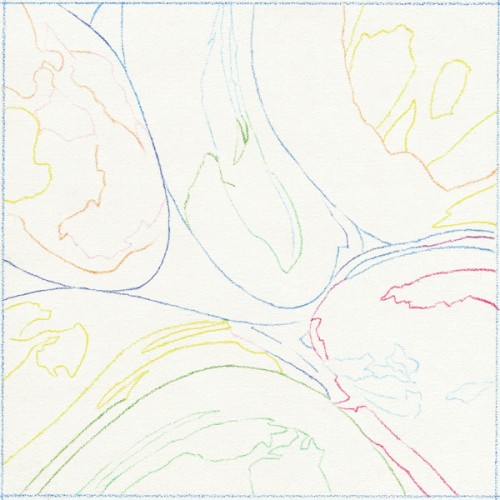
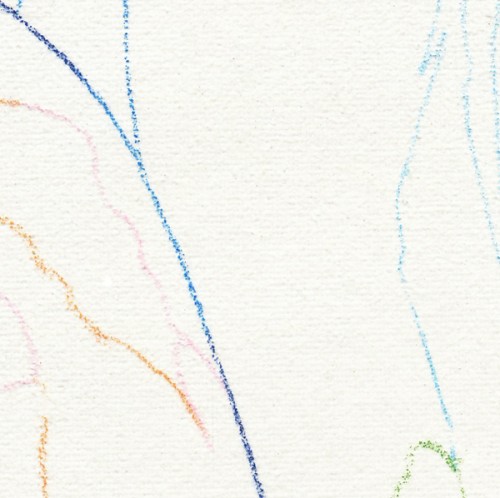
The outline was accomplished with Prismacolor Verithin on the cool zone of the Icarus board.
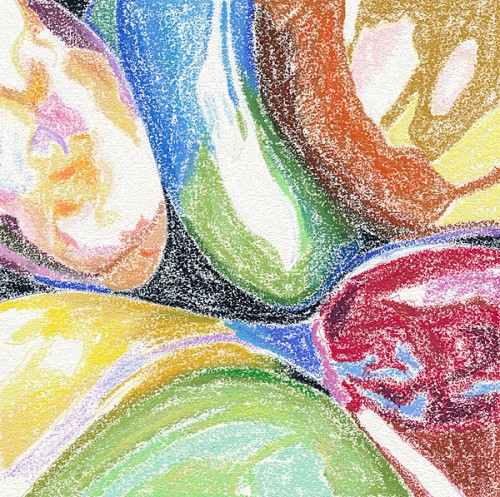
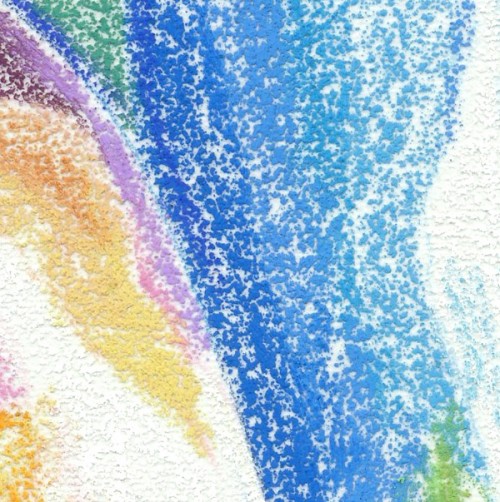
After drawing the outline I proceeded to map the main colors with Neocolor artist crayons on the warm zone of the Icarus board using a low temperature.
For more on color mapping with artist crayons you can view the following videos:
- Exercises on Colourfix Paper - Layering Artist Crayons on Colourfix Paper
- Mussel Shell - Blocking in Colors with Artist Crayons
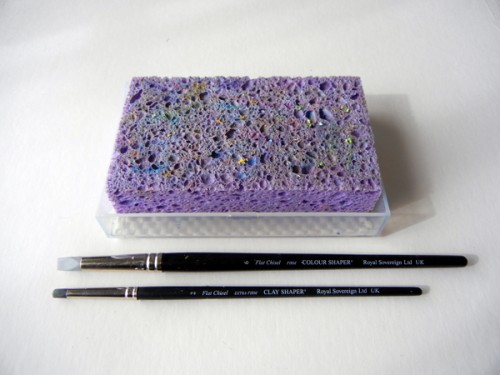
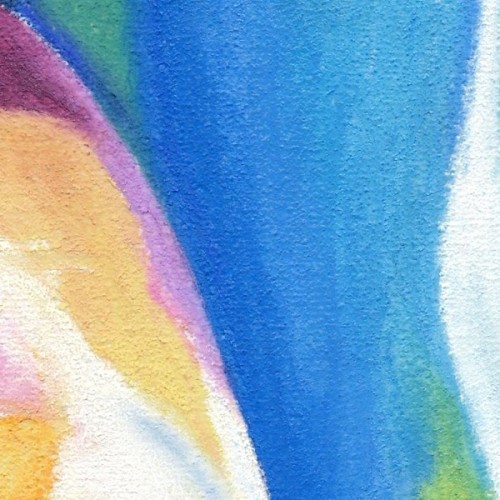
With temperature setting at maximum, I melted the artist crayons using clay shapers (also known as color shapers).
For more on melting artist crayons you can view the following videos:
- Exercise on Colourfix Paper - Melting Artist Crayon on Colourfix Paper
- Mussel Shell - Melting Artist Crayons
In the picture above you can see the two color shapers I used for melting and the wet sponge for cleaning. For easier cleaning I spray the surface of the wet sponge with a little Simple Green.
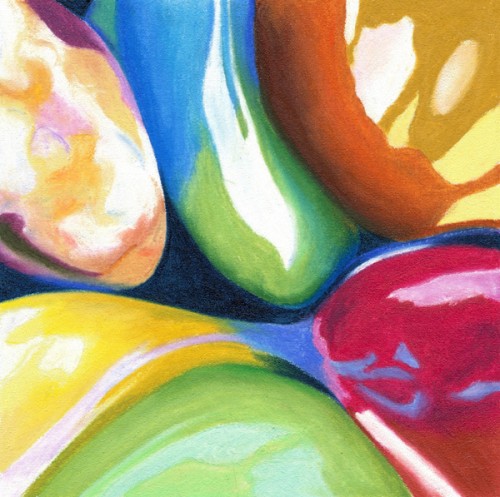
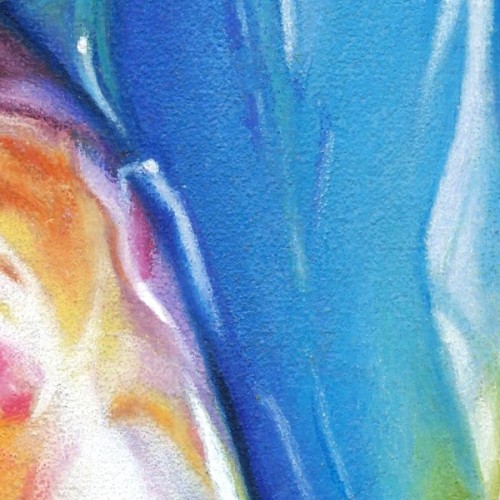
With the temperature set at medium I developed the colors, values and details of the pebbles by layering and blending colored pencils with a variety of tools like tortillions, paper stumps and a Caran d'Ache blender.
I finally mounted the canvas on a 2" thick Claybord and painted the sides with acrylic. The artwork is now ready for varnishing.

34 comments
Dianne Gruber
January 29, 2013
Ester, this is so luscious to look at. I WILL be doing this painting soon.
Jill
January 29, 2013
This is absolutely beautiful! I can’t stop looking at it, it really made my day. :)
Rhonda Dutton
January 29, 2013
Thank you for sharing. This very informative. I love your work.
Terry Rempel-Mroz
January 29, 2013
Beautiful as always. I love the small format - with the large pebbles!
Ester Roi
January 29, 2013
Thank you, Dianne! Let me know when you’re ready to start.
Jill, you’re so kind! I love to know that my art brought a smile into your day.
My pleasure, Rhonda!
Thank you, Terry! I love doing these small pieces!
Juliet Aucreman
January 29, 2013
Sumptuous as always!
Ester Roi
January 29, 2013
Thank you, Juliet!
Ines
January 29, 2013
Amazing and inspiring as always… thanks so much for sharing your technique..
I will have to try this… :)
Ester Roi
January 29, 2013
My pleasure, Ines! Thank you for visiting my blog!
Mary C.
January 31, 2013
Beautiful as always! The color shapers, do you prefer to use soft or firm tips?
Ester Roi
February 01, 2013
Thank you, Mary! I use firm and extra firm; the soft ones don’t work as well.
Mary C.
February 01, 2013
THank you!
Ester Roi
February 01, 2013
My pleasure, Mary!
Bridget W.
February 08, 2013
Ester, thank you for sharing your work in progress! Seeing the steps sparks my imagination and makes me want to pick up my pencils again.
Ester Roi
February 08, 2013
My pleasure, Bridget! It’s great to know that my art stirred someone’s imagination - that’s what it’s all about.
Rodel Rosario
August 20, 2013
Ma’am Ester thank you for sharing your process to create this artwork. I am also using colour pencil on my drawing but it is not the same as you did. Your work is absolutely amazing.
Denise
August 20, 2013
Stunning piece! Thank you for sharing your technique. I’ve been wondering if the Icarus drawing board is worth the investment. If you can do that with it, I’d say it definitely is!
EXAT ART
August 20, 2013
This is the first time I have entered in your blog…I think it is amazing and so well explained. Thank you for share!!! Congratulatons!!!
Aurora
August 20, 2013
Beautiful!!!!
Aurora Bloom
August 20, 2013
I love this technique! beautiful. you are very talented!
Louise Williams
August 20, 2013
I so need to try this, I’ve never melted my pencils before!! amazing work
dana
August 20, 2013
FABULOUS, THANKS FOR SHARING!!!!!!!!!!!!!!!!!!!!
Robin Panzer Art Studio 33
August 20, 2013
How wonderful that you took the time and effort to share the process behind your beautiful art. Thank You!
Rosemarie Temple-Smith
August 22, 2013
Very eye catching. I have never used wax crayons or oil pastels but you have certainly fired up my imagination. Thank you for sharing this lovely technique.
Ester Roi
October 03, 2013
Thank you, Rosemarie! I really appreciate it!
Ester Roi
October 03, 2013
Thank you, Robin! I’m glad you enjoyed the post!
Ester Roi
October 03, 2013
Thank you, Dana!
Ester Roi
October 03, 2013
Thank you, Louise! I hope you do - it’s a lot of fun!
Ester Roi
October 03, 2013
My pleasure, Rodel, and thank you!
Ester Roi
October 03, 2013
Thank you, Denise! I appreciate it!
Ester Roi
October 03, 2013
My pleasure, and thank you, Exat Art!
Ester Roi
October 03, 2013
Thank you! You’re so kind, Aurora!
Francie
July 28, 2014
Oh I just love what you do!!! Thank you so much showing us the step by step development. Beautiful river pebbles, sublime river pebbles!
Ester Roi
July 30, 2014
My pleasure, Francie, and thank you very much! :)