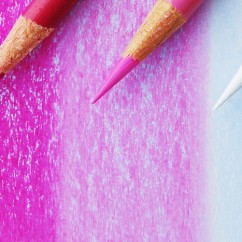
On step #1 I layer on the cool zone process red, pink and white colored pencils over light blue artist crayon (see more on "layering" on previous post). I use the side of the pencil, not the point.
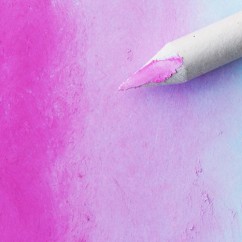
After moving the paper to the warm zone I start blending with a paper stump. Here, again, I'm using the side, not the point, and make small circles as I blend. Step #2 shows you the blending in progress.
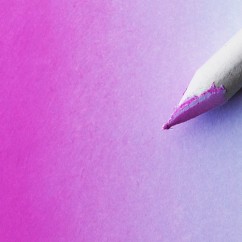
On step #3 you can see the end result: a very smooth and flawless color gradation. This technique will allow you to blend a large area in a very short time.


4 comments
Gloria Edwards
December 12, 2013
Thank you so much for you help. You are a great inspiration to my and your techniques are very helpful.
Ester Roi
December 12, 2013
My pleasure, Gloria! Thank you for visiting and for your kind words!
Ron Thomas
July 15, 2019
Ester ..enjoying my board and have had a fellow artist in Welling Oklahoma purchase a board. My question,Are all colorfix surfaces rough textured? I have been working on smooth Bristol board. I will sand my surface that I just purchased in Scottsdale ,Az. and experiments. I do my caricatures in some detail and like the blending I get with both sides of my structure
Ester Roi
July 16, 2019
Hi Ron, Colourfix papers and boards are all coated with a toothy primer and provide a textured surface for pastels and pencils. Coming from a smooth Bristol board, Colourfix can appear rough at first like it did to me when I was used to Stonehenge paper. However, in time, I fell in love with Colourfix. If it feels too rough when transitioning, it can be lightly sanded down. I now always use Art Spectrum Pastel and Multimedia Primer (clear) which bonds to paper, canvas, glass, ceramic and even metal.