Below are the steps I followed to mount my artwork on canvas and varnish it.
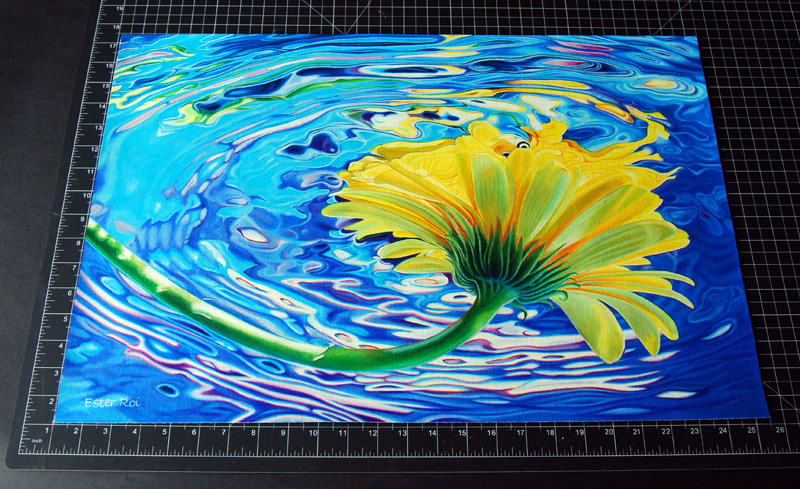
Left - after spraying the canvas with 5 coats of Prismacolor Final Fixative Gloss, and letting it cure overnight, I trimmed away the white boarder.
Right - the canvas is now trimmed and ready for mounting.
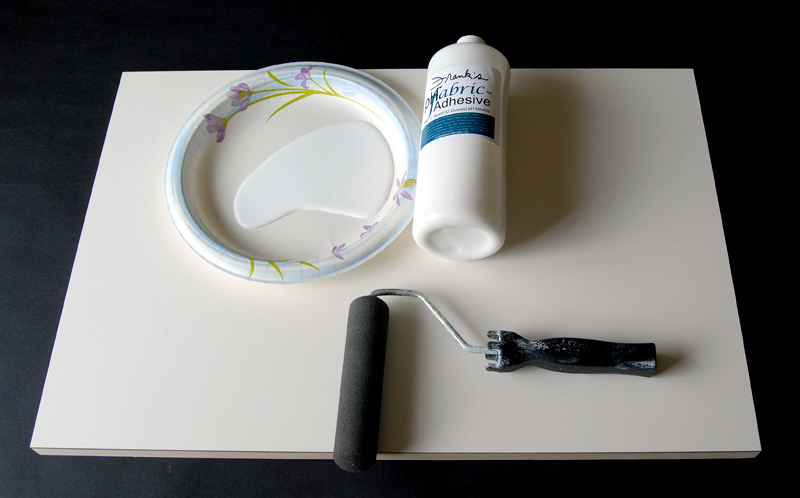
Left - for mounting I used Frank's PH Fabric Adhesive (purchased from my framer) and a foam roller. I apply this type of adhesive only to canvas or fabric in general. When mounting paper I prefer to use Grafix Double Tack Mounting Film (for more on this subject please visit my post on Glassless Framing).
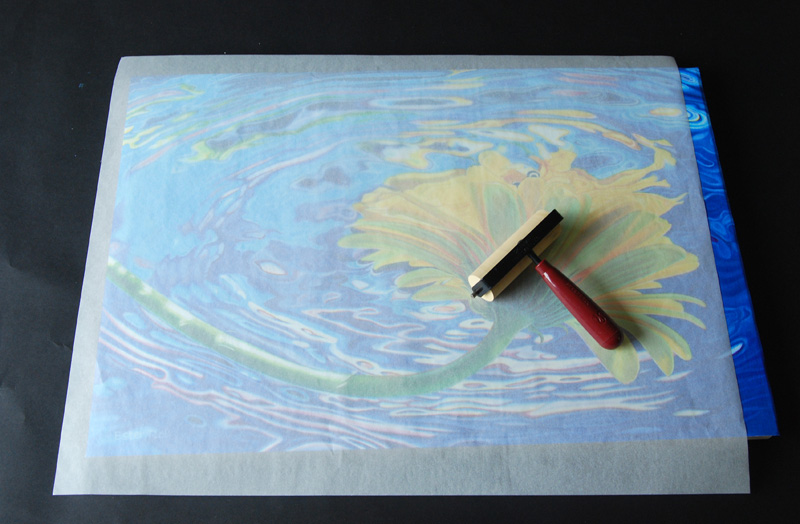
Right - after mounting the canvas on my Ampersand Claybord with 3/4" cradle, I rolled a brayer all over the surface, paying particular attention to corners and edges.
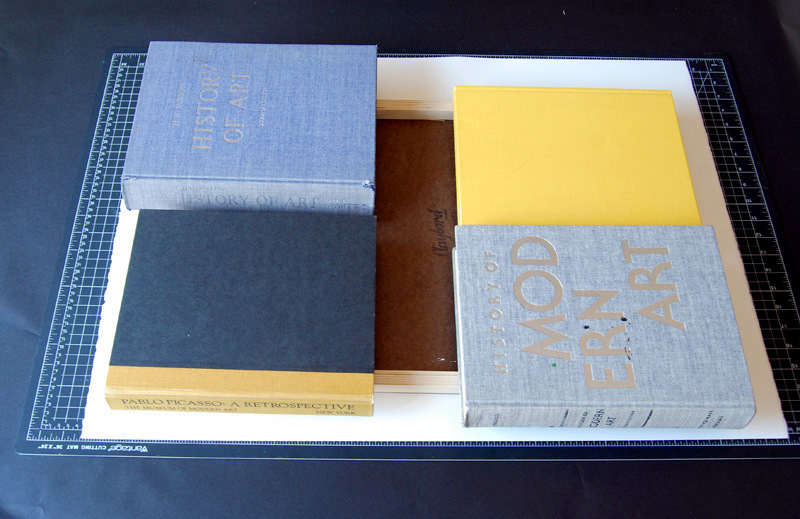
Left - I then placed the canvas-mounted board upside down under heavy books overnight.
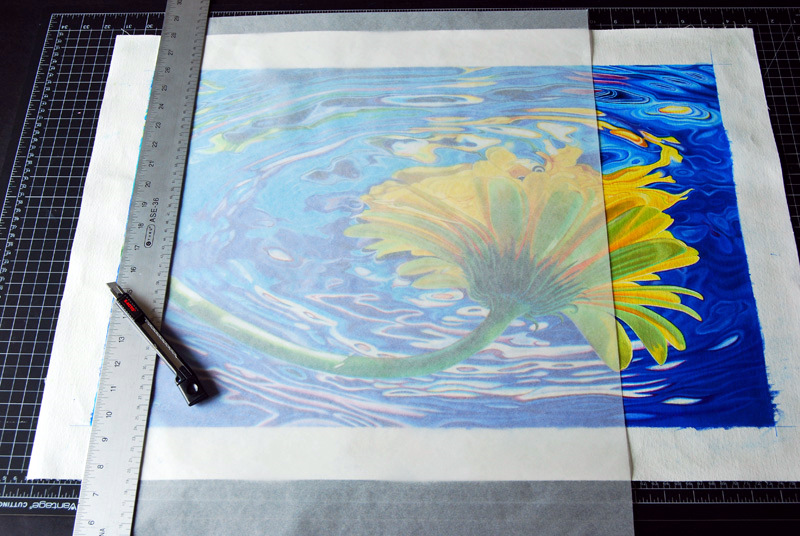
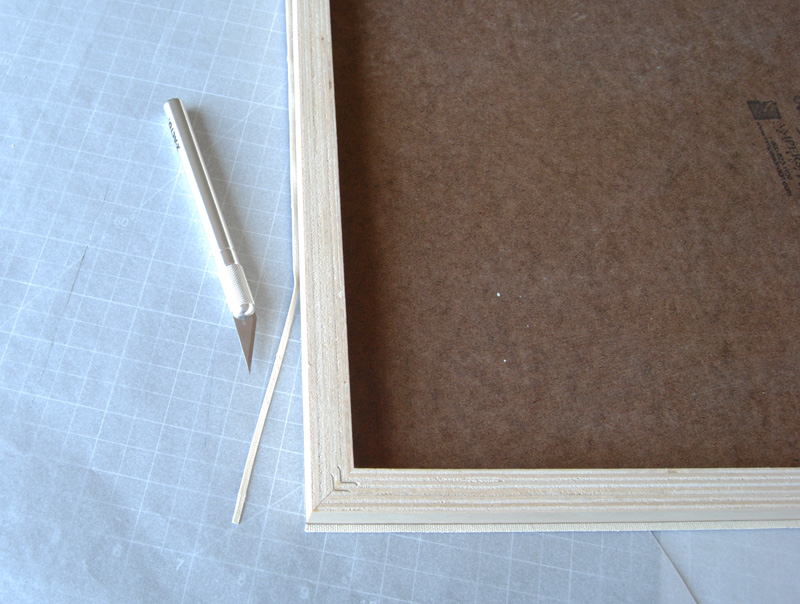
Right - in the morning I carefully trimmed the canvas around the edges of the board. I had originally extended the drawing a quarter inch all around to account for possible misalignment during mounting.

Left - as you can see some stubble was left over after trimming.
Right - I cleaned up the fuzz with a fine grade sandpaper.
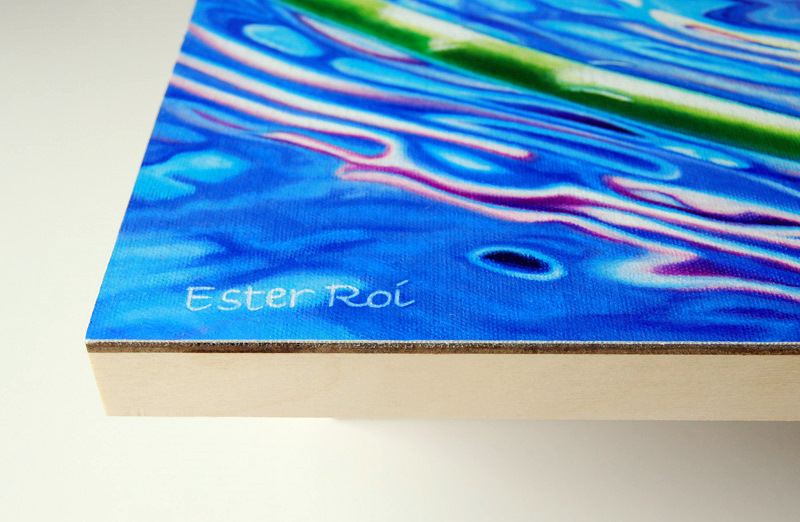
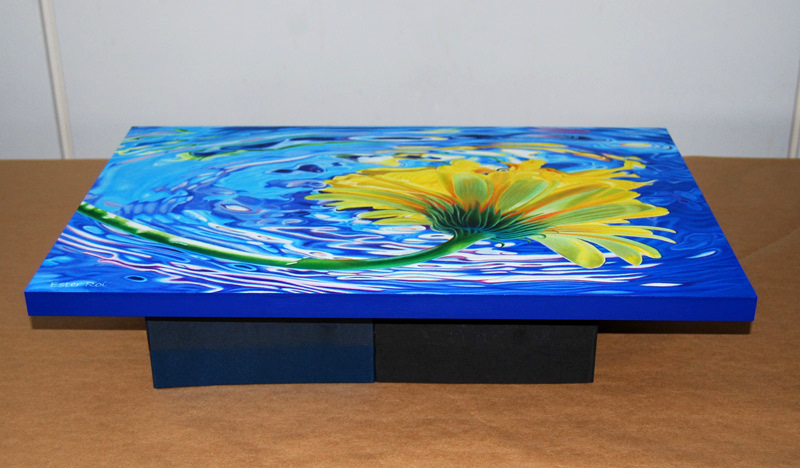
Left - I finally began to paint the sides of the cradled board with acrylic. I applied three coats.
Right - the sides are all painted.

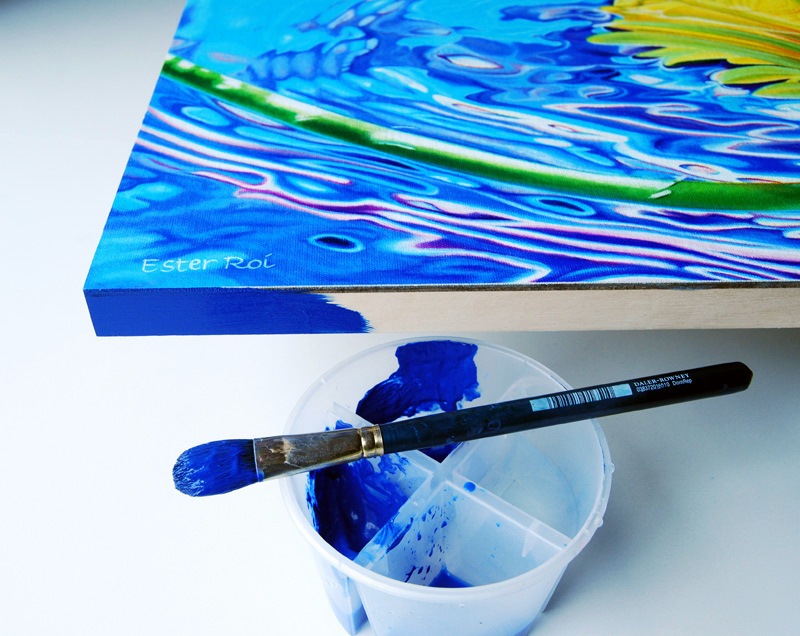
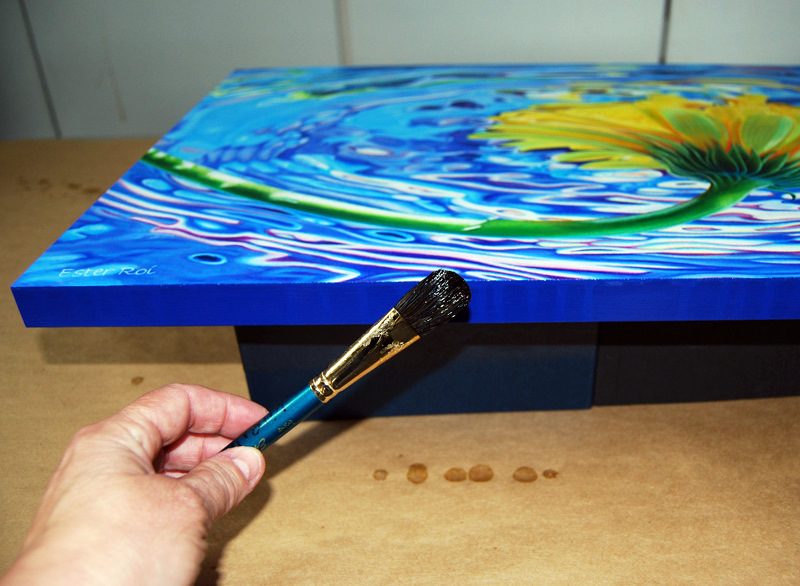
Left - here's everything I used for varnishing: Golden Polymer Varnish with UVLS Gloss, a container for mixing the varnish, a small measuring cup, a wide brush for the top surface, and a smaller brush for the sides. I mixed one part water to two parts varnish.
Right - after elevating the board from the table I began varnishing the top.
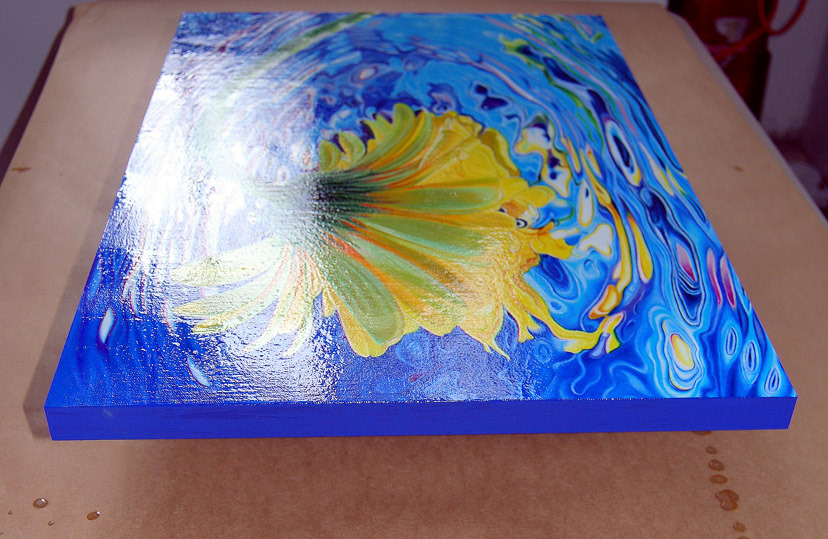
Left - notice how the first coat of varnish looks while still wet. I painted four coats, waiting three hours in between.
Right - I used the small brush to spread the varnish drips all over the sides. I like the sides to be as glossy as the top surface.
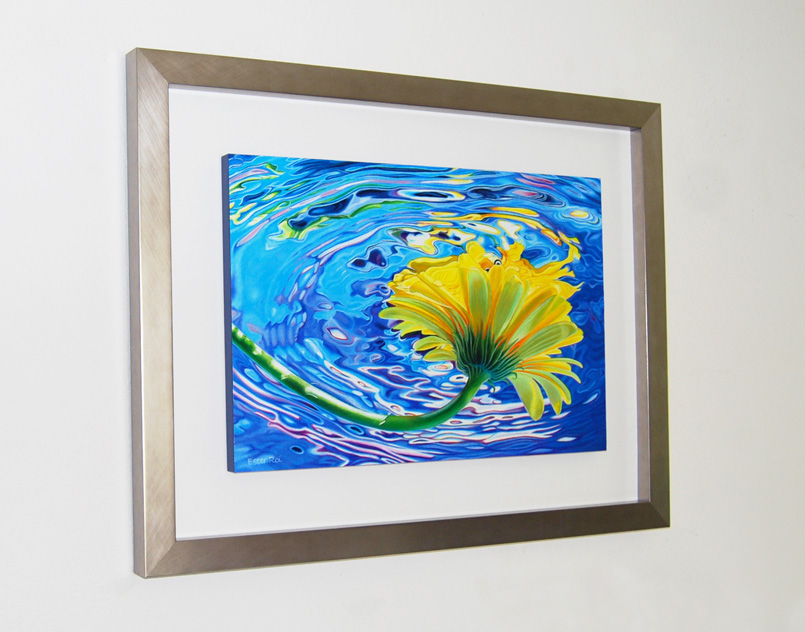
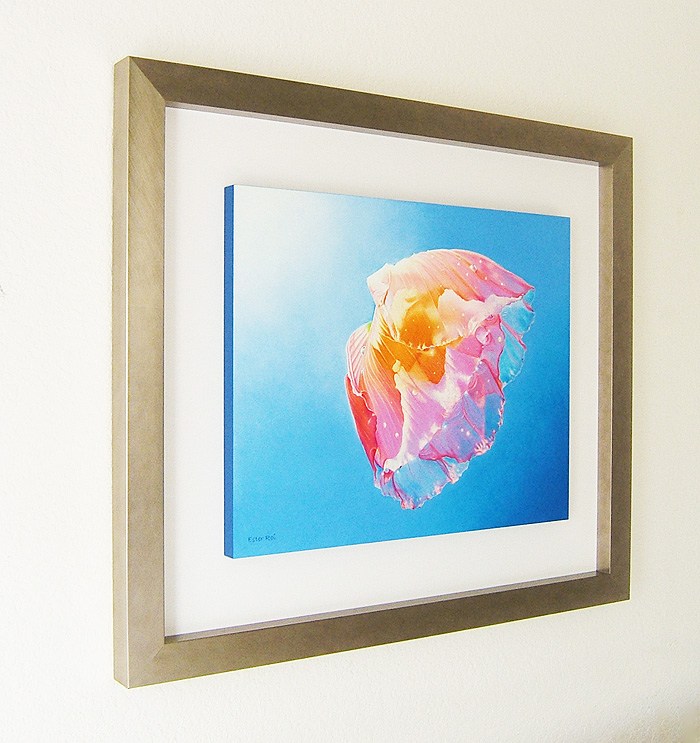
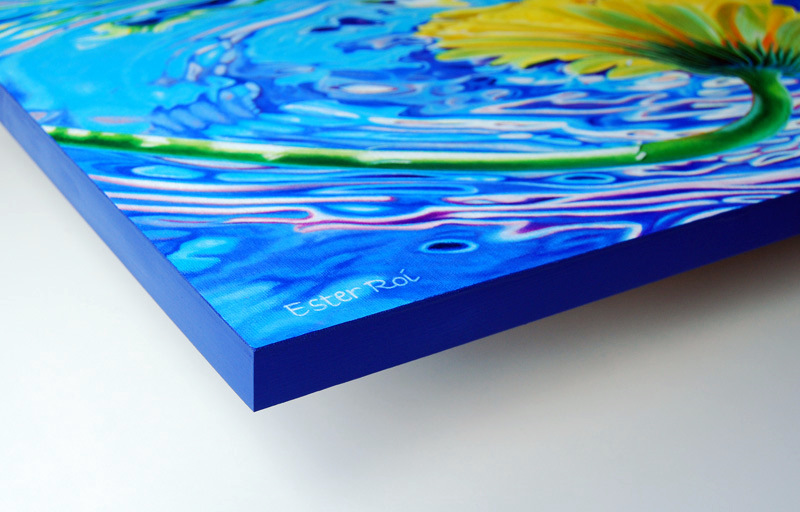
Left - after curing for a week, the panel was finally framed without glass.
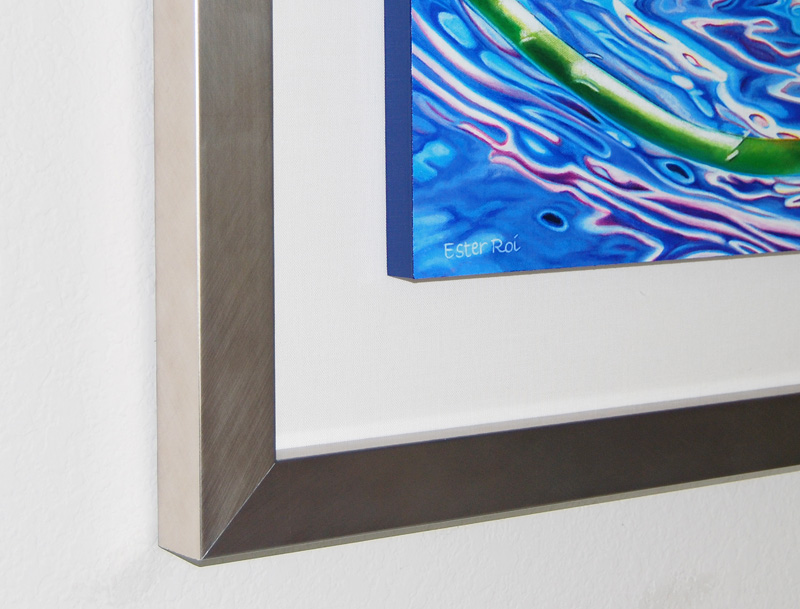
Right - Here you can see a close-up of the frame and panel.
CONCLUSIONS:
Why did I do all this? Well, I wanted to experiment with canvas and the Icarus board. I clearly could not have used stretched canvas and did not want to use 1/8" canvas panels. These panels are a good option for artists who work with the Icarus board. However I like my art to be mounted on panels with at least 3/4" cradle so I needed to use canvas by the yard.
The best discovery I made during this experiment is to apply one coat of Art Spectrum Colourfix Clear Primer on the acrylic painted canvas. This establishes an amazing ground for any type of drawing medium so that it can strongly adhere to the canvas. Colourfix primer can be applied directly to the canvas without an acrylic underpainting, if one chooses to do so. (edited 10/9/11)
Perhaps in the future I will experiment with artist crayons and oil pastels on canvas and the Icarus board. These mediums lend themselves to larger and looser applications.
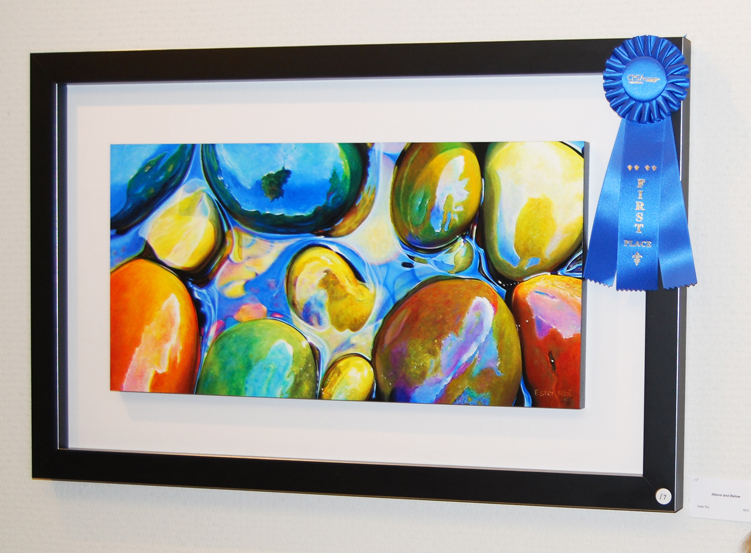
I'm very happy with my finished artwork. Coming from an oil paint background I can tell you that it looks better than any of my old oil paintings. These were never varnished (who wants to wait six months?) and appear blotchy and uneven.
To read the two previous posts on "Canvas and the Icarus Board", please click on the following links:
Canvas and the Icarus Board
Canvas and the Icarus Board: Part 2
If you are interested in how I mount and frame my artwork on paper without glass, please click on this link:
Thank you for reading my blog! Feel free to comment or ask questions.