Holiday 2021 Promo15% off all artwork, limited time offer!

Newsletter Subscription

Subscribe to my newsletter to receive 4 to 5 emails per year where I highlight important news, available originals, and seasonal specials.

Blog archives: 2013

Arlene Steinberg and the Icarus Board

Amazing colored pencil artist and friend, Arlene Steinberg, is featured in the May 2013 issue of The Artist's Magazine along with other talented artists in the article "Colored Pencil Comes of Age" by Maureen Bloomfield.

Bloomfield says: "One reason Steinberg's color is so intense and saturated is that she works on an Icarus Art drawing board, a portable board that has warm and cool areas; the board is placed under the paper, and the wax reacts to the heated part of the surface" (54).

For a preview of this article visit the Artist's Magazine's blog post "Some Like it Hot/Colored Pencil Art Sizzles".

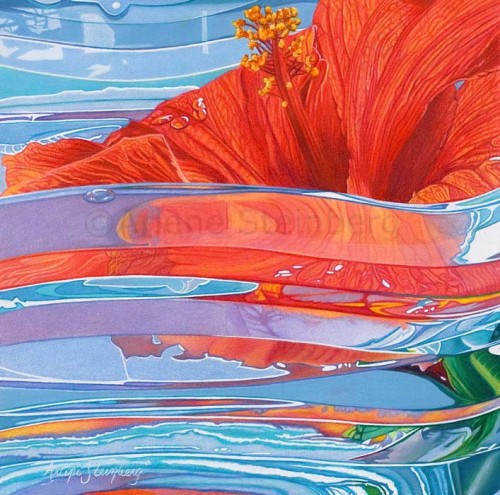
Below is one example of Arlene's brilliant artwork titled "Hibiscus Under Glass".

"Hibiscus Under Glass

Arlene was also featured on the Icarus Art September 2012 Newsletter.

To view more of her art please visit her website: www.arlenesteinberg.com.

Arlene will be one of the workshop instructors at the 2013 Colored Pencil Society Convention, in Brea, California.


How to Mount Paper on Board

Mounting paper on board using Grafix Double Tack Mounting Film can be challenging at first. This mounting film is permanent and accidents can happen, especially if one doesn't practice ahead.

I've being using this method for years and I'm quite comfortable with it. It takes me about 10 or 15 minutes to mount a piece, depending on the size.
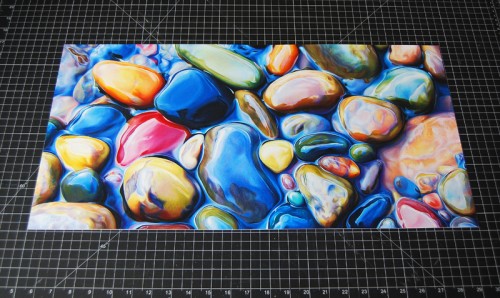
Above is my finished artwork "In Between" which I will mount on a 12" x 24" x 3/4" thick Ampersand Claybord. At this point my piece measures 12.5" x 24.5", half an inch larger than the board, to account for possible misalignment during mounting. I've already trimmed the white paper edge that I normally leave around the drawing.
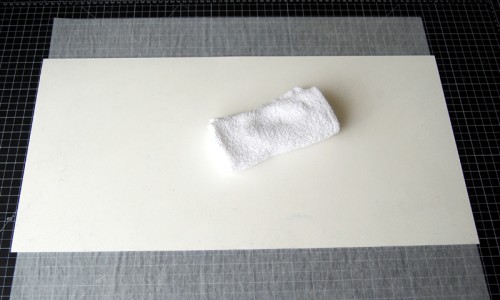
This is the back of my artwork which I wiped with a clean cotton rag to make sure there are no pencil debris left on the paper. I always use tracing paper to protect my piece from the cutting board.
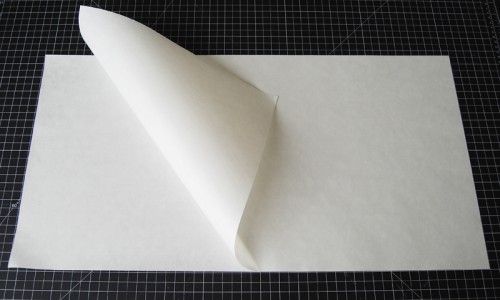
Grafix Double Tack Mounting Film is acid free and archival. It has a coat of permanent adhesive on both sides of a thin film, sandwiched between two heavy release papers.

The image above shows the double tack mounting film which is cut a bit larger than the original artwork. I'm lifting the top release paper to expose part of the tacky area; this will be a section about an inch wide. It's always better to release more paper than necessary and then let it fall back into place up to the area that will need to be exposed.
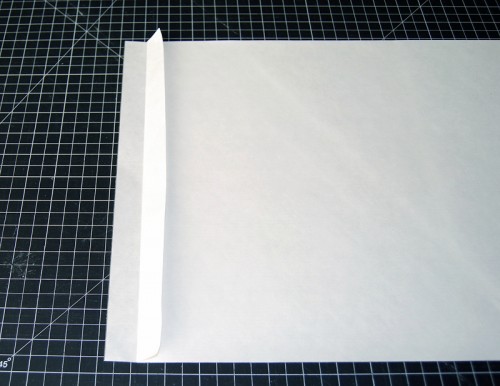
Here I folded the top release paper back, exposing only an inch of the tacky film.
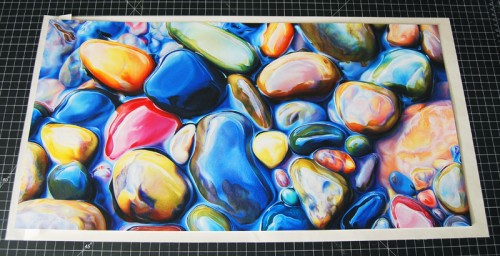
After placing my artwork over the double tack mounting sheet, I made sure it was centered inside the perimeter. At this point the artwork can still be moved because it's not making contact with the tacky film.
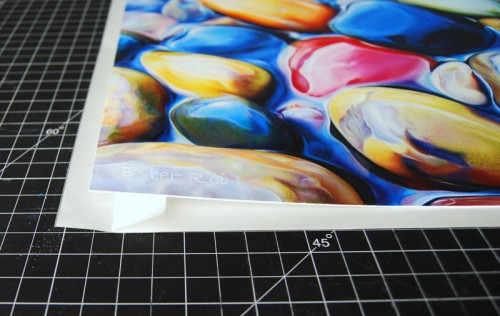
A close-up of the artwork positioned over the fold.
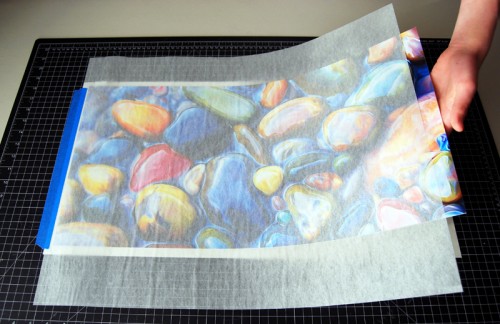
With a protective sheet of tracing paper over the artwork, I pressed down on the left side to make contact with the exposed tacky sheet. I then secured it onto the cutting board with tape.

Afterwards I lifted the right side of the artwork and slowly began pulling the release paper from underneath. At the same time, with my other hand, I rubbed the surface with a rag, moving back and forth from one side to the other, until all the release paper is out.
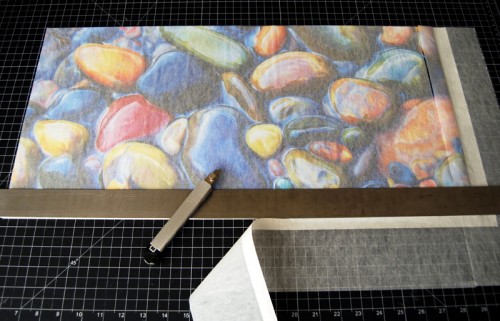
At this point I trimmed the edges of the double tack sheet (and tracing paper) with a sharp X-Acto knife.
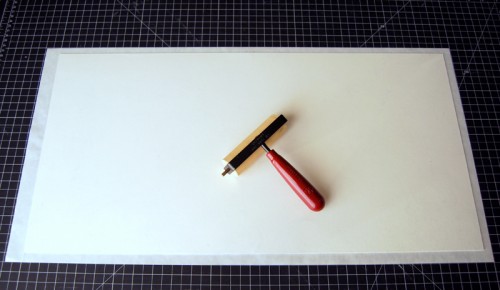
I turned over the artwork and placed it face down on the cutting board, using the waxy release paper I just pulled from the tacky sheet as a protection layer. Then I rolled a rubber brayer all over the surface to reinforce the adhesion.
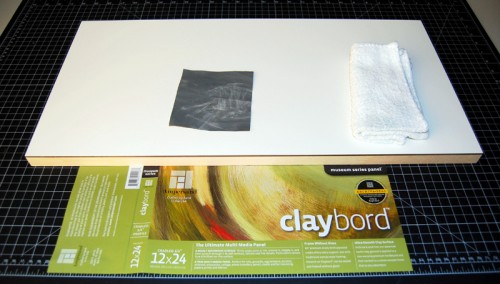
Here's my 12" x 24" Ampersand Claybord. I cleaned the surface with a rag and lightly sanded the sides with extra-fine sandpaper.
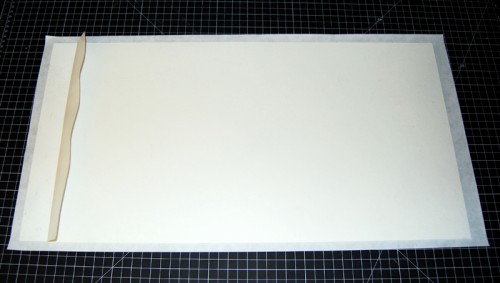
To pull out the other release paper from the back of the artwork I used the same method as before, exposing a 1.5" area of the tacky sheet.
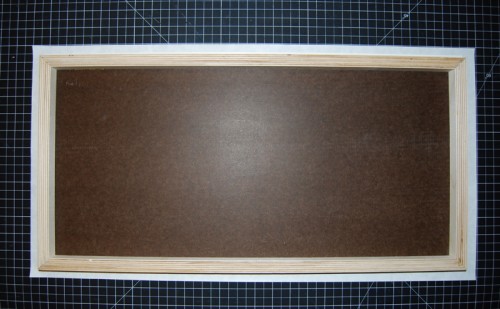
Then I placed the Claybord over the mounting sheet and centered it. Again, I can still re-position it at this point because the board is not making contact with the tacky film.
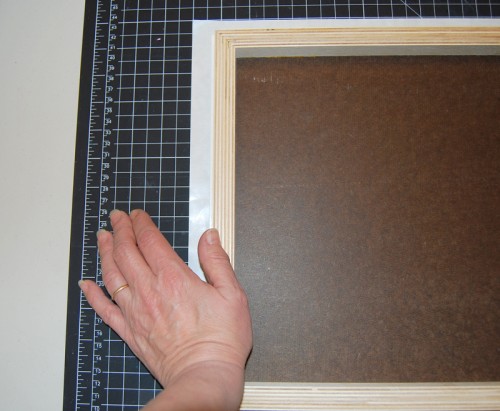
Once the board is perfectly centered over my artwork, I pressed down on the left side to make contact with the exposed tacking sheet.
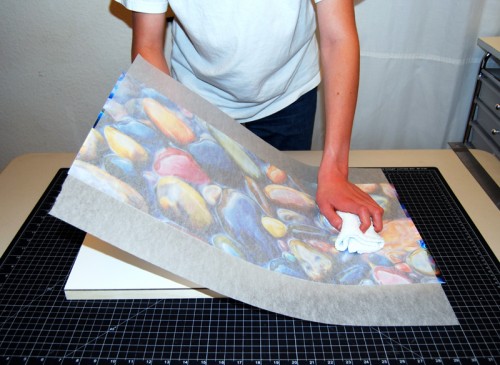
After placing a sheet of tracing paper over the artwork,  I lifted the right side and slowly began pulling the release paper from underneath. At the same time, with my other hand, I rubbed the surface with a rag, moving back and forth from one side to the other, until all the release paper is out.
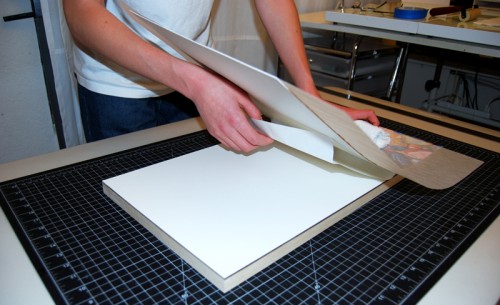
Here you can see it from the opposite side.
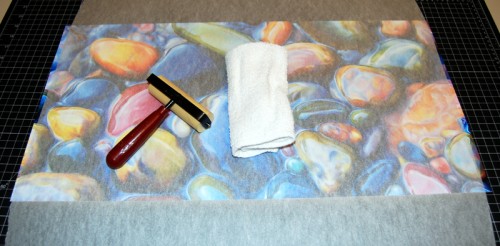
Once the artwork is mounted onto the board, I pressed down first with a rag and then with a rubber brayer.
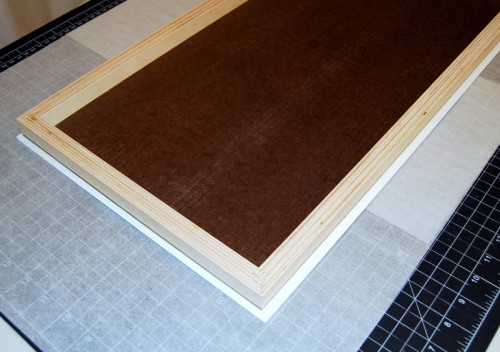
I turned the Claybord over.
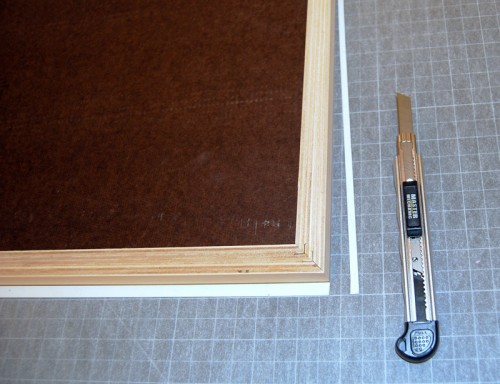
I trimmed the extra with an X-Acto knife.
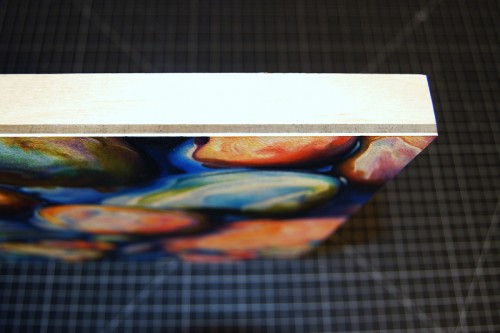
To achieve perfect cuts I used a fresh blade for each side of the artwork.
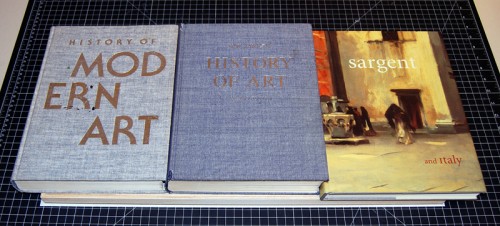
Finally I placed the board under heavy books overnight.
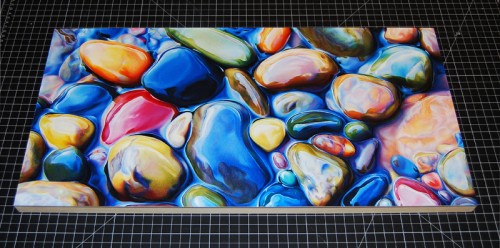
My artwork is now ready for varnishing and framing.

Thank you for visiting!


Another Busy Summer Ahead

OC Register

Last Sunday I received great news; I was accepted as an exhibitor at the Art-A-Fair, a Laguna Beach summer festival that will run from June 28 to September 1. In its 47th year, Art-A-Fair welcomes artists from around the world to represent a variety of mediums and techniques in two and three dimensional forms. I'm thrilled to have been invited and look forward to see my collectors, friends and supporters and, of course, to establish many new connections.

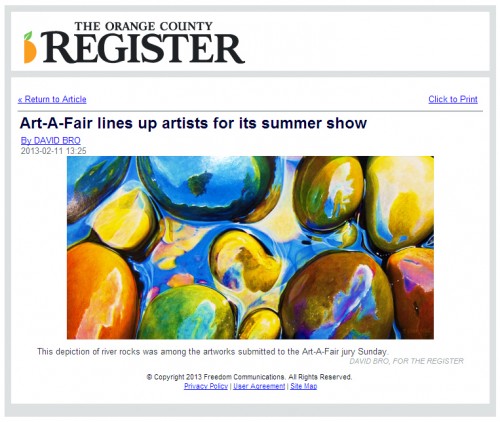
Yesterday I was also pleasantly surprised to find out that "Above and Below" is displayed in an online gallery of THE ORANGE COUNTY REGISTER along with 15 other artworks, in an article on the Art-A-Fair jurying process.

Art-A-Fair
June 28 to September 1
777 Laguna Canyon Road, Laguna Beach, CA
949-494-4514

Another important event that will take place this coming summer is the Colored Pencil Society of America 21st Annual Convention in Brea, California. I'm so excited that this year the CPSA convention will take place practically in my own backyard! Their exhibition, a collection of the best colored pencil artwork in the world, is not to be missed.

2013 CPSA International Exhibition
July 31 to September 13
City of Brea Art Gallery
1 Civic Center Circle, Brea, CA


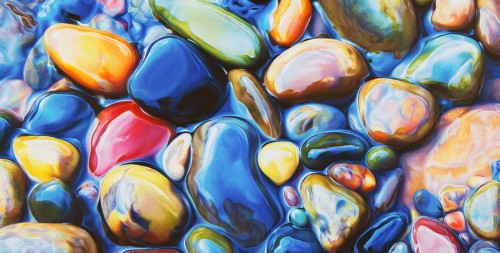
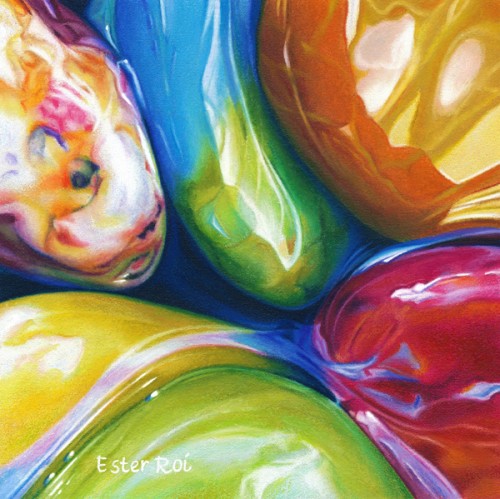
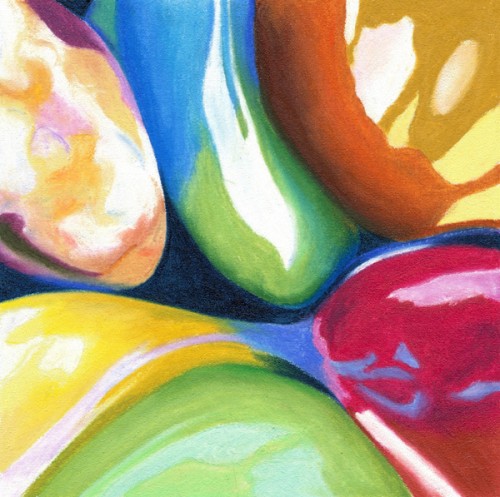
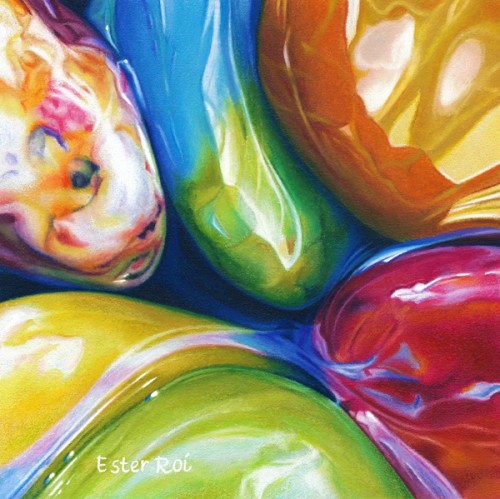
“River Pebbles, No. 11”

River Pebbles, No 11

Title: River Pebbles, No. 11

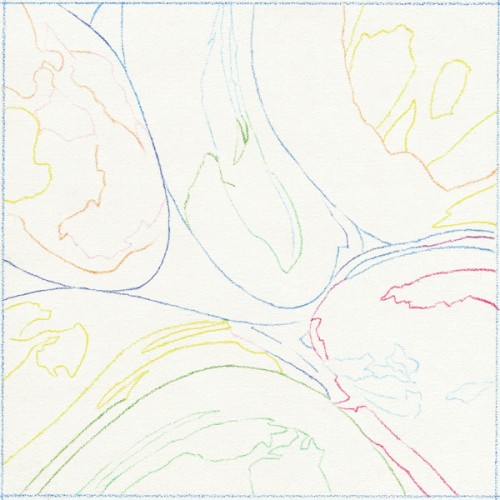
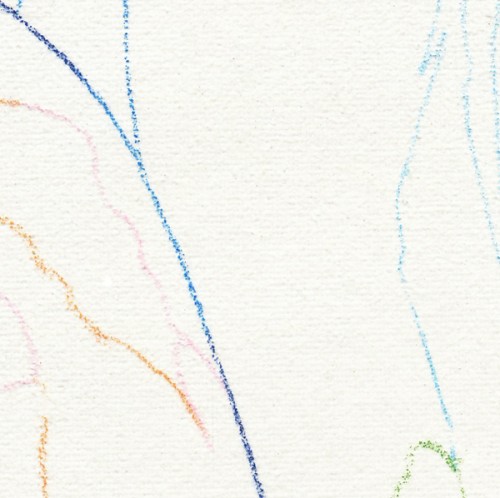
Outline - Cool Zone

The outline was accomplished with Prismacolor Verithin on the cool zone of the Icarus board.

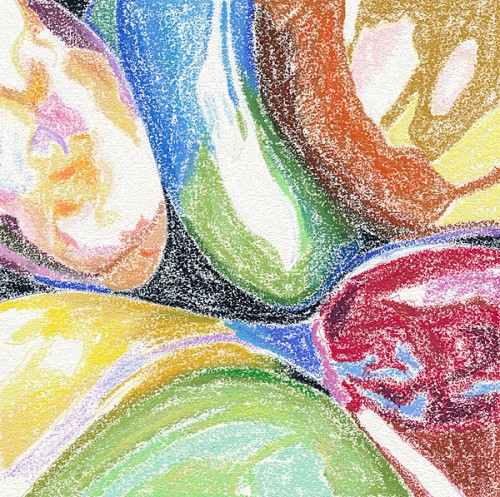
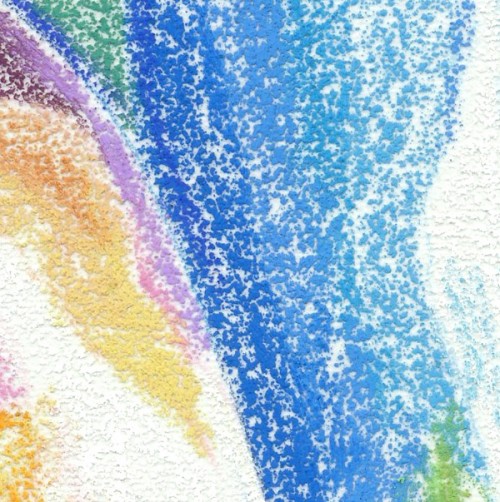
Color Mapping - Warm Zone - Low Temperature

After drawing the outline I proceeded to map the main colors with Neocolor artist crayons on the warm zone of the Icarus board using a low temperature.

For more on color mapping with artist crayons you can view the following videos:

Melting - Warm Zone - High Temperature

With temperature setting at maximum, I melted the artist crayons using clay shapers (also known as color shapers).

For more on melting artist crayons you can view the following videos:

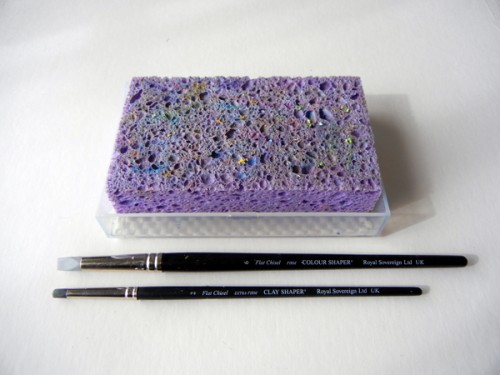
Tools for Melting Artist Crayons

In the picture above you can see the two color shapers I used for melting and the wet sponge for cleaning. For easier cleaning I spray the surface of the wet sponge with a little Simple Green.

Outline - Detail

Color Mapping - Detail

Melting - Detail

Refining - Detail

Refining with Colored Pencil - Medium Temperature

With the temperature set at medium I developed the colors, values and details of the pebbles by layering and blending colored pencils with a variety of tools like tortillions, paper stumps and a Caran d'Ache blender.

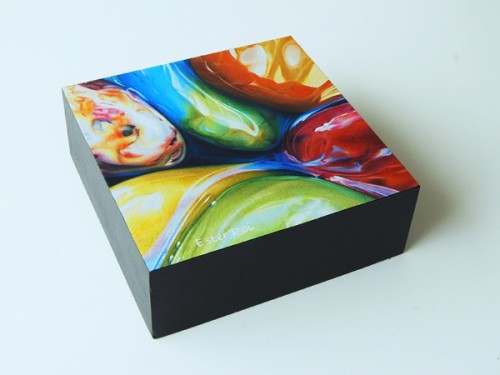
Mounted on 2" Thick Clayboard

I finally mounted the canvas on a 2" thick Claybord and painted the sides with acrylic. The artwork is now ready for varnishing.