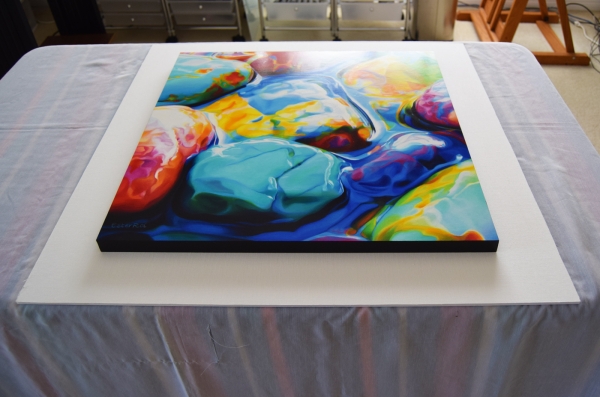
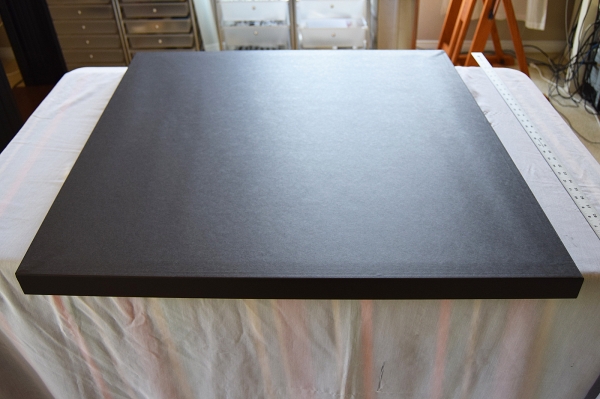
After mounting my artwork on 3/4" Ampersand Claybord, painting the sides in acrylic, and varnishing it, I place it in the exact middle of a fabric covered, 3/16" thick Gatorboard which functions as a mat. I insert four very thin sewing pins at the corners of the artwork and make sure they come out on the other side of the Gatorboard to mark the position of the four corners on the back.
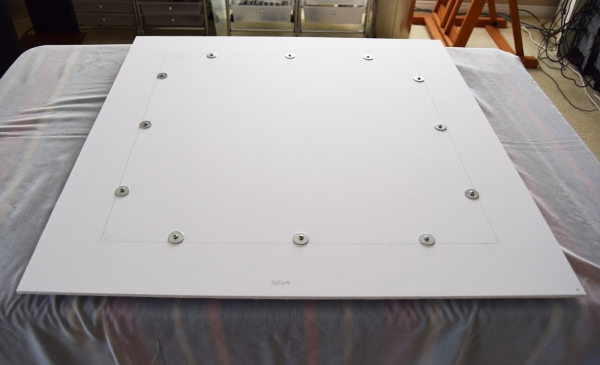
I use screws with large washers to mount the Claybord onto the Gatorboard. The screws need to be inserted in the exact middle of the Claybord's stretch bars.
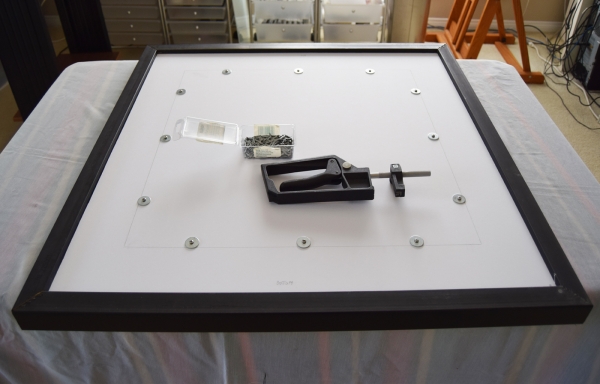
After inserting the artwork mounted on the Gatorboard mat into the frame, I secure it with framers points.
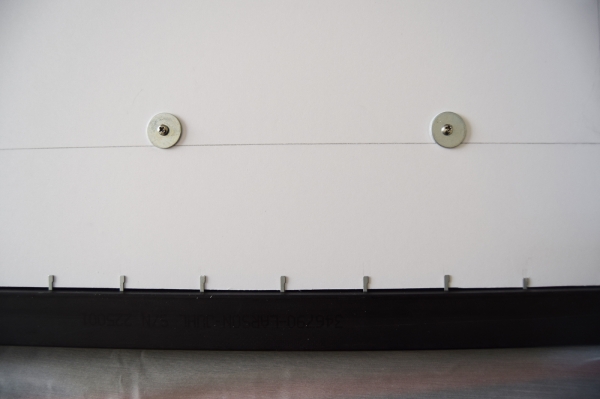
Details of framers points, screws and washers.
I mount the backing paper with double stick adhesive and trim the edges.
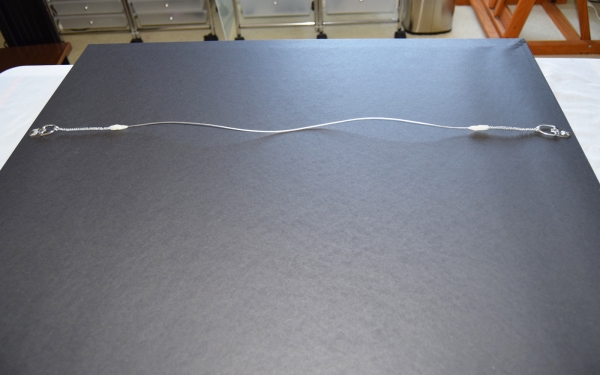
I screw in the D-rings, insert the plastic coated stainless wire, and twist it at both ends.
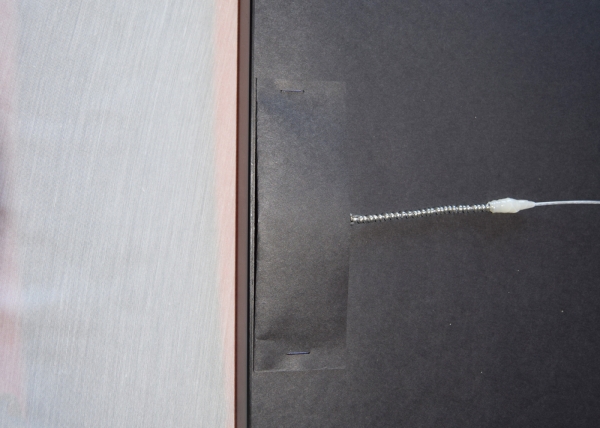
I wrap self-fusing silicone tape around the ends of the wire to prevent it from scratching the wall. For the same reason I staple some paper, folded four times, over the d-rings and screws.
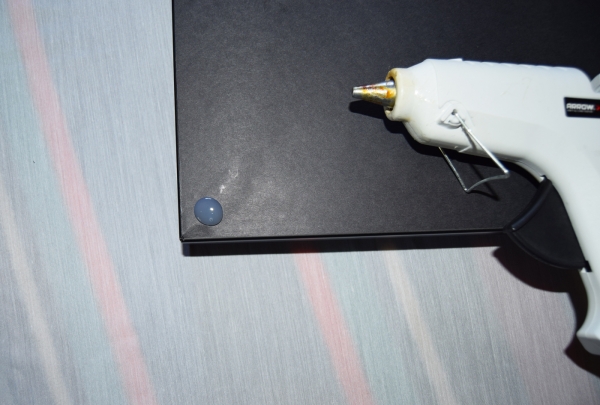
Rubber bumper pads always come off so I make my own with a hot glue gun; these never come off.
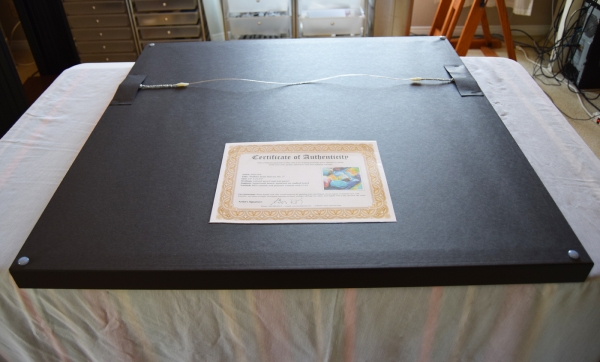
Last step is to secure my signed certificate of authenticity with double stick adhesive on the lower center of the back.
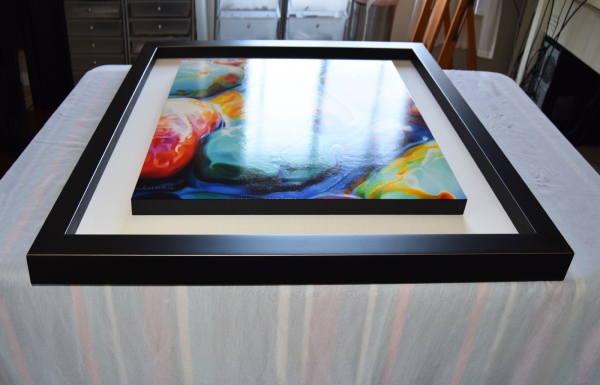
This is how my artwork looks in the frame. I developed this concept myself and I've been framing all my artwork in this manner for years.
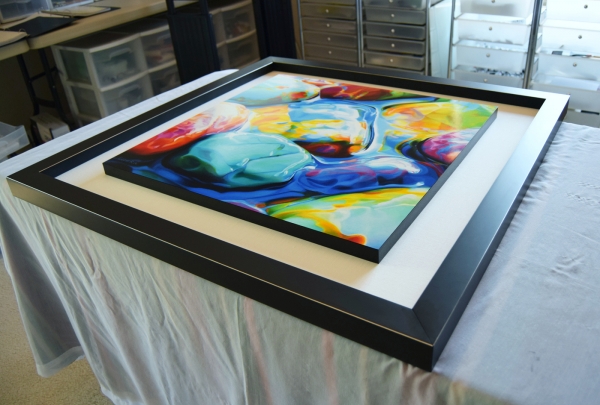
A different angle that better shows the 3D effect of my presentation.
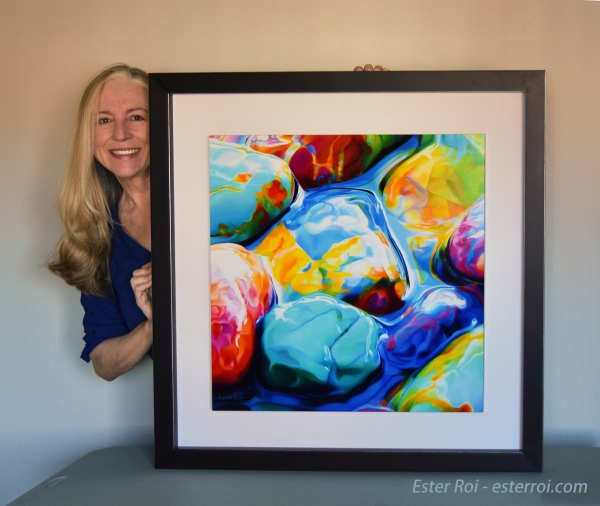
I always try to take a good photo for social media with me by my work. This personalizes the art while giving a better view of its actual size.
Other blog posts on framing:
http://www.esterroi.com/blog/post/2013/02/how-to-mount-paper-on-board
http://www.esterroi.com/blog/post/2014/09/how-to-mount-canvas-on-board
http://www.esterroi.com/blog/post/2010/04/glassless-framing
6 comments
lois adler roussel
April 24, 2017
I found this very helpful. I do all of my own framing
but, as always you can learn from someone else.
Lois
Ester Roi
April 24, 2017
Thank you, Lois! I’m glad you found it helpful.
Diana
April 24, 2017
Thanks Ester! You are always such an inspiration to me!
Ester Roi
April 25, 2017
So kind of you, Diana, thank you!
Marie
April 25, 2017
Hi Ester, thanks for explaining how you frame your work. I have a little question,why do you use fabric covered board, would it not get dirty from pollution, ( but hopefully not tobacco smoke ! ), with no way to clean it, just curious, as your Art could be cleaned in event of mishap ?
Ester Roi
April 25, 2017
Hi Marie, it’s a personal choice. I mount the fabric onto the gatorboard to function like a linen liner which creates breathing room between a painting and its frame. Linen liners are used all the time around paintings that are framed without glass. Of course everything can eventually get dirty but I only worry about the art (which is varnished) not so much the framing components that can always be replaced.