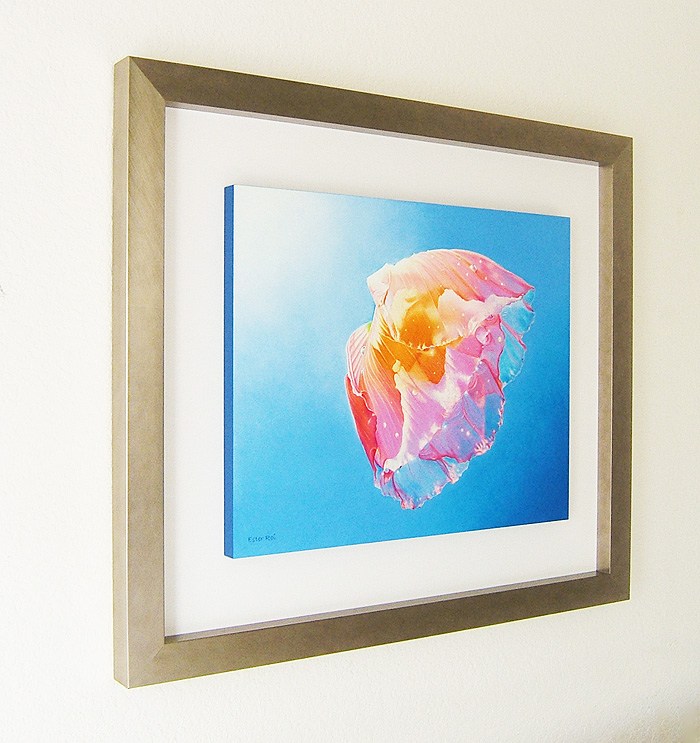
Many artists have asked me how I frame my artwork on paper without glass so I decided to write a post about the process I follow.
1. FIXATIVE
I gently remove any wax bloom with a soft cloth. Edit (3/31/11): if I'm dealing with a lot of wax bloom, I blow some warm air over the affected area with a hair dryer or heat gun. The wax bloom disappears right before my eyes.
Then I take my piece outside and spray it with 5 coats of Prismacolor Final Fixative - Gloss, waiting 15 minutes between coats. Edit (11/29/12): In place of fixative I now use Golden Archival MSA Spray Varnish - Gloss. After it's dry I run a white cotton handkerchief over its surface. If there is no color residue left on the handkerchief my artwork is ready for varnish, otherwise I spray more fixative. It's important to create a solid barrier between the pigments and the varnish. I let the fixative dry overnight.
2. MOUNTING
I mount my large pieces on Ampersand Claybord with 3/4" cradle, the smaller ones on Claybord with 2" cradle. There are also 1/8" flat panels available. I like the Claybord panels because their surface is completely archival, lightfast and acid free. After dislodging any debris from the back of my artwork, I trim the extra white paper around it.
My artwork at this point should be a bit larger than the panel - to account for possible misalignment during mounting. I carefully mount it on a sheet of Grafix Double Tack Mounting Film which I then mount on the panel. After turning the panel upside down, I trim the edges and put it under heavy books overnight. Please practice mounting before you do it with a valuable piece of art.
More on this on the following post: How to Mount Paper on Board. Update (2/26/2013)
3. VARNISHING
I usually paint the edges of the cradled panel in acrylic and then begin varnishing with Golden Polymer Varnish with UVLS (Ultra Violet Light Stabilizers) - Gloss. This is a waterborne acrylic polymer varnish that dries to a protective, flexible, dust-resistant surface. It needs to be thinned with water, 2-3 part varnish to 1 part water. I apply at least 3 coats with a soft, wide brush and wait 3 hours between coats. The varnish cures completely in one week. You can then frame your panel or hang it without a frame.
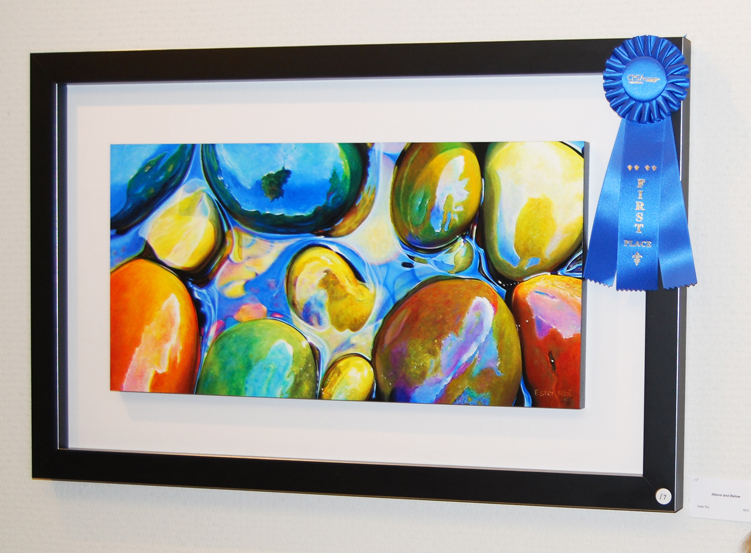
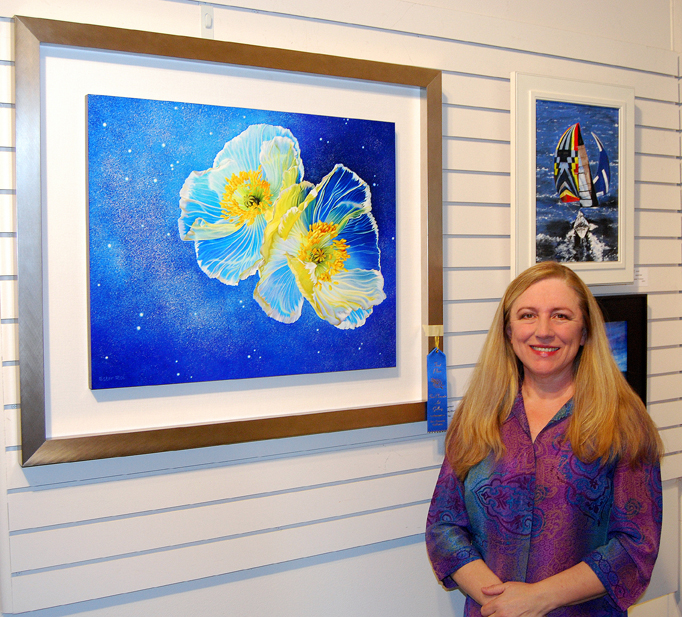
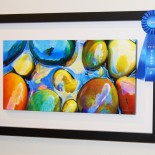
This process, especially at the beginning, is a little time consuming but certainly worth the effort. I just love that my art can be exhibited along with the best oil and acrylic paintings and still generates the most curiosity. "I can't believe it's colored pencil" has become the standard reaction followed by numerous questions on my technique and presentation.
If you you are interested in how I mount and frame my artwork on canvas without glass, please visit the following posts:
Canvas and the Icarus Board
Canvas and the Icarus Board: Part 2
Canvas and the Icarus Board: Final Post