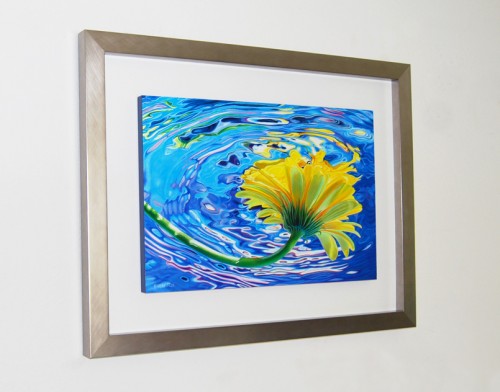
Holiday 2021 Promo15% off all artwork, limited time offer!

Newsletter Subscription

Subscribe to my newsletter to receive 4 to 5 emails per year where I highlight important news, available originals, and seasonal specials.

Blog archives: 2011

“Icarus Drawing Board” Receives Award

I'm thrilled and honored that my Icarus Drawing Board is the recipient of The MAKING A MARK Art Innovation of the Year Award!

"MAKING A MARK" is artist Katherine Tyrrell's world renown blog where she "... writes about art for artists and art lovers". The Art Innovation of the Year Award was established by Katherine to "highlight those artist bloggers who experiment and/or create and/or share innovations which help the practice of other artists". This is an amazing and unexpected recognition that I proudly share with joint winner artist Karin Jurick for her Paint On Tabletop Easel.

I'm sincerely grateful to the individuals who have taken the time to nominate me and to all my other supporters and goodwill wishers. This award has strengthened my commitment to experiment even further with the Icarus technique and share my discoveries with other fellow artists.

Please visit MAKING A MARK to read about all the other 2011 awards and winners.

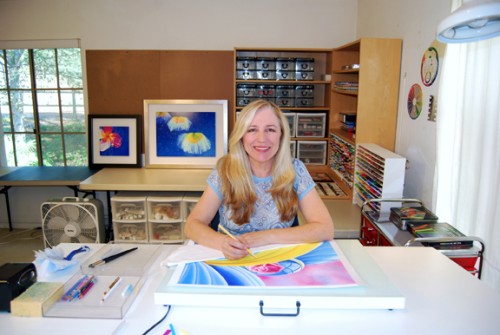
At my desk


“Art Innovation of the Year Award” Nomination

I'm very honored to be mentioned as an example of artist bloggers who, as Katherine Tyrrell says, "experiment and/or create and/or share innovations which help the practice of other artists". I'd love it if you would nominate me for the MAKING A MARK "Art Innovation of the Year Award".

Read what else Katherine Tyrrell wrote:

"...I've been very struck in recent years by artists who are art bloggers who have gone that extra mile and addressed their practical needs by creating a new tool or experimenting with new media - which they then share with other artists.

Ester Roi is a good example of the sort of person I mean. Some have shared within a commercial context - especially when, like Ester, they have invented, commissioned and manufactured a new material or tool which is not cheap to produce. Others focus on sharing new ways of working with media, materials or equipment produced by others.

The net result of all their experimentation and sharing is that for many of us our kit and materials now look very different as a direct result of their efforts. We've all benefited and this award is one way we can share our appreciation!"

To nominate me (you need an art blog to do it), go to Katherine Tyrrell's MAKING A MARK.

Once there, scroll down to the bottom of the page and click "Post a Comment".

Your comment should include:

Award: 2011 "The Art Innovation of the Year Award"
Name of the blog with URL: "Ester Roi's Blog" http://esterroi.com/blog/
Name of the blogger: Ester Roi
Why
: (please write a reason why you are nominating me/my blog for the "Art Innovation of the Year Award" hint, hint... Icarus Drawing Board)


“Four River Pebbles” Project on YouTube

Four River Pebbles

I've just posted the five part video series "Four River Pebbles" to our Icarus Art YouTube Channel. It's a collection of 57 video clips from my 2010 CPSA workshop "Wax and Heat, a Match Made in Heaven".

This project, which was accomplished on white Stonehenge paper with Prismacolor Colored Pencils and Caran d'Ache Neocolor II Artist Crayons, is divided into the following five sequential playlists:

1. Beige Pebble
2. Green Pebble
3. Yellow Pebble
4. Red Pebble
5. Shadows and Water

For my workshop attendees this is a great opportunity to review the techniques learned in Santa Clara, California. For everybody else it's like taking a workshop for free. All voiced-over video clips are available in high definition and come with a downloadable supply list, an outline of the project, and an image of the finished project.

I hope you will enjoy practicing and/or learning the Icarus technique. You are always welcomed to post comments and ask questions either on this blog or on our YouTube Channel.


My Artwork on the New Prismacolor Set

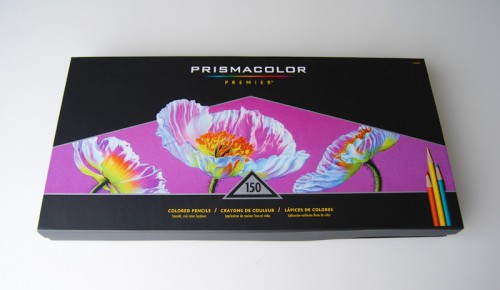
The new set of 150 Prismacolor Premier Colored Pencils has finally been released today! What's exciting about this is not only that 18 NEW colors are included in the set, but that MY ARTWORK is featured on the beautiful black box. I'm so glad I don't have to keep it a secret anymore!

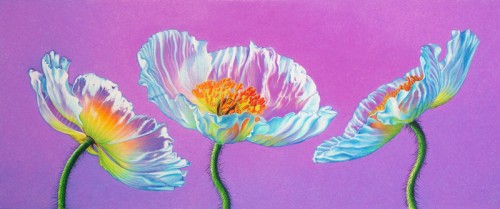
Below are the images of the Prismacolor box and of my artwork "The Three Graces", known in Greek mythology as Charm, Beauty, and Creativity. The original was done on Stonehenge Paper using - what else? - Prismacolor Colored Pencils and the Icarus Drawing Board.

New Prismacolor Set

"The Three Graces"

For more information on the new set, please visit the Prismacolor Blog.


SDAI Museum of the Living Artist Exhibition

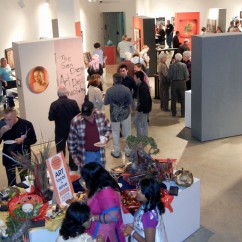
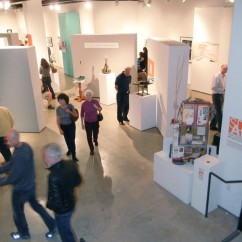
Last night I had the pleasure to attend the artist reception at the San Diego Art Institute, Museum of the Living Artist in Balboa Park. The San Diego Chapter of the Colored Pencil Society, along with other local artist groups and associations, was invited to take part in the exhibit.

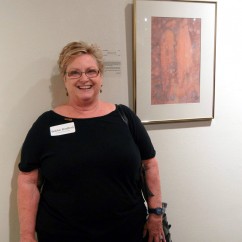
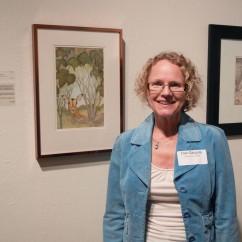
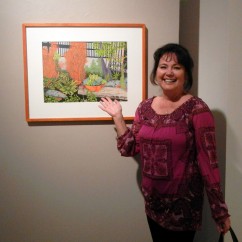
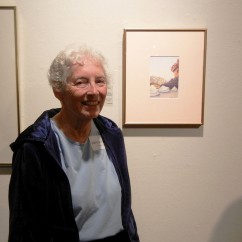
Following is the list of the CPSA artists who's work is on display: John Waldrop, Deb Gargula, Katherine Miller, Kathy Lally, Bobbie Bradford, Rhonda Anderson, Carolyn Kenny, Blade Villegas, and myself.

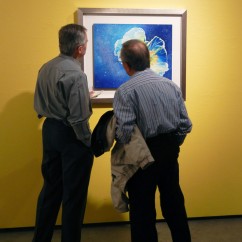
SDAI Reception Another View of the Artist Reception


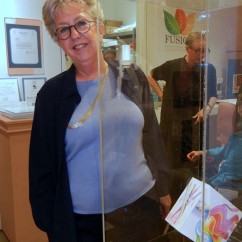
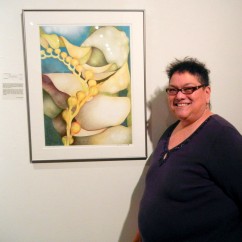
Karen Rhiner Karen's Artwork, SDAI Permanent Collection


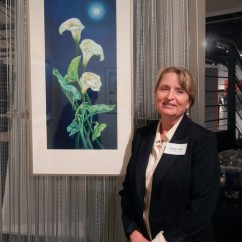
Bobbie Bradford Deb Gargula


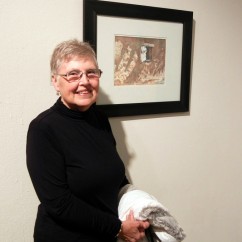
Rhonda Anderson Katherine Miller


Blade Villegas Kathy Lally


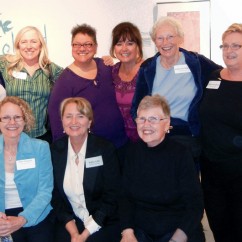
Carolyn Kenny Group Picture


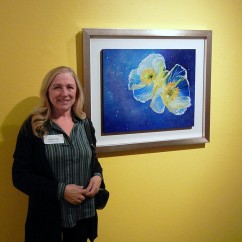
Myself Viewing my Artwork


The SDAI-Museum of the Living Artist is located at 1439 El Prado, San Diego, CA.

(619) 236-0011

Hours: Tues-Sat 10 a.m. to 4 p.m. and Sun 12 noon to 4 p.m.

The exhibit's last day is November 20, 2011.


Canvas and the Icarus Board: Final Post

"Symbiosis"

Below are the steps I followed to mount my artwork on canvas and varnish it.
Trimming the canvasTrimmed canvas


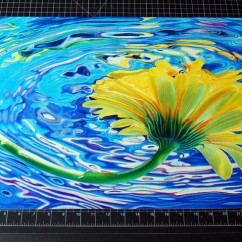
Left - after spraying the canvas with 5 coats of Prismacolor Final Fixative Gloss, and letting it cure overnight, I trimmed away the white boarder.

Right - the canvas is now trimmed and ready for mounting.
Mounting toolsPressing with a brayer


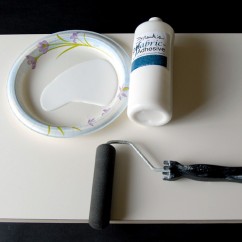
Left - for mounting I used Frank's PH Fabric Adhesive (purchased from my framer) and a foam roller. I apply this type of adhesive only to canvas or fabric in general. When mounting paper I prefer to use Grafix Double Tack Mounting Film (for more on this subject please visit my post on Glassless Framing).

Right - after mounting the canvas on my Ampersand Claybord with 3/4" cradle, I rolled a brayer all over the surface, paying particular attention to corners and edges.
Under books overnightTrimming the edges


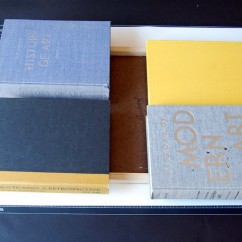
Left - I then placed the canvas-mounted board upside down under heavy books overnight.

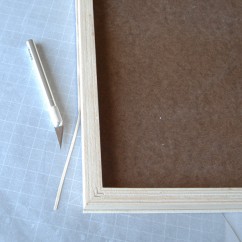
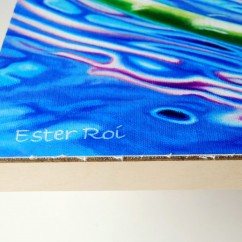
Right - in the morning I carefully trimmed the canvas around the edges of the board. I had originally extended the drawing a quarter inch all around to account for possible misalignment during mounting.
Left-over stubbleCleaned-up edges


Left - as you can see some stubble was left over after trimming.

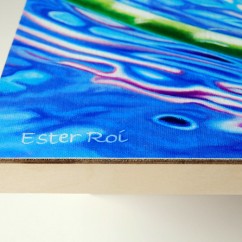
Right - I cleaned up the fuzz with a fine grade sandpaper.
Painting the sidesPainted sides


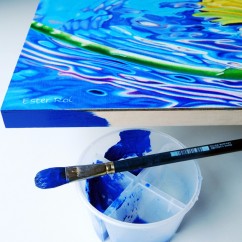
Left - I finally began to paint the sides of the cradled board with acrylic. I applied three coats.

Right - the sides are all painted.
Varnishing toolsRaised board


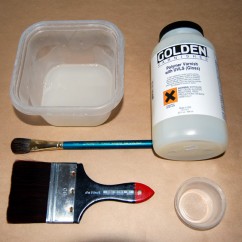
Left - here's everything I used for varnishing: Golden Polymer Varnish with UVLS Gloss, a container for mixing the varnish, a small measuring cup, a wide brush for the top surface, and a smaller brush for the sides. I mixed one part water to two parts varnish.

Right - after elevating the board from the table I began varnishing the top.
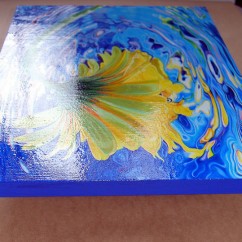
Wet varnishVarnishing the sides


Left - notice how the first coat of varnish looks while still wet. I painted four coats, waiting three hours in between.

Right - I used the small brush to spread the varnish drips all over the sides. I like the sides to be as glossy as the top surface.
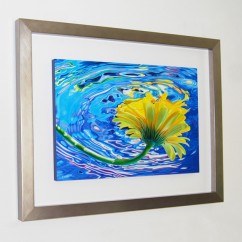
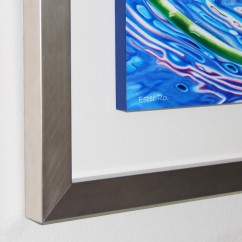
Varnished and framedClose-up


Left - after curing for a week, the panel was finally framed without glass.

Right - Here you can see a close-up of the frame and panel.

CONCLUSIONS:

Why did I do all this? Well, I wanted to experiment with canvas and the Icarus board. I clearly could not have used stretched canvas and did not want to use 1/8" canvas panels. These panels are a good option for artists who work with the Icarus board. However I like my art to be mounted on panels with at least 3/4" cradle so I needed to use canvas by the yard.

The best discovery I made during this experiment is to apply one coat of Art Spectrum Colourfix Clear Primer on the acrylic painted canvas. This establishes an amazing ground for any type of drawing medium so that it can strongly adhere to the canvas. Colourfix primer can be applied directly to the canvas without an acrylic underpainting, if one chooses to do so. (edited 10/9/11)

Perhaps in the future I will experiment with artist crayons and oil pastels on canvas and the Icarus board. These mediums lend themselves to larger and looser applications.

I'm very happy with my finished artwork. Coming from an oil paint background I can tell you that it looks better than any of my old oil paintings. These were never varnished (who wants to wait six months?) and appear blotchy and uneven.

To read the two previous posts on "Canvas and the Icarus Board", please click on the following links:

Canvas and the Icarus Board
Canvas and the Icarus Board: Part 2

If you are interested in how I mount and frame my artwork on paper without glass, please click on this link:

Glassless Framing

Thank you for reading my blog! Feel free to comment or ask questions.


Canvas and the Icarus Board: Part 2

Symbiosis

As you can see, I'm finally finished with my experiment on canvas (16'' x 24'').

It hasn't been an easy ride. While family and business obligations kept interrupting my creative process, the other reason it took me so long is that I chose a very complex subject in addition to a brand new technique.

If you need to refresh your memory, you can review the first blog post here: Canvas and the Icarus Board.

As I was layering the colored pencils on the acrylic-painted canvas, I became increasingly unsatisfied. The waxy pigment wasn't adhering nor covering as well as I had hoped. After many hours of trials and errors I finally came to an acceptable solution (see red type below).

Following are steps and suggestions:

  • Purchase acrylic gesso primed cotton canvas by the yard - tightly woven is best suited - do not use coarse textured canvas.
  • Cut a piece of canvas about an inch wider on each side than the final size.
  • Trace your drawing with colored pencils using a light box or a window.
  • Extend the drawing a quarter inch all around to account for possible misalignment during mounting.
  • Block-in the colors using acrylics - make sure to cover the whole canvas with paint.
  • With a sponge roller apply an even layer of Art Spectrum Colourfix Clear Primer. This simple step will help colored pencil adhere well to the acrylic painted canvas.
  • After the primer is completely dry (I waited 24 hours), you can begin layering your wax-based colored pencils on the Icarus Drawing Board at medium heat. High heat will help you blend large areas.
  • As a last step, clean up all your whites, edges, and details on the cool zone.

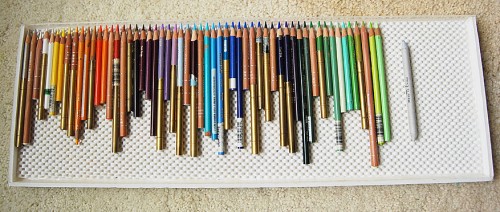
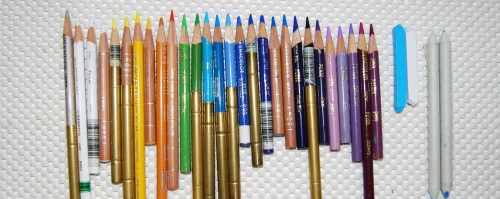
Below is a picture of all the colored pencils that I used in this project:

Colored Pencils Used

I'm planning to spray fixative, mount the canvas on a cradled board, varnish it, and frame it. I will have more images and give you my final thoughts on a third blog post.

For more on "Canvas and the Icarus Board" please click on the following links:

Canvas and the Icarus Board
Canvas and the Icarus Board: Final Post


Canvas and the Icarus Board

I'm experimenting with canvas and mixed media using the Icarus Drawing Board.

I purchased a few yards of primed cotton canvas (very inexpensive) from my local art supply store .

Then I cut a piece of canvas about an inch wider on each side than the final size (artwork will be 16" x 24", canvas is 18" x 26").

I enlarged my original graphite drawing with this free program: PosteRazor. I love this make-your-own-poster program!

After assembling the poster together, I taped it to the canvas. I then traced the drawing with colored pencils using a light box. I extended the drawing a quarter inch all around (16.5" x 24.5") to account for possible misalignment during mounting. Yes, I will eventually mount the canvas on a cradled board.

Finally I blocked-in the colors using acrylic paint. I wasn't very meticulous in this phase because I knew I would develop a second layer with colored pencils. However I made sure to cover the whole canvas with paint, even the white areas.

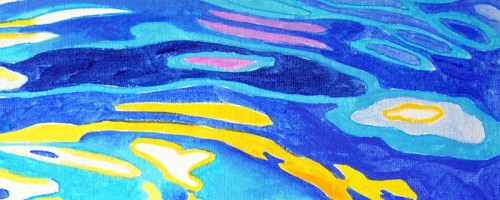
In the example below, you can see a close-up of the first layer (this section is about 3" x 9"). Of course there's no need for heat when painting in acrylic unless you want it to dry even quicker.

First Layer: Acrylic

The second and final layer was accomplished on the Icarus board with wax-based colored pencils using medium heat. See image below.

Second Layer: Colored Pencil

The colored pencils blended effortlessly on the warm canvas. I was also surprised that I was able to obtain pretty fine details in relation to the size of the artwork.

In the picture below you can see what colored pencils and tools I've been using so far.

Colored Pencils & Tools

I'm really having fun with this project but I don't know how it's going to turn out yet. I will post the finished artwork in about two weeks. I'm sure I'll be able to share a lot more about the experience of working with canvas on the Icarus board.

For more on "Canvas and the Icarus Board" please click on the following links:

Canvas and the Icarus Board: Part 2

Canvas and the Icarus Board: Final Post


CPSA Convention & Exhibition in Dallas, TX

The best way to describe my experience at the 19th Annual CPSA Convention and Exhibition in Dallas, Texas, is by sharing some of the special moments that I was able to capture with my camera. Enjoy!

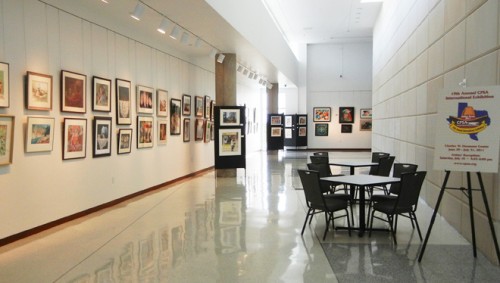
Exhibition View

This year the exhibition was held at the beautiful Charles W. Eisemann Center in Richardson, Texas. It will be showing until July 31st.

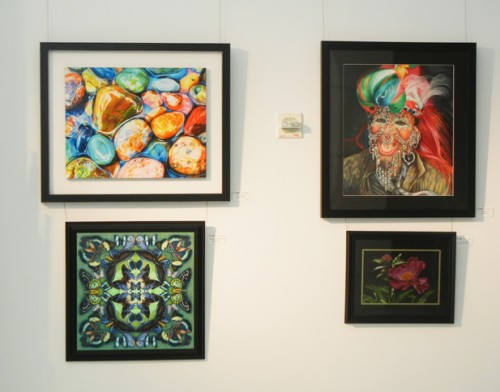
My Artwork

This is a close-up of the area where "Social Network" is displayed in the gallery. I'm thrilled to report that my artwork received "The Seattle Washington District Chapter Award for Exceptional Merit" from Juror Bob Malenfant, director of the South West Gallery in Dallas. For a list of all awards please visit the CPSA website at this link.

Debbi Friedman with herKendra Ferreira with her


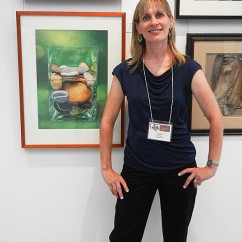
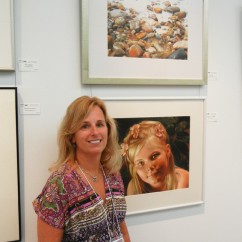
Debbi Friedman and Kendra Ferreira are two of my favorite artists who like to draw stones and rocks as I do. You can see how uniquely beautiful their interpretations of the same subject are.

CJ Worlein with her ArtworkBarbara Rogers with her


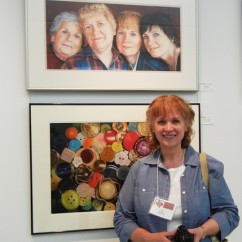
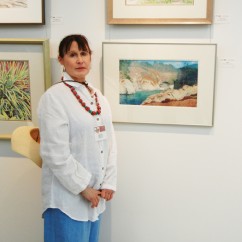
CJ Worlein's portrait "The Sisters" won the Cippy Best of Show Award. Barbara Rogers' beautiful "Misty" was one of my favorite landscapes in the show.

Christi Tompkins with her Son, Nathan

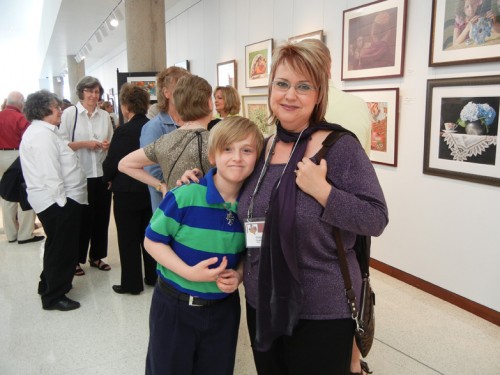
The most touching moment at the artist reception was when I was introduced to Nathan, a 10 year old boy who liked my artwork and wanted to meet me. He was there with his mom, artist Christi Tompkins.  There's nothing more rewarding as an artist than to be able to inspire somebody, especially a young person. It was great meeting you, Nathan!
Award Banquet

Here is a group of us, all dressed up at the Award Banquet. From left: Dianna Soisson, Debbi Friedman, Lynda Schumacher, Elizabeth Patterson, Kendra Ferreira and moi.

Trade Show

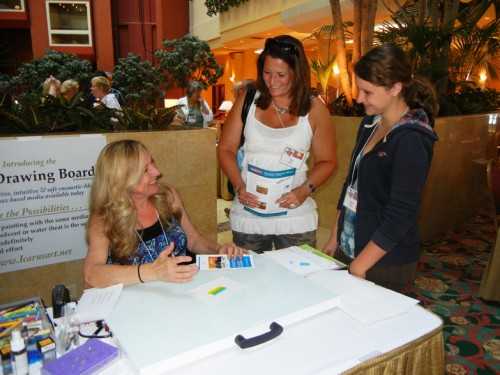
The Convention Trade Show was a great success. I enjoyed demonstrating the Icarus Drawing Board and chatting with many artists who were curious about it or wanted to try it.