Mounting paper on board using Grafix Double Tack Mounting Film can be challenging at first. This mounting film is permanent and accidents can happen, especially if one doesn't practice ahead.
I've being using this method for years and I'm quite comfortable with it. It takes me about 10 or 15 minutes to mount a piece, depending on the size.
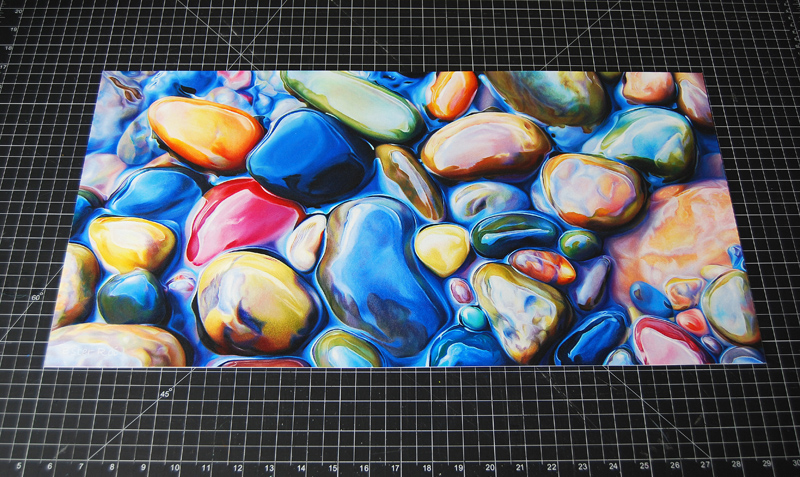
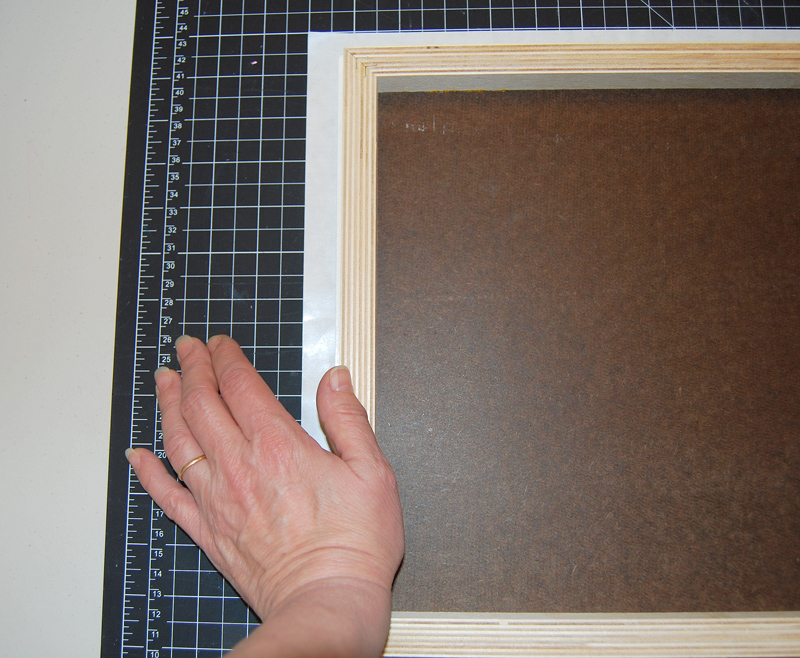
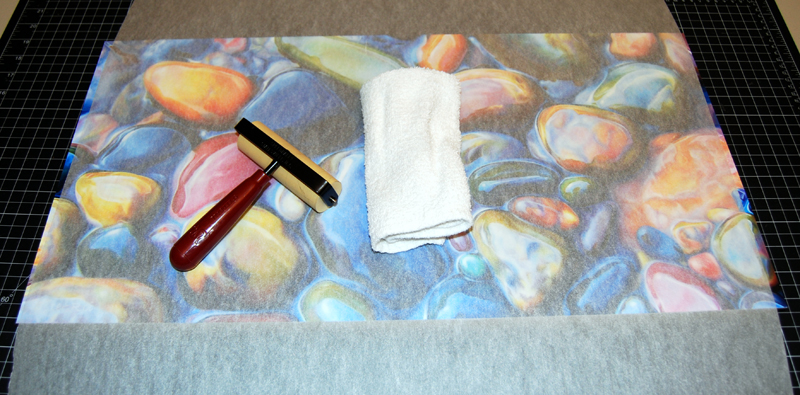
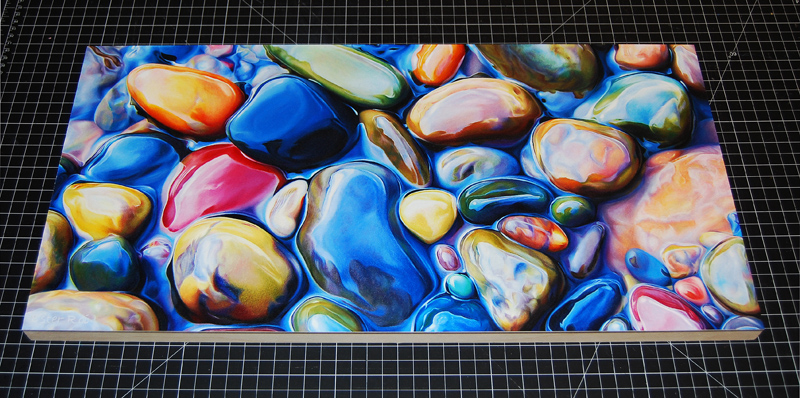
Above is my finished artwork "In Between" which I will mount on a 12" x 24" x 3/4" thick Ampersand Claybord. At this point my piece measures 12.5" x 24.5", half an inch larger than the board, to account for possible misalignment during mounting. I've already trimmed the white paper edge that I normally leave around the drawing.
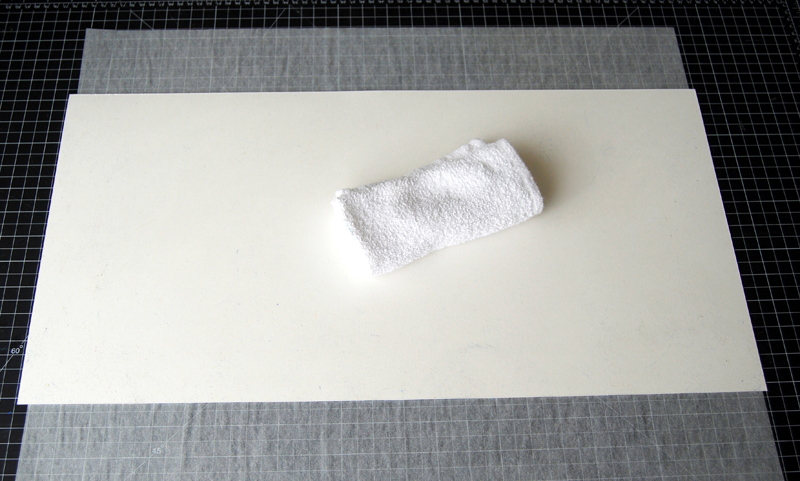
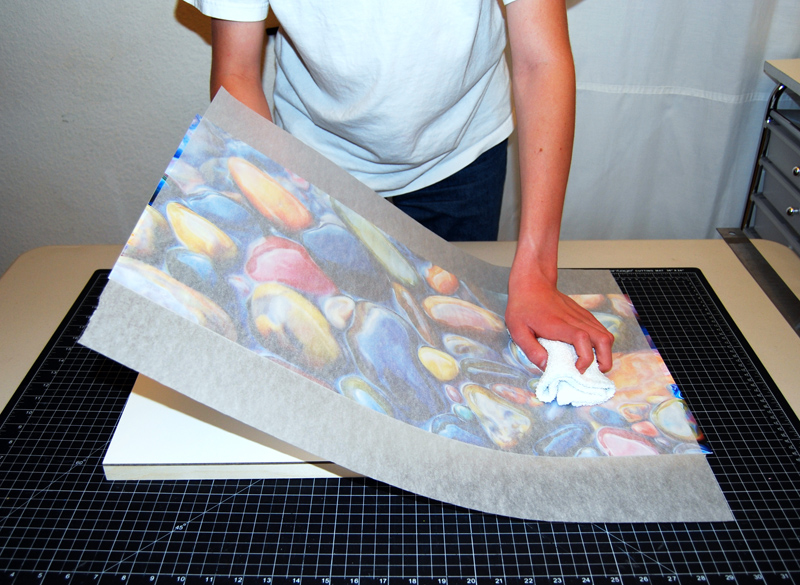
This is the back of my artwork which I wiped with a clean cotton rag to make sure there are no pencil debris left on the paper. I always use tracing paper to protect my piece from the cutting board.
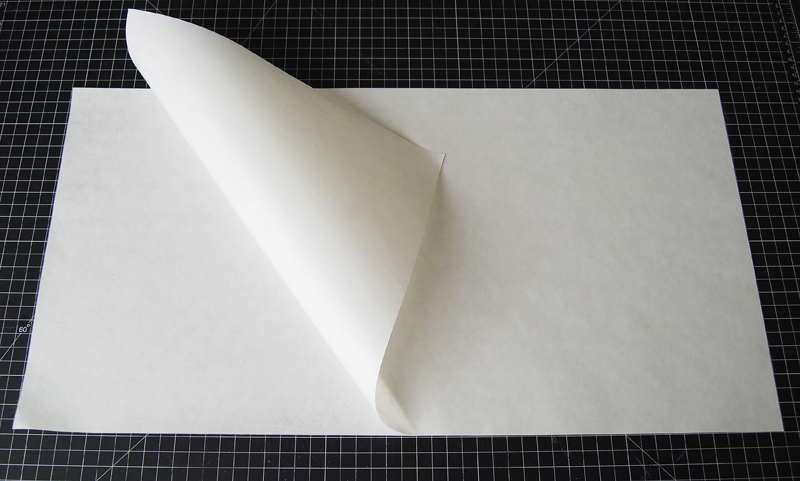
Grafix Double Tack Mounting Film is acid free and archival. It has a coat of permanent adhesive on both sides of a thin film, sandwiched between two heavy release papers.
The image above shows the double tack mounting film which is cut a bit larger than the original artwork. I'm lifting the top release paper to expose part of the tacky area; this will be a section about an inch wide. It's always better to release more paper than necessary and then let it fall back into place up to the area that will need to be exposed.
Here I folded the top release paper back, exposing only an inch of the tacky film.

After placing my artwork over the double tack mounting sheet, I made sure it was centered inside the perimeter. At this point the artwork can still be moved because it's not making contact with the tacky film.

A close-up of the artwork positioned over the fold.

With a protective sheet of tracing paper over the artwork, I pressed down on the left side to make contact with the exposed tacky sheet. I then secured it onto the cutting board with tape.
Afterwards I lifted the right side of the artwork and slowly began pulling the release paper from underneath. At the same time, with my other hand, I rubbed the surface with a rag, moving back and forth from one side to the other, until all the release paper is out.
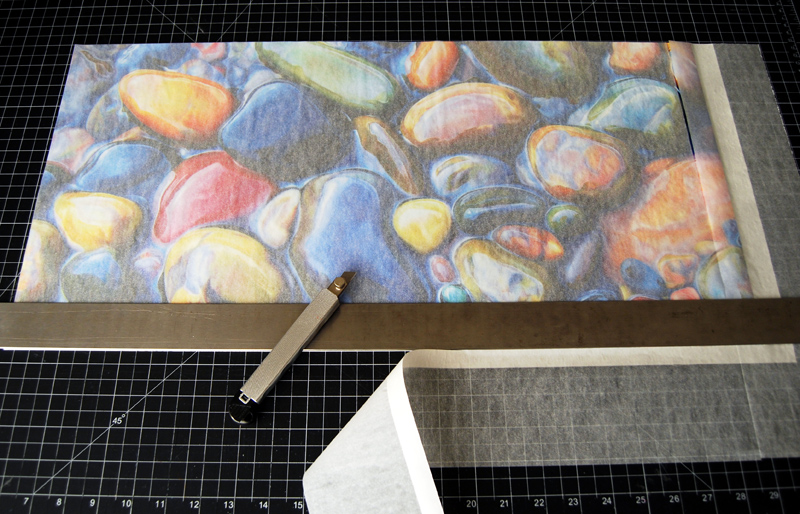
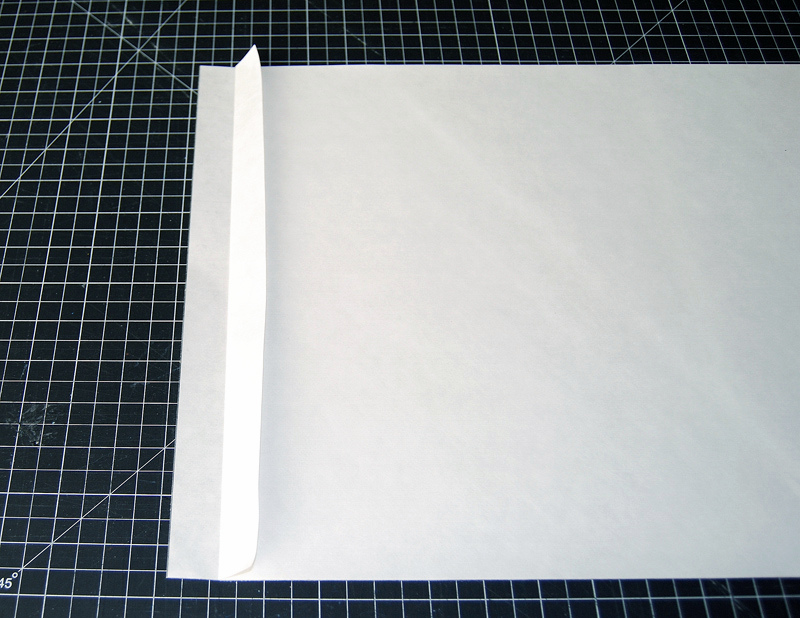
At this point I trimmed the edges of the double tack sheet (and tracing paper) with a sharp X-Acto knife.
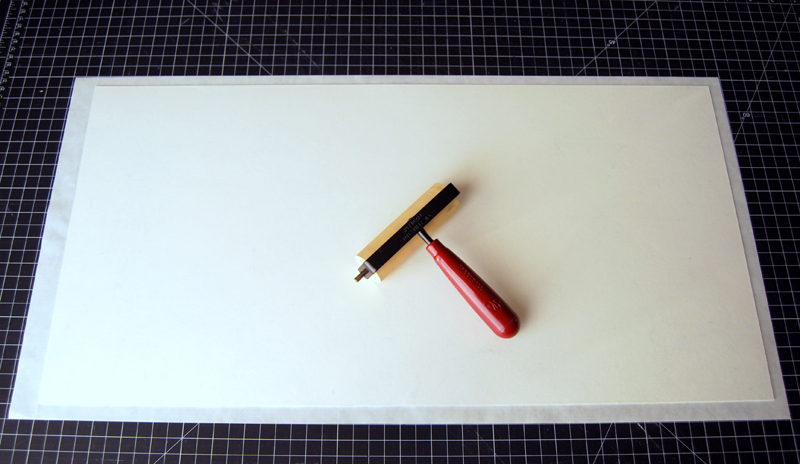
I turned over the artwork and placed it face down on the cutting board, using the waxy release paper I just pulled from the tacky sheet as a protection layer. Then I rolled a rubber brayer all over the surface to reinforce the adhesion.
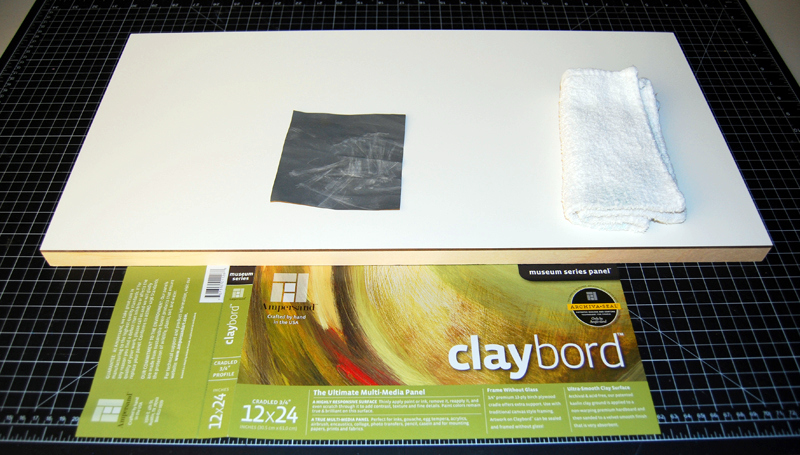
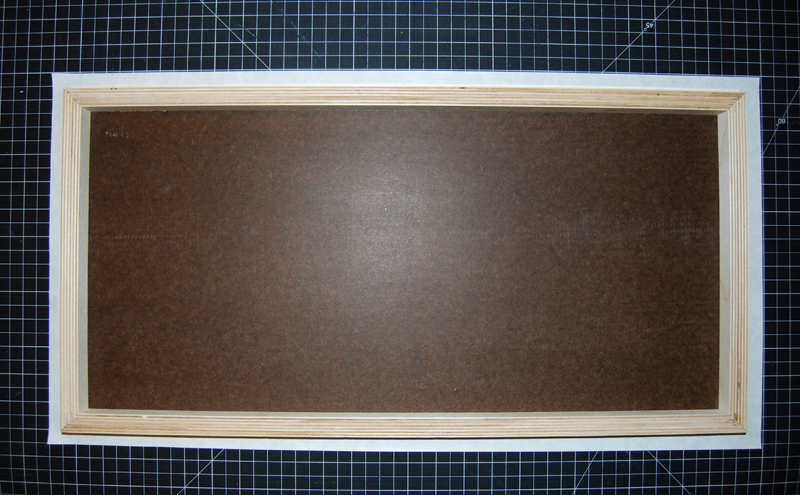
Here's my 12" x 24" Ampersand Claybord. I cleaned the surface with a rag and lightly sanded the sides with extra-fine sandpaper.
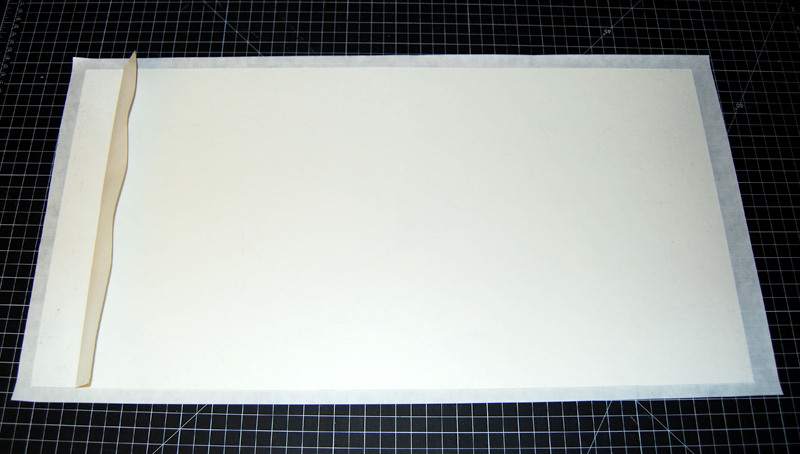
To pull out the other release paper from the back of the artwork I used the same method as before, exposing a 1.5" area of the tacky sheet.
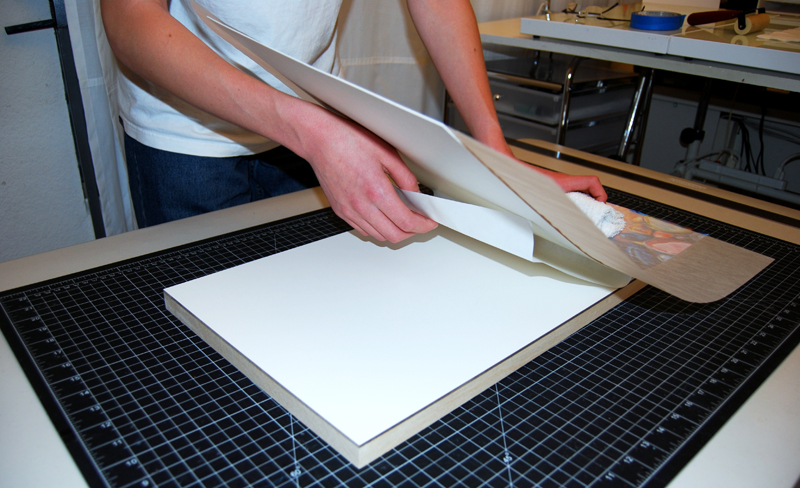
Then I placed the Claybord over the mounting sheet and centered it. Again, I can still re-position it at this point because the board is not making contact with the tacky film.
Once the board is perfectly centered over my artwork, I pressed down on the left side to make contact with the exposed tacking sheet.
After placing a sheet of tracing paper over the artwork, I lifted the right side and slowly began pulling the release paper from underneath. At the same time, with my other hand, I rubbed the surface with a rag, moving back and forth from one side to the other, until all the release paper is out.
Here you can see it from the opposite side.
Once the artwork is mounted onto the board, I pressed down first with a rag and then with a rubber brayer.
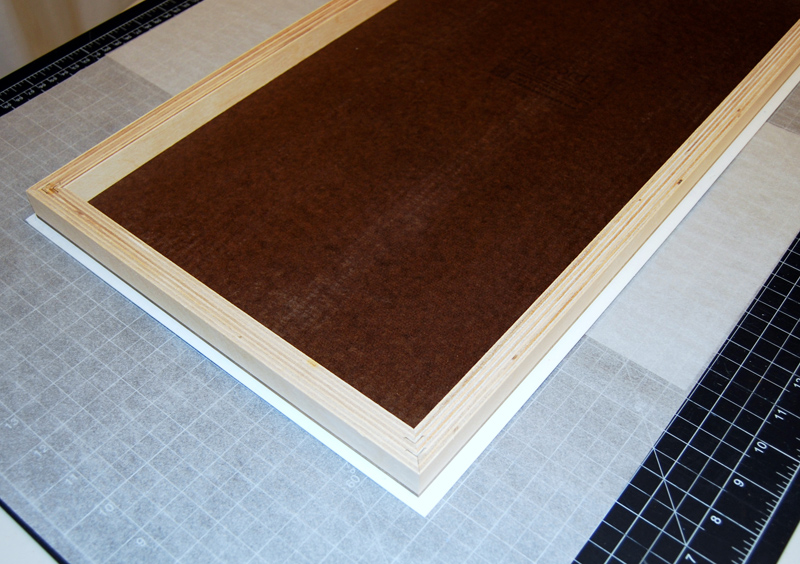
I turned the Claybord over.
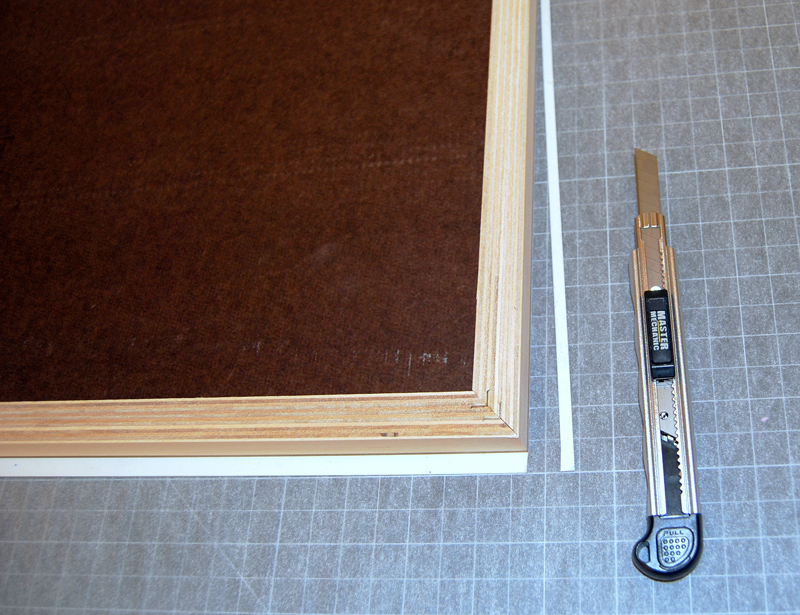
I trimmed the extra with an X-Acto knife.
To achieve perfect cuts I used a fresh blade for each side of the artwork.
Finally I placed the board under heavy books overnight.
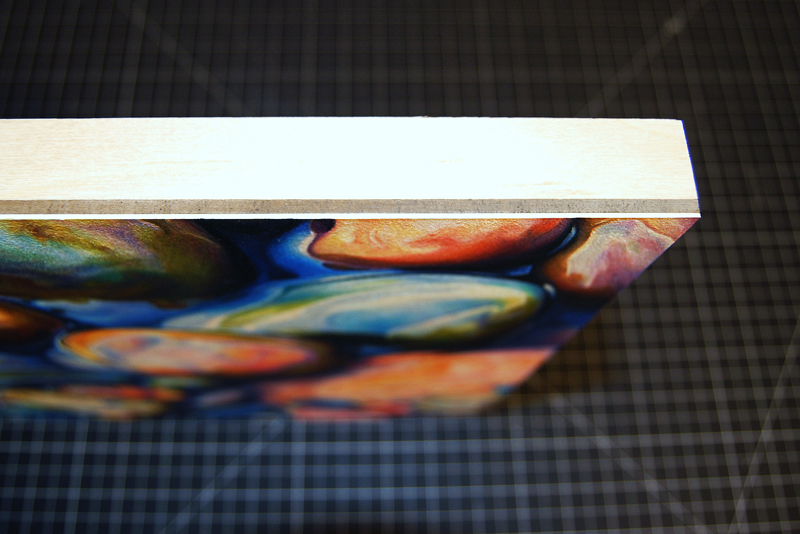
My artwork is now ready for varnishing and framing.
Thank you for visiting!
32 comments
Carrie Waller
February 26, 2013
This is great Ester!! Do you think it would work for watercolors?
Ester Roi
February 26, 2013
Thank you, Carrie! Yes, it would definitely work for watercolor too. However I know that some artists prefer to use acrylic gel or medium with watercolor. You might want to check into that option also.
Theresa Evans
February 27, 2013
Looks very elegant and professional Ester and the painting is beautiful. Thanks for sharing the mounting process; I’d like to give it a try. I’m sure it’s a lot tricker than you’ve made it look though!
Maiken Damsgaard
February 27, 2013
This is awesome, Ester.
Your description is very easy to understand.
I really have to try this, some day.
- Maiken
Kathy Clericuzio
February 27, 2013
Thank you, Ester for sharing your technique!I have been looking to trying to go glassless with my cp work and this looks like it might be the trick! My question is, do you think you could do this to your art paper (mounting it to the clayboard) BEFORE creating your art? Thanks.
Teri Robus
February 27, 2013
Ester,
Thank you very much for posting this! I had just been wondering what the best way was to adhere paintings on paper to a hard panel or board.
Teri
Ester Roi
February 27, 2013
My pleasure, Theresa! I’m glad you find it interesting.
Ester Roi
February 27, 2013
Thank you, Maiken!
Ester Roi
February 27, 2013
Yes, Kathy, you can mount the paper before creating the art. I don’t do it because I need my surface to come into contact with the Icarus board. However there are many panels in the market that are already prepared to accept colored pencil - using one would make things easier.
Theresa
February 27, 2013
Thanks so much! I think this is really going to help the next time I mount a piece.
Theresa Rhodus
Ester Roi
February 27, 2013
I’m happy to hear that, Theresa!
Lynn Rank
February 28, 2013
Ester,
Thinking that it has been a year since I paid you a visit down in that wonderful area….well, you remember where I live….and it is still very cold here.
This is such a great idea, it takes away the liquid, I will try it….
Thanks,
Lynn
Ester Roi
February 28, 2013
Hi Lynn, thank you for visiting! It may be very cold where you live but it’s such a wonderful area. Mario and I are thinking of taking a trip up North. Do you know of any rivers with wonderful pebbles and rocks?
Ester Roi
March 03, 2013
Teri Robus, sorry for the delay in posting your comment but I just found it in the spam folder. I’m really glad my post can be useful to you!
Lynn
March 04, 2013
Ester, there are lots Near Yosemite….the Merced River….and that runs through Yosemite. Go now and the water is probably not moving too fast….or go for the “run-off” in a couple of months…
Lynn
Ester Roi
March 04, 2013
Thank you, Lynn!
Michael Chesley Johnson
March 13, 2013
Interesting, and I haven’t heard of this product. I’ve been using BEVA film to do the same, and the benefit is that it is heat-activated and reversible. I use BEVA for mounting oil-on-paper to board. Thanks for sharing!
Ester Roi
March 13, 2013
Thank you, Michael! Unfortunately I can’t use BEVA film because my media is wax-based and sensitive to heat. It’s certainly a great choice for oil paint.
Arena Shawn
April 13, 2013
Thank you for this very detailed step by step tutorial! I am doing a series of small watercolor for a show and need to mount them all onto the Masonite board provided by the exhibition, and this has totally solved my problem…
Ester Roi
April 13, 2013
You’re welcome and my pleasure, Arena!
nancy- Release Liner
June 18, 2013
Great work. It turned out amazing. Its amazing what you can create with adhesive paper!Love how you should us step by step with pictures how you did it. Thanks for showing us how you did this! Looks amazing.
Ester Roi
June 19, 2013
Thank you, Nancy!
Tosha Henson
August 28, 2013
What kind of paper do you use? What brand?
Ester Roi
October 03, 2013
Tosha, I use two types of paper, either Stonehenge or Colourfix. This artwork was done on Colourfix paper by Art Spectrum.
nélida Grazzina
July 15, 2015
Tus tansparencias son hermosamente realistas, Pintar agua con toda la magia ue genera es algo que tu consigues y transmites. El enmacado es muy elegante y ealza mucho el trabajo. .Felicitaciones <3
Ester Roi
July 16, 2015
Thank you very much, Nelida! I appreciate your comment. :)
Joan Marie
January 13, 2017
Thank you so very very much for this fabulous post!!!! SOOOO HELPFUL!!!
Ester Roi
January 14, 2017
My pleasure, Joan Marie! I’m so glad you found it helpful.
Linda Feeley
February 20, 2019
Ester—I LOVE this technique and hope to try it on my next piece. Just wondering, though…. is there a reason why you don’t roll some sort of archival adhesive onto the art instead of using the tacky sheet? I’m feeling like that might be easier… is it possible?
Ester Roi
February 20, 2019
Hi Linda, thank you for your kind words! Yes, there is a reason. I use colored pencils and artist crayons on my artworks. Neocolor II are water soluble and, if I apply a wet adhesive to mount the artwork, that can penetrate and liquefy the pigment of the crayons.I like the crayon pigment to stay waxy. I hope this helped.
Kathleen Benton
July 03, 2024
Thank you for sharing your mounting technique; it will be very helpful to me. What sort of varnish you use and how does it affect the drawing surface as well as the Claybord sides. The work that I am considering to mount is made with dye, wax, crayon and oil stick on 300 lb Fabriano, so lots of concern about how the different surfaces will look with a varnish applied. Thank you for your consideration.
Ester Roi
July 03, 2024
Hi Kathleen,
Please read step 1, step 2 and step 5 below on my varnishing technique.
https://www.esterroi.com/blog/post/2019/06/step-1-before-varnishing
https://www.esterroi.com/blog/post/2019/06/step-2-sealing-the-artwork
https://www.esterroi.com/blog/post/2019/08/step-5-applying-the-final-varnish
Unfortunately the final varnish I normally use (Golden Polymer Varnish, gloss) has been discontinued and I haven’t tested any replacement as I still have plenty of the old varnish in storage.
Here is what I found on https://goldenartistcolors.com/:
“Prior to actual use, it is very important to experiment with Golden varnishes on test pieces to become aware of how they perform and how they alter the surface appearance of paintings. For best results, apply to a test piece that is similar in composition as the artwork to be varnished. This will help ensure that all variables are accounted for, and a successful varnish application will be achieved.”
I hope this can help.