Holiday 2021 Promo15% off all artwork, limited time offer!

Newsletter Subscription

Subscribe to my newsletter to receive 4 to 5 emails per year where I highlight important news, available originals, and seasonal specials.

Blog Category: Colored Pencil

A Shortcut for Details

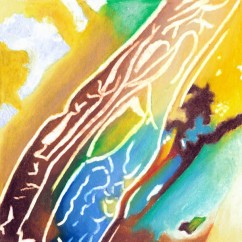
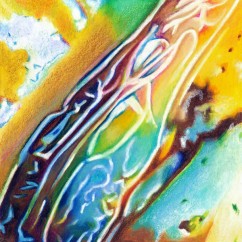
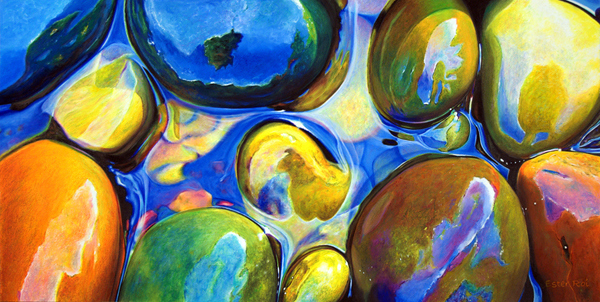
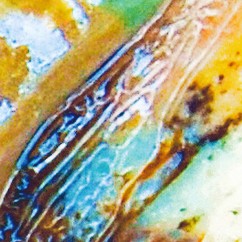
I'm working on a very detailed pebble piece. I'm combining Prismacolor colored pencil, Neopastel oil pastels & Neocolor artist crayons on Colourfix paper. I'm eager to show you a small (2"x2"), abstract close-up of my painting (18"x18") and explain the shortcuts I've taken to get around all the details.

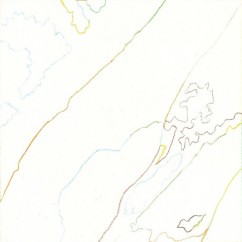
1. Photo Cropping2. Line Drawing


1. This is a cropping of  the original photo. Even though it's very blurry you can still see all the intricate details.

2. On my line drawing I focus on the essential lines and not the confusing details.

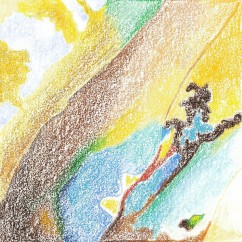
3. Blocking-in Colors4. Melting


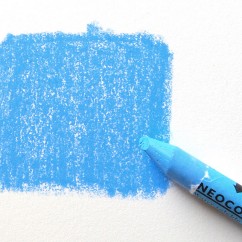
3. On the cool zone I block-in the colors with a combination of oil pastels and artist crayons.

4. I move my artwork to the warm zone of the Icarus board (high temperature) and melt all the colors with a color shaper. The waxy pigments settle into the hills and valleys of the paper, leaving plenty of texture for further layering.

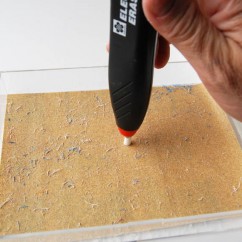
5. Preparing Eraser6. Lifting Color


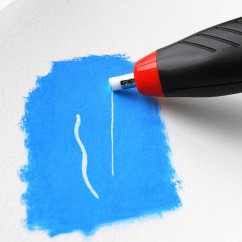
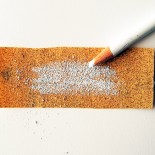
5. I'm preparing my Sakura battery-operated eraser by cleaning and flattening the tip on sand paper.

6. Here you can see how easily the pigment is lifted from the surface. By using the flat edge of the eraser point, I can achieve a very fine line.

7. Lifting Color8. Finishing


7. I lift all the waxy pigments until the white of the paper shows through.

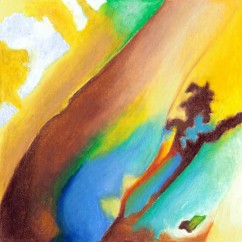
8. I can now develop the colors and values and finish the details with colored pencils. During this phase I lower the Icarus Board temperature to a medium setting.

This shortcut allowed me to work from "large" to "small" without getting bogged down in details too early in the process.

 

Time Saving Tip on Blending

Blending artist crayon or oil pastel with colored pencil can be broken down into four steps.

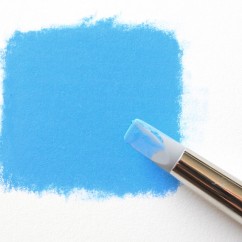
  • Step 1 - Layering artist crayon on the cool zone
  • Step 2 - Melting artist crayon on the warm zone with a color shaper
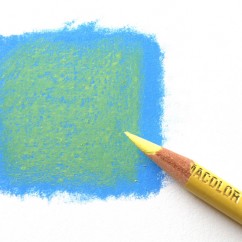
  • Step 3 - Layering colored pencil on the cool zone using side of pencil
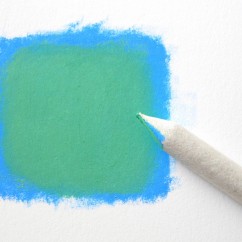
  • Step 4 - Blending artist crayon and colored pencil with a paper stump

1. Layering AC 2. Melting AC


3. Layering CP 4. Blending AC and CP


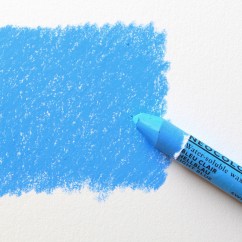
In the two examples below, you can see that this process can be reduced to two simple steps. While the colored pencil is blending with the crayon, it is also functioning as a melting tool.

This is a nice shortcut that works well for small areas. When blending large areas, I prefer to first melt the crayon and then layer and blend the colored pencil.

1. Layering AC 2. Melting and Blending


Artist Trading Cards

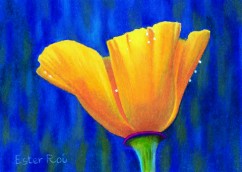
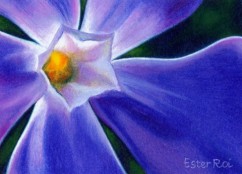
I have just finished making two ATC cards for a group project with the San Diego District Chapter of the Colored Pencil Society. It's the first time I have attempted to do such miniature artworks (2.5" x 3.5") and I have to say... it's been a challenge. I like to work big so that the finest line in the painting is at least twice the size of the pencil point. In these two examples the point of the pencil felt too thick for the size of the projects.

California PoppyVinca Major


2.5" x 3.5" - Wax-based Media (Colored Pencil)
Created with the Icarus Drawing Board


Speckling Technique for a Starry Sky

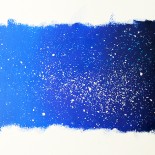
The starry sky of "The Butterfly Effect" could not have been accomplished in colored pencil without the Icarus Drawing Board. The choices would have been to painstakingly draw the blue sky around the white of the paper or to paint masking fluid over hundreds of stars. Instead I came up with the following technique:

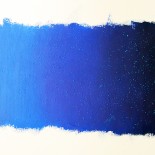
Step 1: I laid down several different blue Neocolors II on the warm zone.
Step 2: I used a gray paper stump to thin and blend the crayons on the warm zone. This is accomplished by making small circles with the paper stump while cleaning the excess wax with a paper towel.
Step 3: I kept on working until the colors were evenly blended.

Step 1 Step 2 Step 3


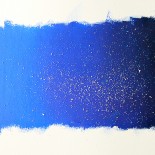
Step 4: I grated a blue colored pencil on a sand paper block.
Step 5: I shook the blue speckles over the crayon background.
Step 6: I grated a white colored pencil on coarse sand paper.

Step 4 Step 5 Step 6


Step 7: I shook the white speckles over the crayon background.   
Step 8:
After placing a sheet of tracing paper over the colored pencil speckles, I pressed down with a brayer on the warm zone.
Step 9:
The speckles melted into the blue background and created a starry sky effect.

Step 7 Step 8 Step 9


For another example of "speckling" see Snake River Pebbles.


Achieve a Very Smooth Gradation Using Heat

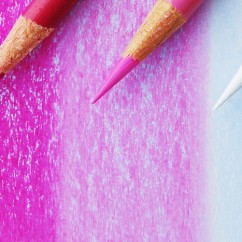
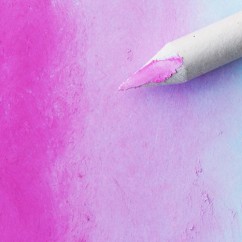
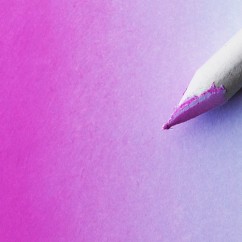
On step #1 I layer on the cool zone process red, pink and white colored pencils over light blue artist crayon (see more on "layering" on previous post). I use the side of the pencil, not the point.

After moving the paper to the warm zone I start blending with a paper stump. Here, again, I'm using the side, not the point, and make small circles as I blend. Step #2 shows you the blending in progress.

On step #3 you can see the end result: a very smooth and flawless color gradation. This technique will allow you to blend a large area in a very short time.

#1 - Color Gradation#2 - Color Gradation#3 - Color Gradation


Colored Pencil Over Artist Crayon & Oil Pastel?

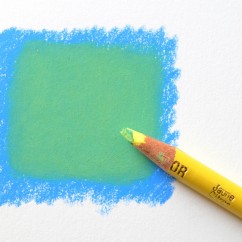
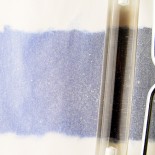
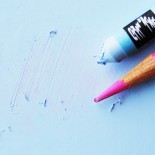
As you can see on step #1, it's impossible to layer a hard medium over a softer one. The pink colored pencil can only make indentations and scratches over the light blue artist crayon. Here is where the Icarus Drawing Board can help you.

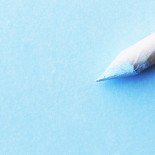
On step #2 the thick layer of crayon is thinned out on the warm zone with a color shaper or a gray paper stump. I use the side, not the point of the paper stump and make small circles until I'm left with a thin, saturated layer of color.

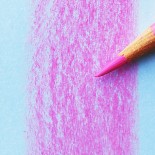
After moving the paper to the cool zone, I'm now able to easily layer colored pencil over artist crayon (see step #3).

#1 - Layering Colored Pencil Over Artist Crayon or Oil Pastel#2 - Layering Colored Pencil Over Artist Crayon or Oil Pastel#3 - Layering Colored Pencil Over Artist Crayon or Oil Pastel