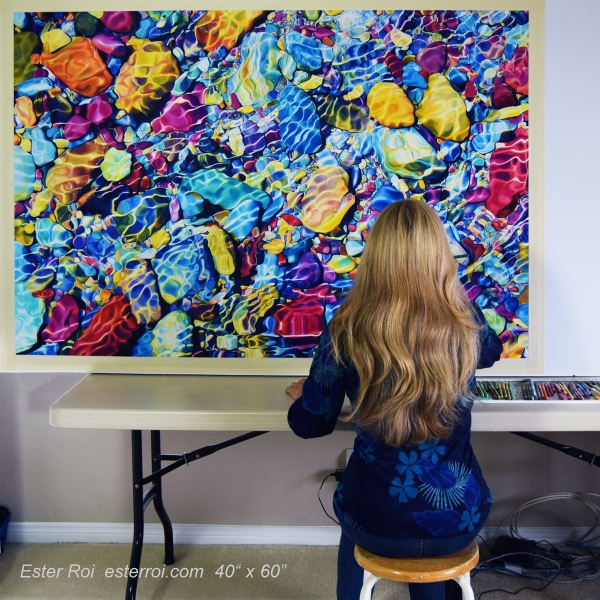
I've finally finished my 40" x 60" piece and now I'm preparing the surface for varnishing.
Step 1: I begin by going over the highlights that lost their brightness with a white Neocolor. I will then examine every single square inch of canvas (in this case 2,400 sq inches) with my strongest magnifiers. If you work with colored pencils and wax pastels like Neocolors, you know how easily tiny debris of pigment can become embedded in the surface. The goal is to lightly scrape off the debris and the occasional cat hair using a small X-ACTO knife. This takes some patience of course but it's a worthwhile effort; it's very disappointing to notice debris after varnishing because, at that point, there's nothing one can do.
I will post five more steps to explore and update the intricacies of my method of glassless framing. After more than 10 years of experience with this method I have developed a reliable technique that I'm always happy to share.
Step 2: sealing the artwork to create a separation layer before the final varnish
Step 3: mounting the artwork on a panel
Step 4: digital capture of the artwork
Step 5: applying the final varnish
Step 6: framing the artwork
2 comments
sue donze
November 22, 2019
Had to laugh, I am dealing with cat and dog hair as we speak. I am getting ready to varnish a piece now and had to come back here to reread the protocol! Thank you for all this help!
Ester Roi
November 22, 2019
LOL, the pet mama/artist life.
You’re welcome, Sue!