After cleaning up the artwork from debris and cat hair, as explained in Step 1, I taped the canvas on a piece of gatorboard. Any rigid surface like cardboard or foamboard can also work for this purpose. Then I took it outside to begin the sealing process.
Sealing the piece creates a separation layer between the painting and the final varnish. Because the final varnish ages and collects dust and grime through the years, it needs to be removable for conservation purposes; if it sticks to the painting it would be impossible to replace.
However, there's another very important reason for sealing. In my technique, beside colored pencils, I use wax pastels (Neocolor), both the water-soluble and water-resistant ones, and blend them with heat . If I were to apply the final varnish without sealing, the water-soluble pastels would get wet and possibly smeared by the brush during the painting process. I use a final varnish because I frame my art without glass.
I sealed the artwork with Golden Archival Spray Varnish, gloss. This sealing varnish contains ultraviolet light filters and stabilizers (UVLS) to provide archival protection and inhibit light damage. It's a mineral spirit varnish and therefore I apply it outside while wearing a dust mask on a non-windy day. I lean the artwork on a wall so that big droplets fall onto the pavement and not on the painting.
Golden Archival Spray Varnish can be used in place of fixative by colored pencil artists who frame their work under glass. It not only protects from UV damage but it also completely suppresses wax bloom formation, a problem that occurs with some wax-based colored pencils. For this purpose, 5 or 6 light layers are sufficient.
Considering that my piece is very large and needs complete sealing, I sprayed a total of 12 light layers, waiting at least 30 minutes in between. After each layer I bring the artwork inside the garage and let it dry away from sun and moving air. I rotate the artwork from a horizontal to a vertical position at each spraying session and always spray from side to side at about 10" distance. When the sealing process is finished I let the artwork rest inside for a few days.
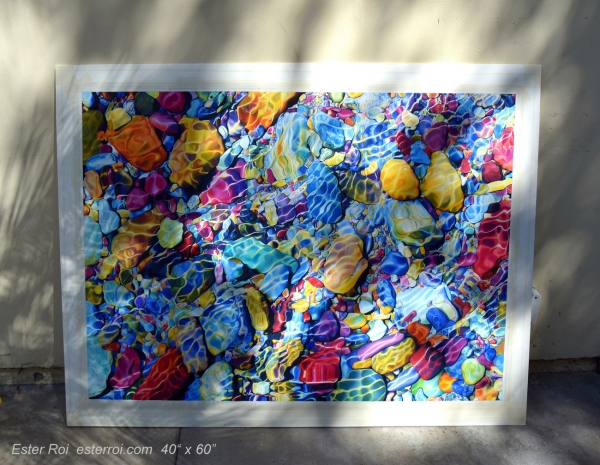
On my next post I will show you how I mount the canvas on a 40" x 60" x 2" Claybord.
Step 2: sealing the artwork
Step 3: mounting the artwork on a panel
Step 4: digital capture of the artwork
Step 5: applying the final varnish
Step 6: framing the artwork
4 comments
Amaya
June 28, 2019
Beautiful work, as always Ester! I’m wondering, does the finish of the varnish matter? You mention you use the Golden Archival Spray Varnish in a gloss finish. Would it also work if I used the satin or matte finishes?
Ester Roi
June 29, 2019
Hi Amaya, I appreciate your kind words.
I’ve tested the gloss, semi gloss (a new one), satin and matte spray varnish. I’ve never had any problems with gloss and semi gloss but the matte can appear frosted if the substrate is too absorbent resulting in the matting agents remaining exposed on the surface. If that happens, allow the coat to dry, and apply a gloss layer to return clarity. Once the surface is sealed with gloss, return to applying desired sheen coats. For this reason I don’t use matte Golden Archival Spray Varnish.
Marisa D
October 22, 2019
Hi Ester, I’m trying the Art Spectrum Colourfix Supertooth board with the Icarus Board and am liking the way it holds lots of pigment. Do you use the exact same method as above for framing your pieces done on the Supertooth board?
In other words, do you use the same finish spray, the same final varnish, the same adhesive backing, and board to mount on? The reason I ask is that since the Supertooh board is very thick, it warps a bit when it gets warm and I wonder if you use a different technique for mounting and framing it. Thank you!
Ester Roi
October 23, 2019
Hi Marisa, yes I use the same method for framing, same sealing varnish and final varnish and same mounting technique. :)