Holiday 2021 Promo15% off all artwork, limited time offer!

Newsletter Subscription

Subscribe to my newsletter to receive 4 to 5 emails per year where I highlight important news, available originals, and seasonal specials.

Blog Category: Colored Pencil

Pushing the Limits

Last summer at the Laguna Beach Festival of Arts I had the opportunity to talk to hundreds of visitors and many of them inquired if I had large-scale work available. This rekindled my longstanding desire to create bigger art.

After much experimenting I realized that the best way to accomplish this goal was to find a flexible surface that I could place on top of my Icarus board without damaging it (the surface). I knew that paper was not my best choice because large sheets tend to crease or bend when used on a desk.

I tested various substrates and found that canvas had the flexibility needed for my purpose. I purchased a roll of Caravaggio Extra Fine Double-Primed Cotton Canvas, the finest texture canvas available. Artists who would like to experiment with canvas and the Icarus board for the first time are advised to purchase a portrait-grade stretched canvas, unstaple it from the bars, and then, after the painting is finished, re-stretch it on the same bars.

My first attempt to work large was a 28" x 48" piece, temporarily named The Quarry. I primed the canvas with three coats of Art Spectrum Colourfix Supertooth Primer, clear. This primer helps colored pencil and wax & oil pastel adhere well to the canvas. When I prefer a smoother texture I use the regular Art Spectrum Colourfix Primer, clear instead.

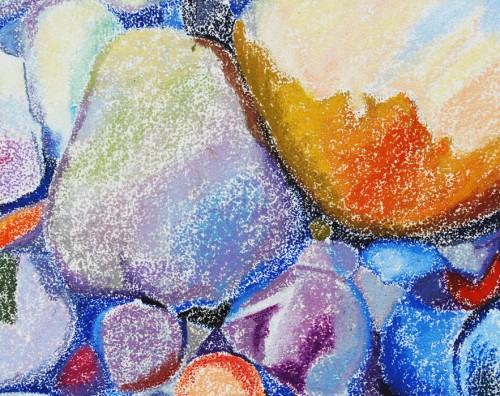
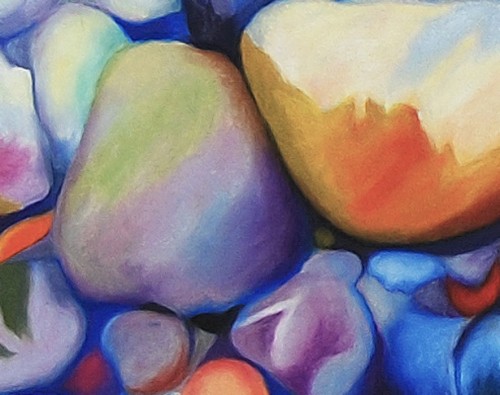
Below you can see the first two passages I accomplished:

First passage: blocking-in

Second passage: melting

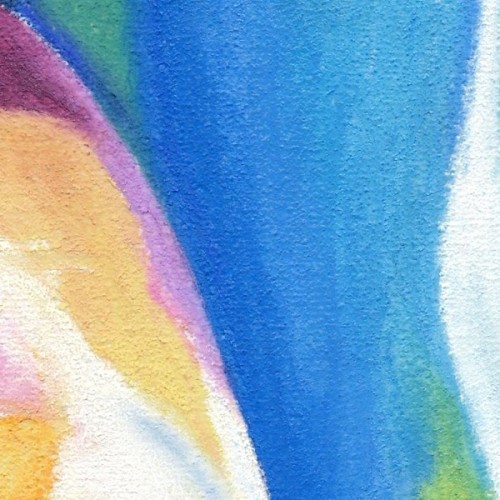
Blocking-in detail

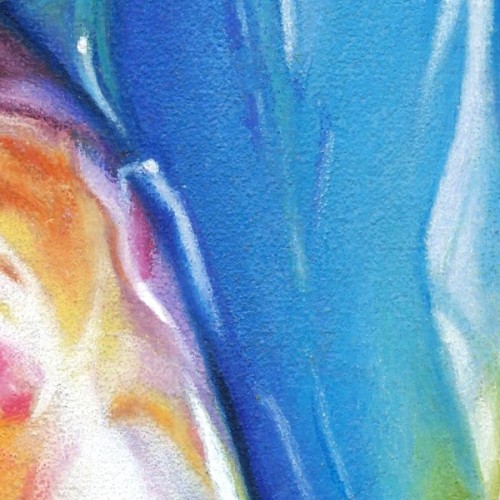
Melting detail

As I was getting ready to tackle the third and final passage to develop color, values, and details, I changed my mind about finishing The Quarry and put it temporarily aside.

One of my favorite artwork, In Between (see image below), sold as soon as I posted it on my blog. I had something special planned for that piece!

In Between

For that reason, after asking permission to my collector and changing its size, I decided to re-do it four times as big as the original. If you're interested in this topic of making repeats, I suggest you read Robert Genn's newsletter Identical Twins.

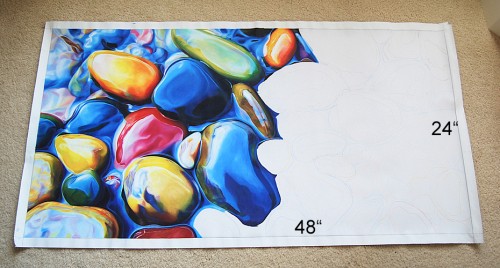
Soon I began working on the 24" x 48" twin of In Between. I'm only about half-way done because other more urgent, smaller pieces are taking precedence.

The strategy I'm following with the 'twin' is different than that of The Quarry. Since it's a re-do, I don't feel the need to block-in the whole composition and colors. As you can see from the image below, I'm completing one stone at a time.

Eventually, as I garner more experience with large sized artwork using the Icarus board, I will share with you all the tips and tricks learned along the way.

The 'twin' halfway done

When I was a little girl my father used to ask me: "Ester, why do you always push the limits?". He was naturally worried! I understand now, because I have a son who's exactly like me.

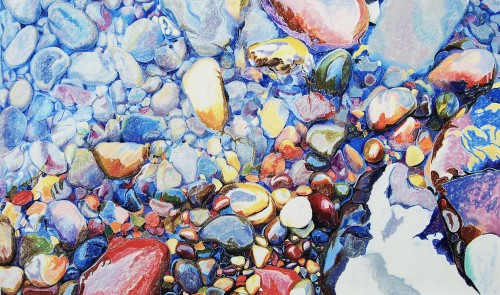
 

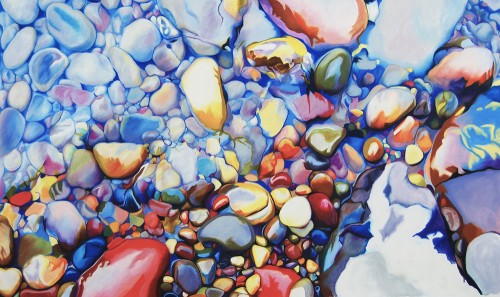
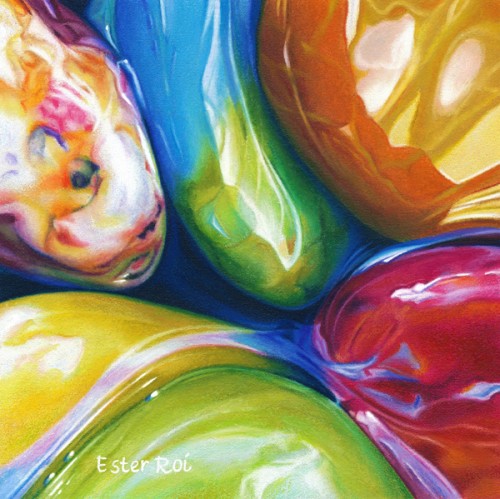
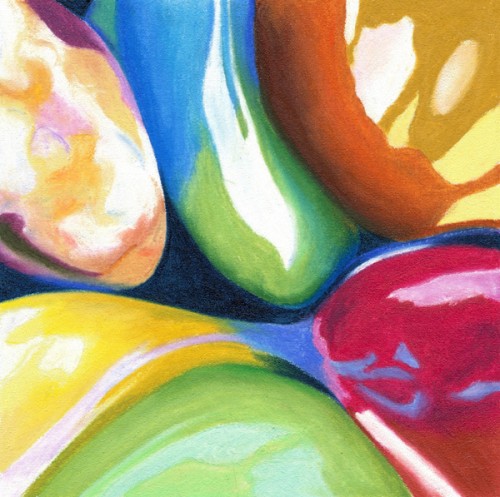
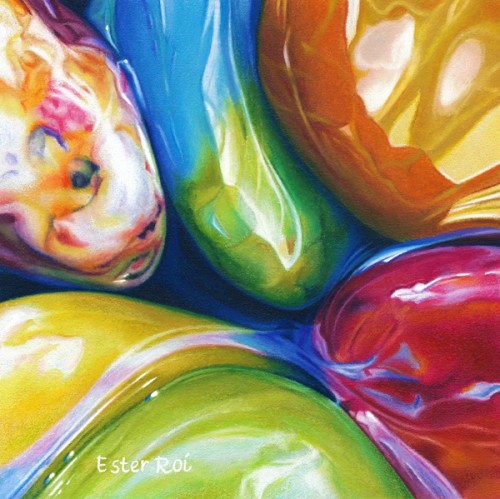
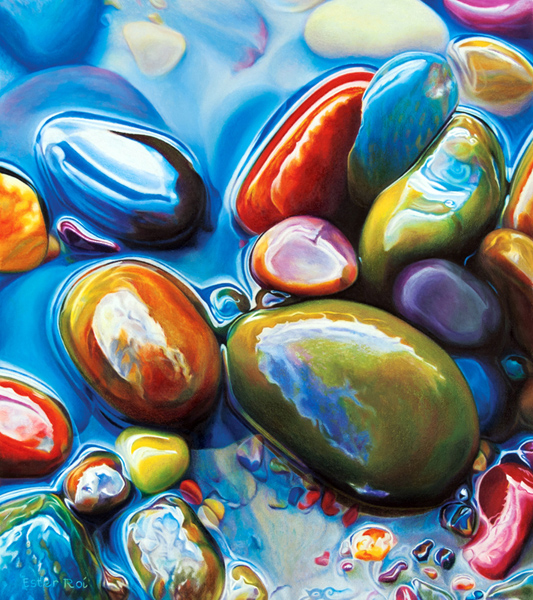
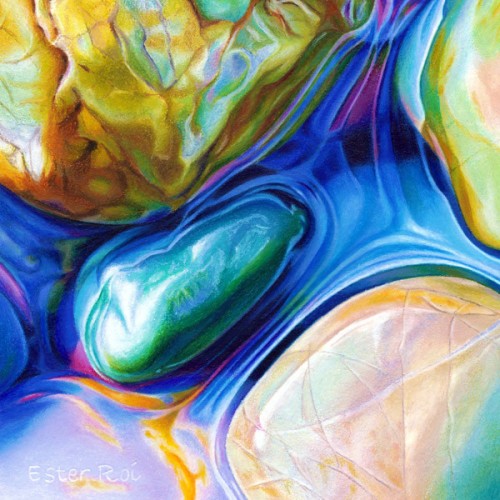
“River Pebbles, No. 11”

River Pebbles, No 11

Title: River Pebbles, No. 11

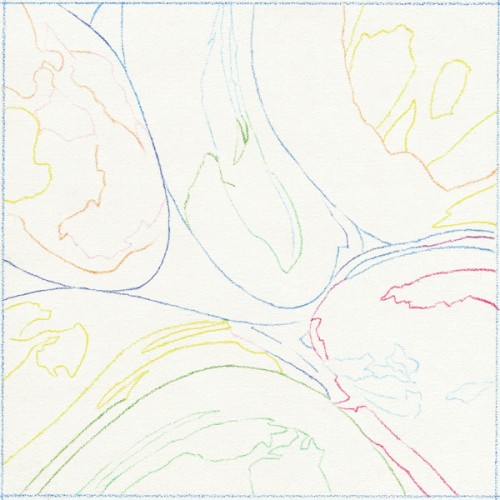
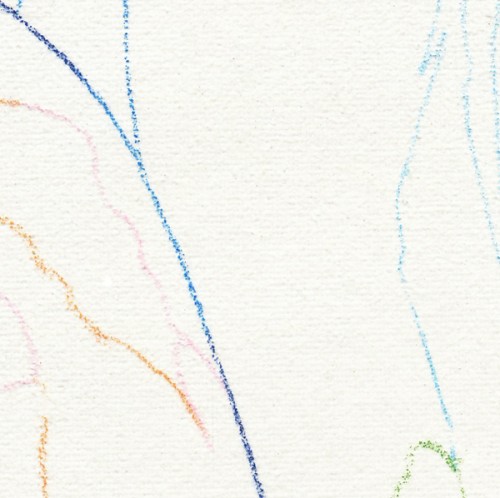
Outline - Cool Zone

The outline was accomplished with Prismacolor Verithin on the cool zone of the Icarus board.

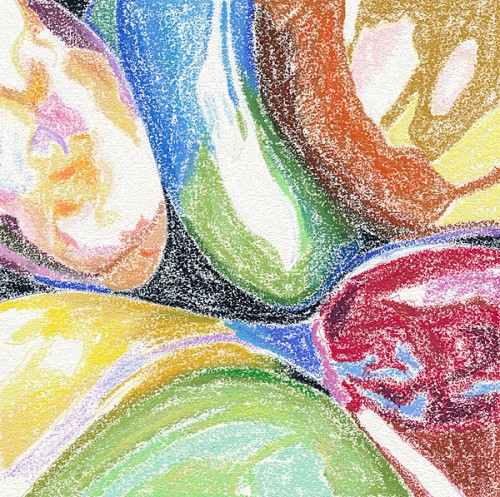
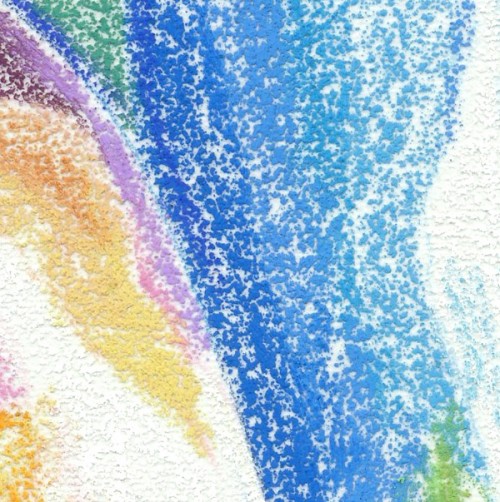
Color Mapping - Warm Zone - Low Temperature

After drawing the outline I proceeded to map the main colors with Neocolor artist crayons on the warm zone of the Icarus board using a low temperature.

For more on color mapping with artist crayons you can view the following videos:

Melting - Warm Zone - High Temperature

With temperature setting at maximum, I melted the artist crayons using clay shapers (also known as color shapers).

For more on melting artist crayons you can view the following videos:

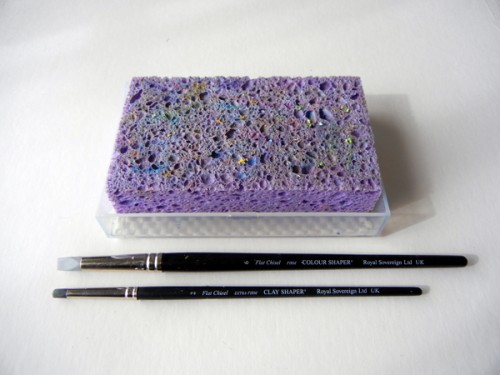
Tools for Melting Artist Crayons

In the picture above you can see the two color shapers I used for melting and the wet sponge for cleaning. For easier cleaning I spray the surface of the wet sponge with a little Simple Green.

Outline - Detail

Color Mapping - Detail

Melting - Detail

Refining - Detail

Refining with Colored Pencil - Medium Temperature

With the temperature set at medium I developed the colors, values and details of the pebbles by layering and blending colored pencils with a variety of tools like tortillions, paper stumps and a Caran d'Ache blender.

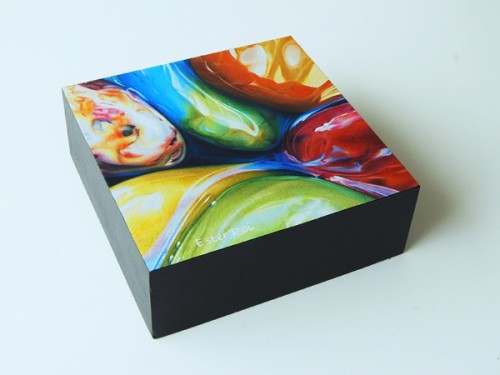
Mounted on 2" Thick Clayboard

I finally mounted the canvas on a 2" thick Claybord and painted the sides with acrylic. The artwork is now ready for varnishing.


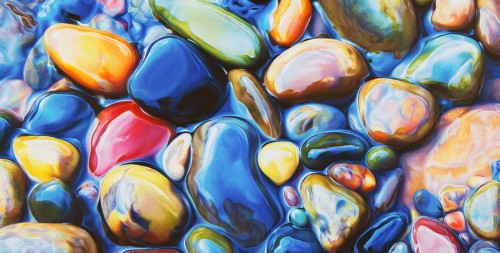
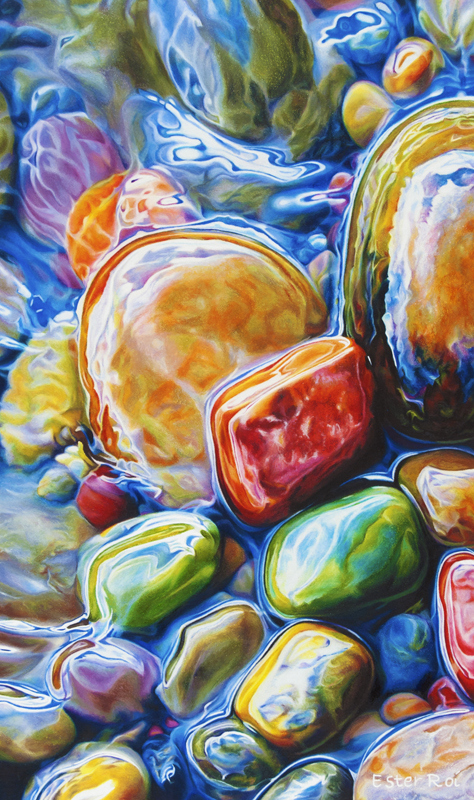
“River Pebbles, No. 10”

River Pebbles, No. 10


Title: River Pebbles, No. 10

For techniques used in this artwork, please see blog post River Pebbles, No.3 - Melting Artist Crayons


“River Pebbles, No. 9” - Where’s Waldo?

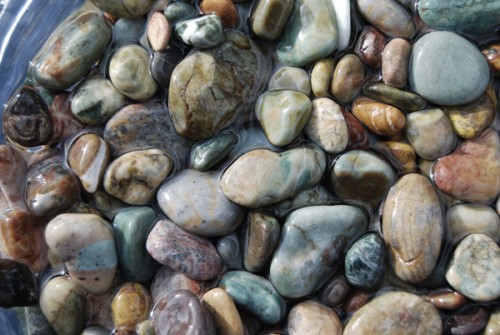
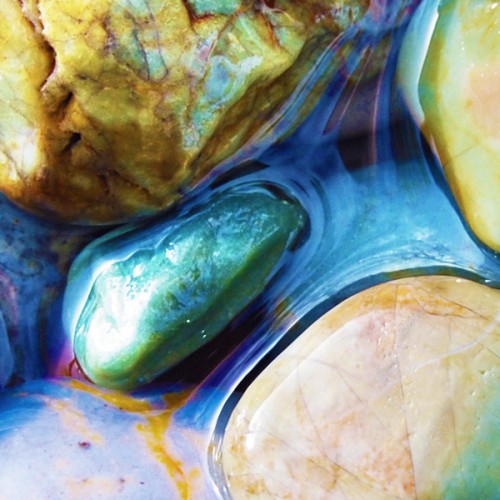
Original Photo Reference

When I look at a reference photo like the one above, the question I always ask myself is: where's Waldo?

Waldo, for an artist like me, is a good composition hidden in the randomness of nature. Even when I'm the one setting up the still life, I try not to interfere in the way pebbles fall into place. I just take many pictures while anticipating the game I will play later on my computer.

Waldo can be elusive at times. I have images taken years ago that never produced a single Waldo. But my ability to "see" is constantly evolving; I know there's a Waldo waiting to be found even in the most hopeless image.

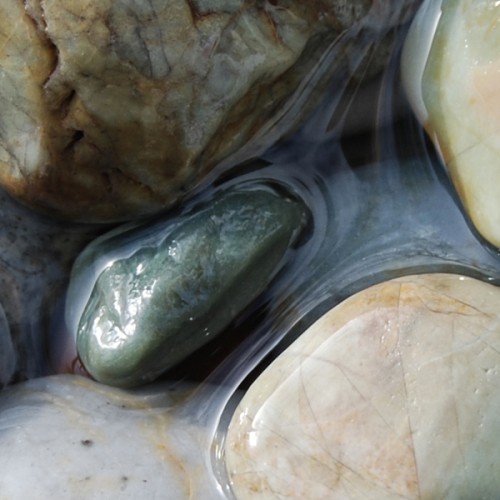
Composition

Meet Waldo! I found him in the center of the image. Now that I have him, I want to show him off but, as you can see, he looks a little drab. Light and color will do magic.

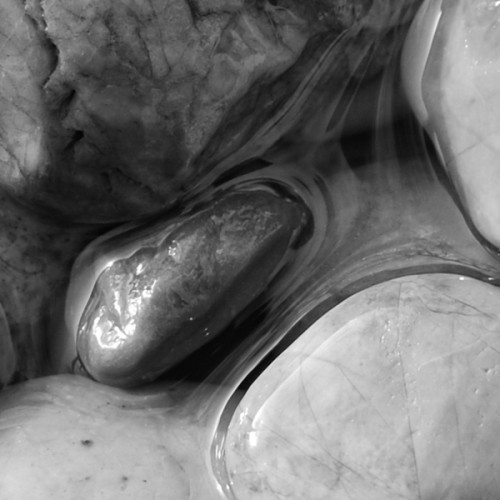
Values

Here's what he looks like in black and white.

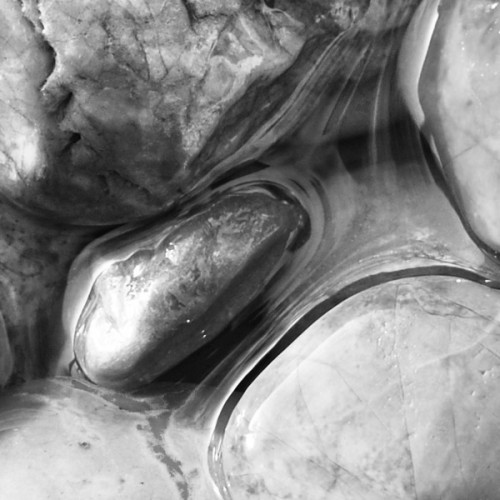
Values Adjusted

Much better - Waldo is coming to life. I just lightened the top left quadrant and pushed the overall value contrast.

Colors Adjusted

Now we're talking!

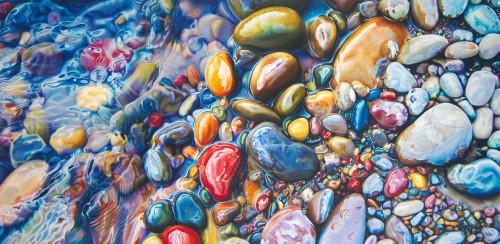
River Pebbles, No. 9

And here is my finished piece - in honor of Waldo of course!

Title: River Pebbles, No. 9

For techniques used in this artwork, please see blog post River Pebbles, No.3 - Melting Artist Crayons


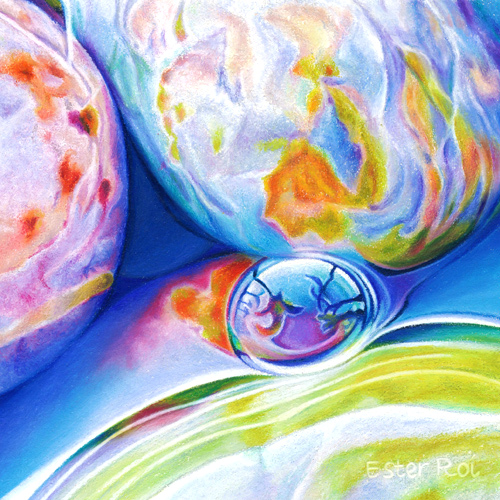
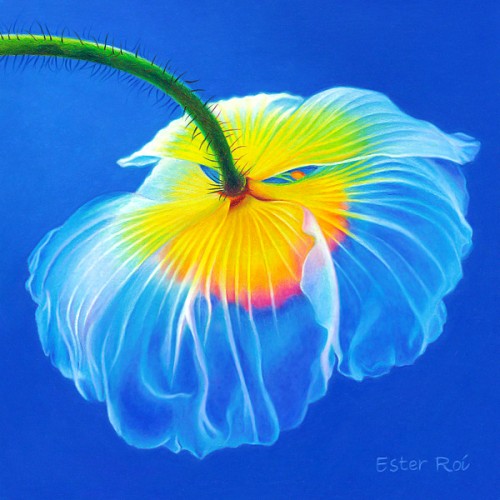
“Poppy, No. 4”

Poppy, No. 4

Title: Poppy, No. 4


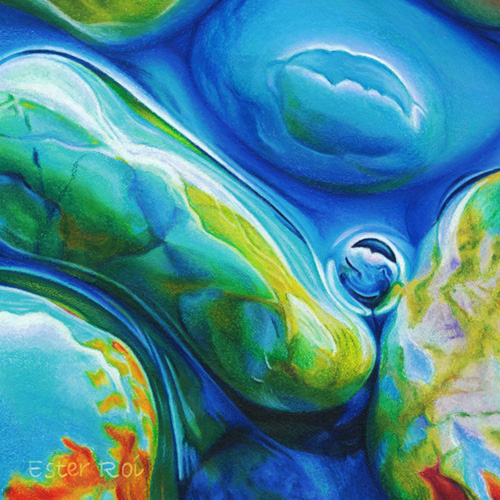
“River Pebbles, No. 8”

River Pebbles, No 8


Title: River Pebbles, No. 8

For techniques used in this artwork, please see blog post River Pebbles, No.3 - Melting Artist Crayons