Holiday 2021 Promo15% off all artwork, limited time offer!

Newsletter Subscription

Subscribe to my newsletter to receive 4 to 5 emails per year where I highlight important news, available originals, and seasonal specials.

Blog archives: 2010

CPSA SILENT AUCTION 2010

Happy Fourth of July! I hope you are all celebrating Independence Day with your family and friends.

The 2010 Colored Pencil Society Silent Auction images have been posted online for everybody to preview. This is a show of  "Small Works of Great Magnitude" that will give convention attendees an opportunity to purchase original colored pencil art. My piece "True Colors" is one of the 36 donated artworks. I can't wait to bid on some of my favorites.

CPSA Silent Auction


My Art Studio: Part 2

Organization for me is not a choice, it's a necessity. I was not blessed with one of those brains that can function in a chaotic atmosphere. My differences are not apparent because early in my life I learned on my own how to cope with them. I started using color coding in elementary school. Through the years I have developed many sophisticated ways to organize, categorize and classify the outside world. For example, in my mid forties I devised a color coding system that helped me learn how to read music and play the piano. My 'to-do' list, which I update daily, is arranged in five separate color schemes that correspond to different areas of interest. One of my favorite gift from my husband is a "label maker" - jewelry doesn't even come close.

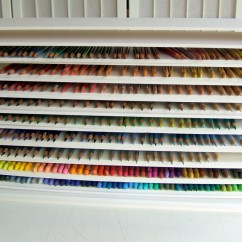
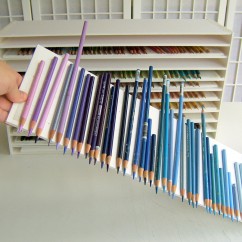
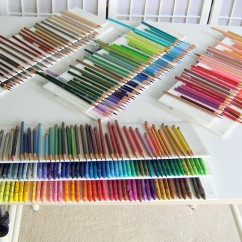
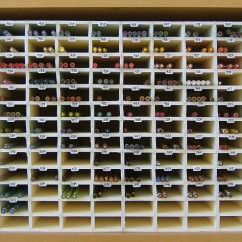
Several years ago I devised a way to keep my colored pencils, crayons and oil pastels organized. Here are four images to illustrate my system. Perhaps some of you will get inspired to make one of your own.

Shelf Storage UnitSingle Shelf


Materials needed:  3/16" Gator Board for the shelf storage unit, regular foam board for the individual shelves,  removable, double-sided tape, regular tape, and a glue gun. Each movable shelf measures 6" x 20". Several strips of removable, double-sided tape are placed lengthwise on each shelf and secured on the 6" side with regular tape. This results in a low tack surface where the pencils, crayons, oil pastels can stay put and organized by colors.

More ShelvesInventory Storage Unit


The last image is that of my inventory storage unit where I can keep up to 18 colored pencils in each cell. This was built with regular foam board, a glue gun, and a lot of patience.


True Colors

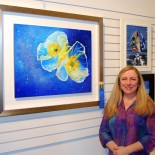
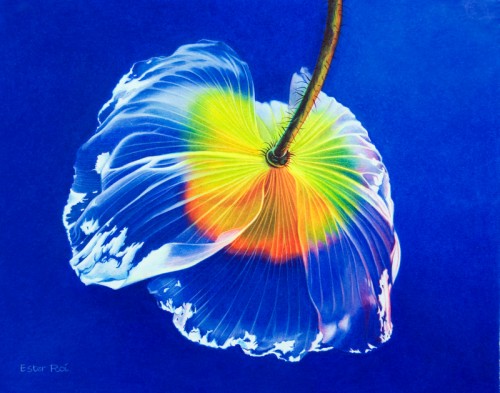
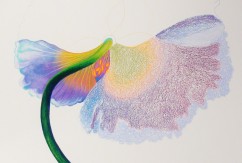
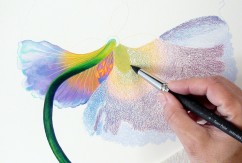
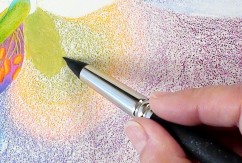
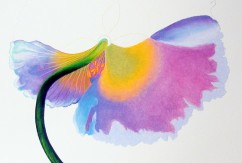
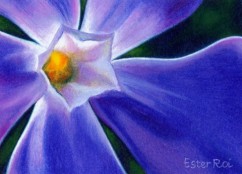
Here is my artwork for this year's CPSA Silent Auction. It's colored pencil (Prismacolor Premier) on Stonehenge paper. As I was working on this piece, Cyndi Lauper's song "True Colors" came to mind. I  ended up playing it repeatedly, maybe a hundred times over. The words describe how I feel about this flower to perfection, hence I decided to borrow the title.

True Colors
11" x 14" - Wax-based Media (Colored Pencil)
Created with the Icarus Drawing Board


My Artwork on the Cover of “Pratique des Arts”

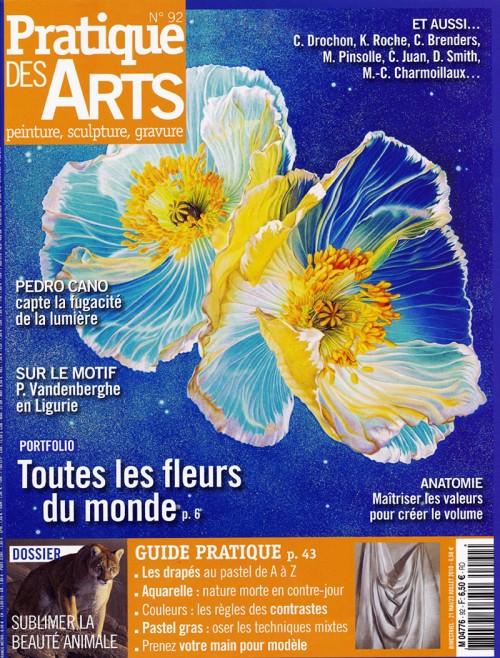
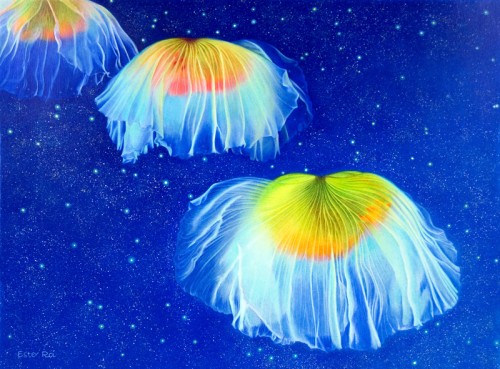
My artwork "The Butterfly Effect" was chosen for the cover of the current issue of  the prestigious French art magazine Pratique des Arts. The Portfolio section titled  "Quand les artistes f^etent le printemps" is a showcase of how artists around the world celebrate spring with their colorful rendition of flowers. Another of my artworks, "Across the Universe", is also featured in the same section.


Sanded Pastel Paper and the Icarus Board

I love working with sanded pastel paper. My favorite is Colourfix Coated Pastel Paper by Art Spectrum. It's a wonderfully versatile archival surface  that "withstands all manner of artistic experimentation." One of these, and not the least in order of importance, is the application of heat.

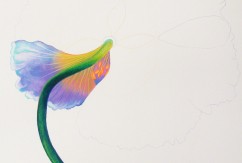
In the examples below you can see how I develop a flower petal with Prismacolor Colored Pencils and Caran d'Ache Neocolor II Wax Crayons.

Step 1Step 2


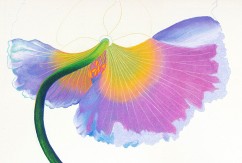
Step 1: After finishing the first petal, I'm getting ready to begin the second one.
Step 2: On the cool zone and with sharp Neocolors, I block in all the local colors of the petal. The tooth of the paper easily captures the waxy pigments.

Step 3Step 3 - detail


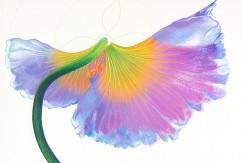
Step 3: After moving the paper to the warm zone, I begin melting the waxy pigments with a taper point color shaper. It's a simple process that can also be accomplished with a flat chisel color shaper (use the side of the tip for melting). This approach is much faster and gives you more control than adding water to Neocolor II. First of all there is no wait for the paper to dry - the melted pigments solidify as soon as the paper is removed from the heat - and the intensity and hue of the color do not diminish. Besides, it is so much fun I just can't get enough.

Step 4Step 5


Step 4: The petal is now covered by a thin layer of melted pigments that I like to call "wax foundation."
Step 5: On the warm zone, with a sharp white Verithin I penetrate the previous layer and create fine ridges that will become the petal's veins.

Step 6Step 6 - detail


Step 6: Here I'm developing the colors and the details of the petals. The layering of colored pencils is accomplished with Prismacolor Premier using the side of the pencil point. On the warm zone the waxy pigments melt and blend in with the foundation; on the cool zone they will sit on top for optical mixing. Sharp Verithin pencils are used for details and fine lines.


Artist Trading Cards

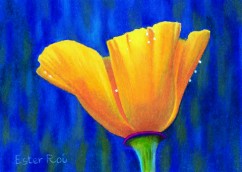
I have just finished making two ATC cards for a group project with the San Diego District Chapter of the Colored Pencil Society. It's the first time I have attempted to do such miniature artworks (2.5" x 3.5") and I have to say... it's been a challenge. I like to work big so that the finest line in the painting is at least twice the size of the pencil point. In these two examples the point of the pencil felt too thick for the size of the projects.

California PoppyVinca Major


2.5" x 3.5" - Wax-based Media (Colored Pencil)
Created with the Icarus Drawing Board


Glassless Framing

Many artists have asked me how I frame my artwork on paper without glass so I decided to write a post about the process I follow.

1. FIXATIVE

I gently remove any wax bloom with a soft cloth. Edit (3/31/11): if I'm dealing with a lot of wax bloom, I blow some warm air over the affected area with a hair dryer or heat gun. The wax bloom disappears right before my eyes.

Then I take my piece outside and spray it with 5 coats of  Prismacolor Final Fixative - Gloss, waiting 15 minutes between coats. Edit (11/29/12): In place of fixative I now use Golden Archival MSA Spray Varnish - Gloss. After it's dry I run a white cotton handkerchief over its surface. If there is no color residue left on the handkerchief my artwork is ready for varnish, otherwise I spray more fixative. It's important to create a solid barrier between the pigments and the varnish. I let the fixative dry overnight.

2. MOUNTING

I mount my large pieces on Ampersand  Claybord with 3/4" cradle, the smaller ones on Claybord with 2" cradle. There are also 1/8" flat panels available. I like the Claybord panels because their surface is completely archival, lightfast and acid free. After dislodging any debris from the back of my artwork, I trim the extra white paper around it.

My artwork at this point should be a bit larger than the panel - to account for possible misalignment during mounting. I carefully mount it on a sheet of  Grafix Double Tack Mounting Film which I then mount on the panel. After turning the panel upside down, I trim the edges and put it under heavy books overnight. Please practice mounting before you do it with a valuable  piece of art.

More on this on the following post: How to Mount Paper on Board. Update (2/26/2013)

3. VARNISHING

I usually paint the edges of the cradled panel in acrylic and then begin varnishing with Golden Polymer Varnish with UVLS (Ultra Violet Light Stabilizers) - Gloss. This is a waterborne acrylic polymer varnish that dries to a protective, flexible, dust-resistant surface. It needs to be thinned with water, 2-3 part varnish to 1 part water. I apply at least 3 coats with a soft, wide brush and wait 3 hours between coats. The varnish cures completely in one week. You can then frame your panel or hang it without a frame.

This process, especially at the beginning, is a little time consuming but certainly worth the effort. I just love that my art can be exhibited along with the best oil and acrylic paintings and still generates the most curiosity. "I can't believe it's colored pencil" has become the standard reaction followed by numerous questions on my technique and presentation.
Into the LightAbove and BelowThe Butterfly Effect


If you you are interested in how I mount and frame my artwork on canvas without glass, please visit the following posts:

Canvas and the Icarus Board
Canvas and the Icarus Board: Part 2
Canvas and the Icarus Board: Final Post

 

Another Blue Ribbon for “Above and Below”

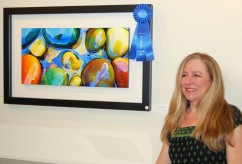
"Above and Below" took another First Place at the 2010 Pencil Painting Exhibition presented by the Los Angeles District Chapter of the Colored Pencil Society of America. The Cypress Community Gallery, located at 5700 Orange Avenue in Cypress, is hosting the show until April 16 (Mon-Fri, 9-5). I was told the as soon as the judge, Michael Daniel, entered the gallery, he immediately asked to be reassured that my artwork was indeed made with colored pencil.

Below are the pictures of my winning artwork and of the award recipients. From left: Ester Roi (1st Place), Barbara Roger (Honorable Mention), Ruth Anisman (2nd Place) and Ruth Arthur (3rd Place). Other Honorable Mentions were awarded to: Jeff George and Margaret Lindsey. Congratulations to all!

Award RecipientsAbove and Below