Holiday 2021 Promo15% off all artwork, limited time offer!

Newsletter Subscription

Subscribe to my newsletter to receive 4 to 5 emails per year where I highlight important news, available originals, and seasonal specials.

Blog

“Poppy, No. 2”

Poppy, No. 2

Title: Poppy, No. 2


“River Pebbles, No. 5”

River Pebbles, No. 5

Title: River Pebbles, No. 5


“Poppy, No. 1” - Learning from my Mistakes

Poppy, No. 1

Title: Poppy, No. 1

I need to produce lots of small artworks for the Laguna Beach Festival of Arts (by the way, I'm finally on their website) so I started a new series on poppies. With each piece I will post something interesting about how I made it.

I had never painted a small poppy before, only medium or large ones, and decided to make this a 5" x 5" project. After priming the paper with a thin coat of regular Colourfix Primer, I began to draw. It didn't take me very long to realize that this was not going to work.

A sanded pastel surface like Colourfix is perfect for pebbles and rocks and it helps to emphasize their natural texture. However it's not the best choice for smooth, flowing, transparent flowers. Stonehenge is much more suitable especially for fine details and sleek color gradations.

I resized my project to a 6" x 6" Stonehenge paper, still small but big enough for the intricate poppy. I  worked on the Icarus board at medium-low temperature and burnished all the way through the end. This time I didn't use any tools, just the pencils themselves. I blended no more than two layers and selected only colorfast colored pencils, hence the use of Polychromos when certain colors weren't available in the other brands. Oil based colored pencils like Polychromos are affected by heat if layered on top of wax-based colored pencils.

Well, this was definitely a learning experience!


“River Pebbles, No. 4” - Stumps & Tortillions

River Pebbles, No. 4

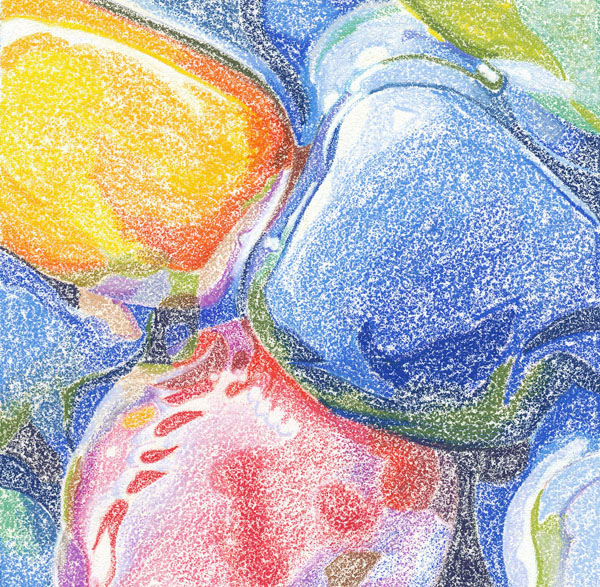
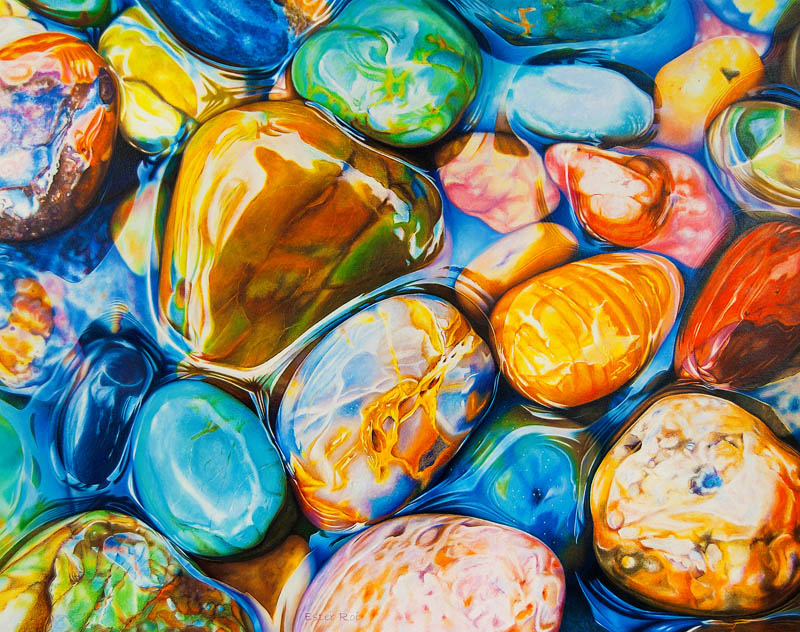
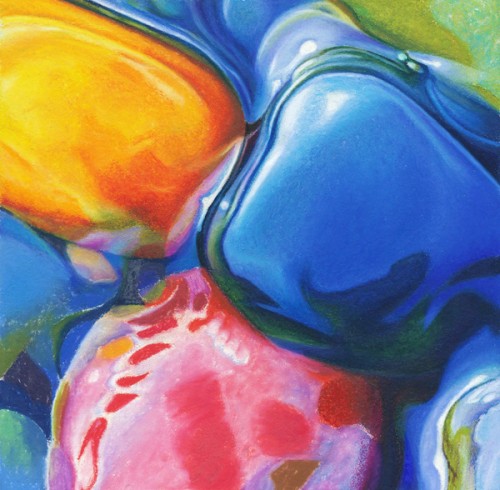
Title: River Pebbles, No. 4

Color Mapping with Artist Crayons - Cool Zone

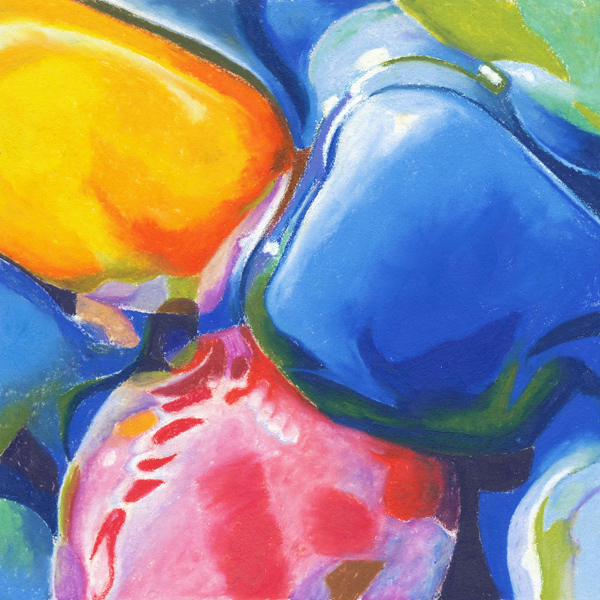
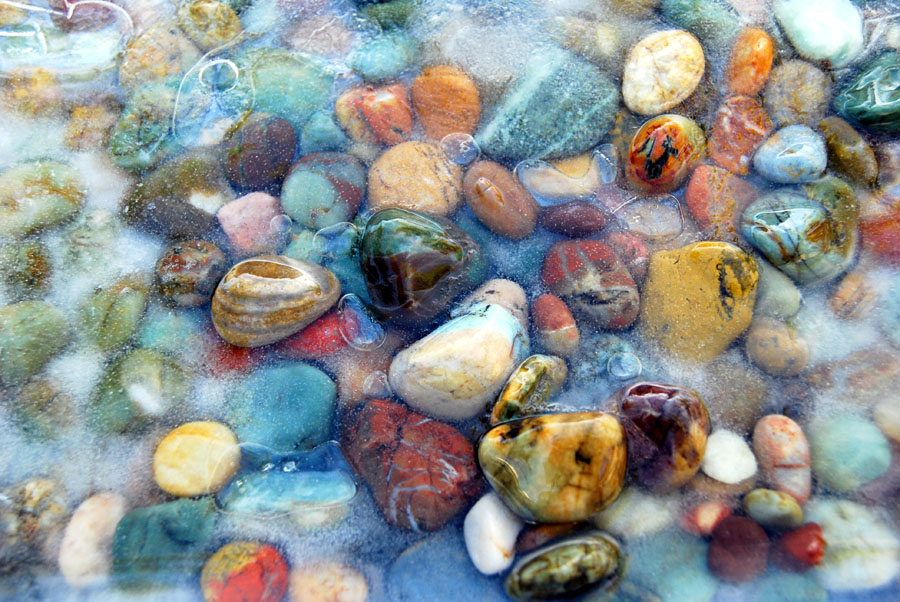
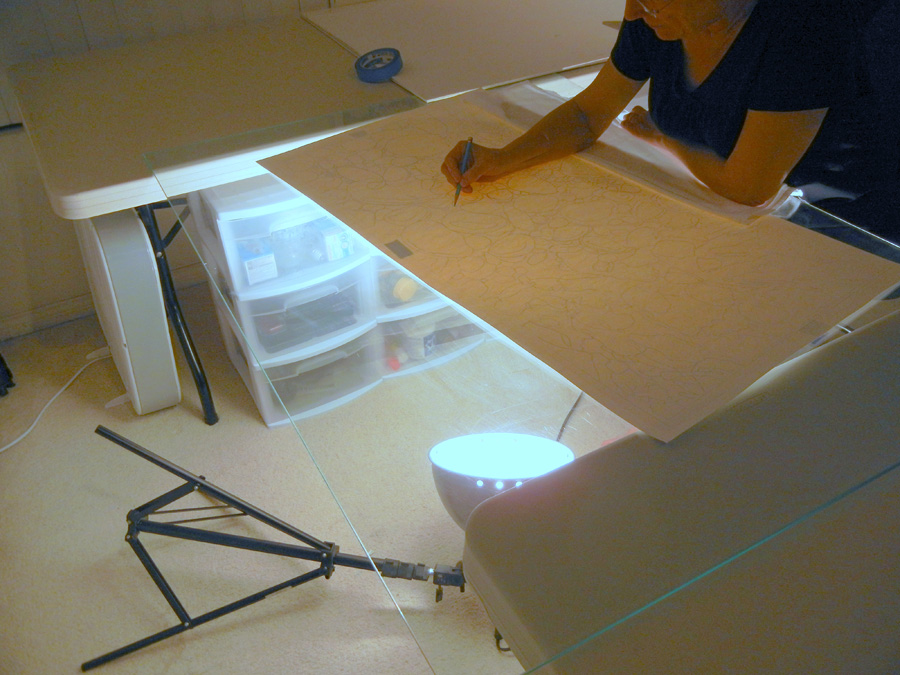
After drawing the outline with Verithin colored pencils on the cool zone of the Icarus Drawing Board, I proceeded to map the main colors of the project with Neocolor artist crayons on the cool zone.

For more on color mapping with artist crayons you can view the following videos:

Artist Crayons Melted - High Temperature

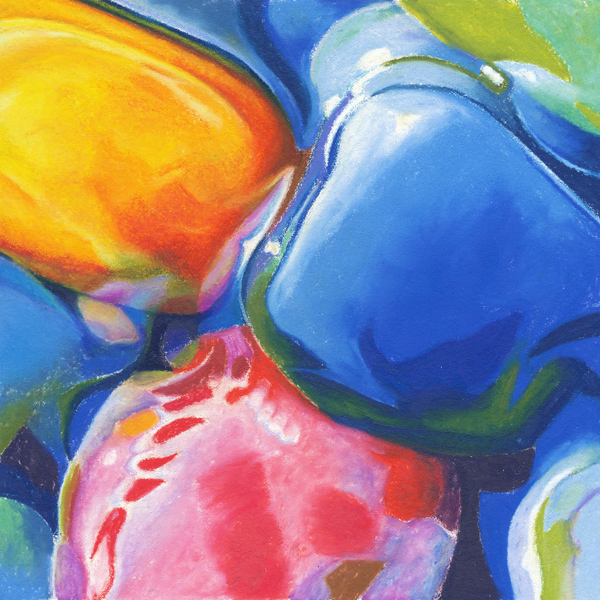
With temperature setting at maximum, I melted the artist crayons using a clay shaper (color shaper).

For more on melting artist crayons you can view the following videos:

Orange Pebble Finished in Colored Pencil - Medium Temperature

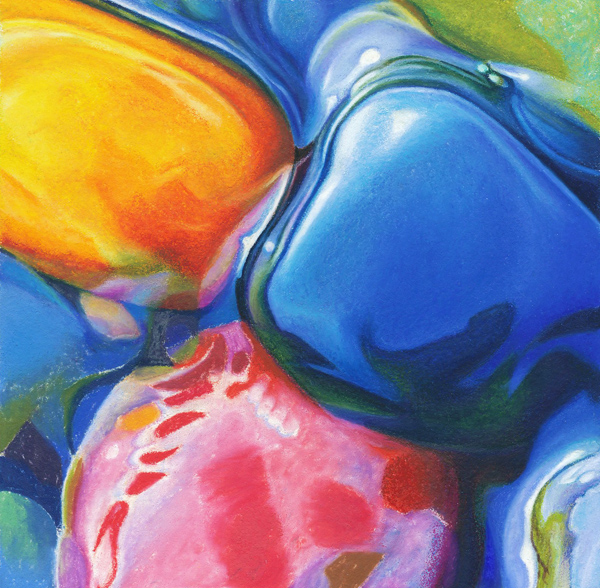
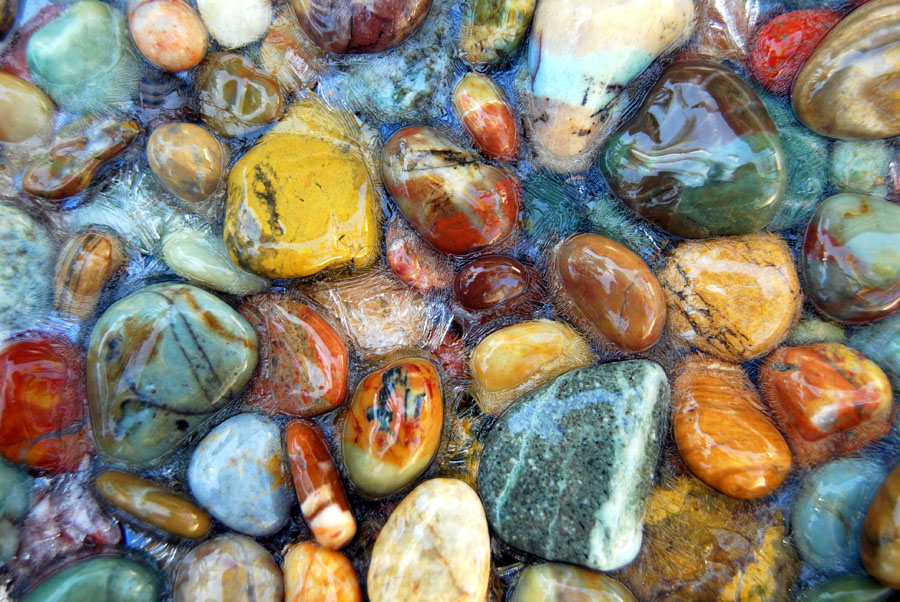
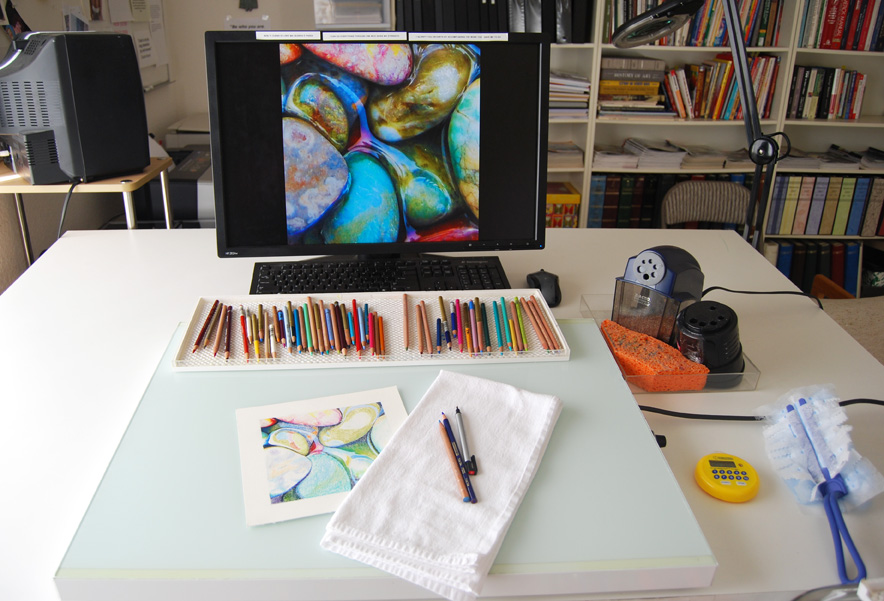
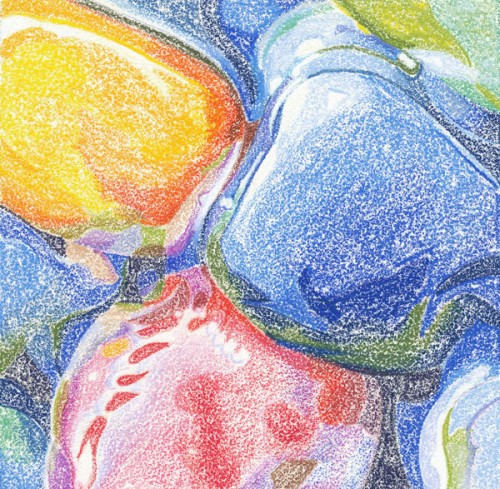
With the temperature set at medium I developed the colors, values and details of the orange pebble by layering colored pencils and blending them with a tortillion.

Blue Pebbles Finished in Colored Pencil - Medium Temperature

The blue pebbles were accomplished in the same manner as the orange pebble.

Red Pebble Finished in Colored Pencil - Medium Temperature

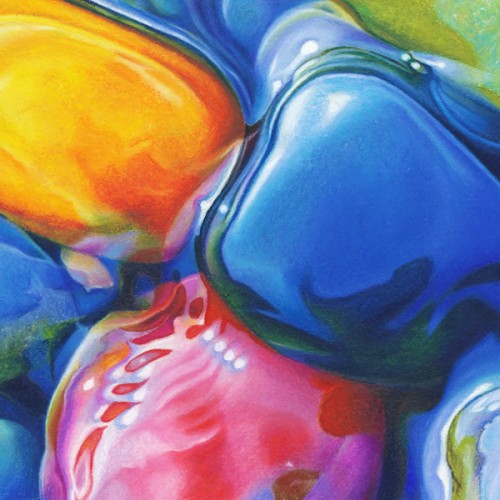
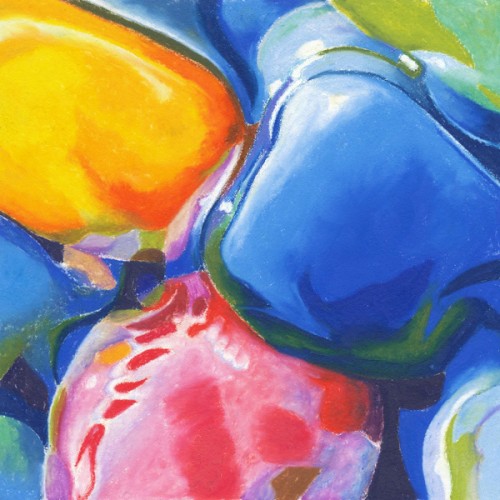
I finished the drawing by completing the red pebble in the same manner as the other pebbles.

Clean-up, Highlights and Signature

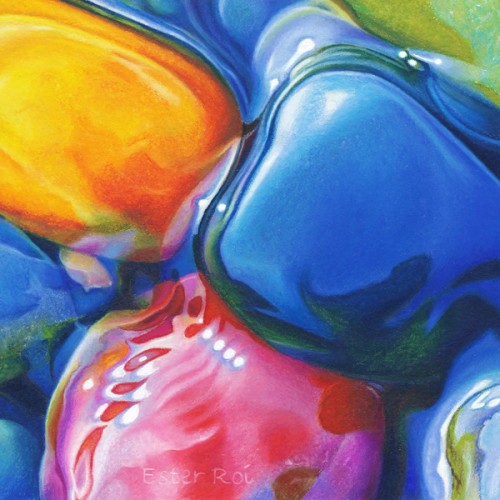
Finally I cleaned up the drawing and emphasized the highlights with a white artist crayon. I like my signature to blend in and I can achieve that by using a sharp, white Verithin on the warm zone. It lightens the colors underneath just enough to make the letters visible without detracting from the art.

Paper Stump and Tortillion

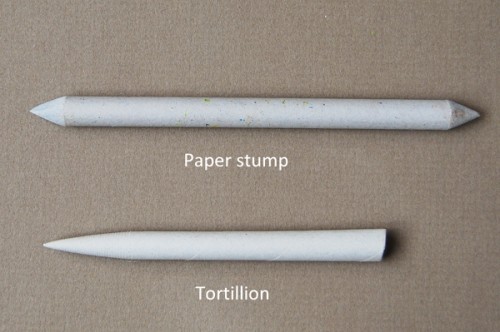
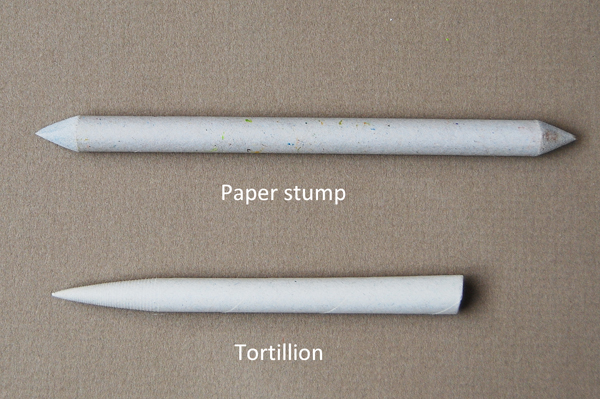
When I first started experimenting with heat I was always on the lookout for different tools that would work with my technique. I remember trying tortillions and disliking them. I found that I couldn't really use them by the long side of the point because they would leave indentations/ridges on the waxy pigments.

The paper stumps that I normally use for large artwork were too thick and soft for this small project. At the same time I was getting very frustrated with how inconsistent the various colorless blenders have been lately. Finally I decided to give the tortillion another try and, guess what? It works great! The point is very thin and sturdy, not as soft as the paper stump's, perfect for blending colored pencils. It's easy to clean with sandpaper and very inexpensive. If you're using it already, you're way ahead of me. If you're not, try one and you'll be pleased!


Dreams Do Come True!

Standing in front of the Laguna Beach Festival of Art - Summer 2011

Every artist in Southern California knows that the place to be in the summer months is the Laguna Beach Festival of Arts. This has been a dream of mine for many years and it's finally coming true.

I can't tell you how honored I am to have been invited to this "world-renown cultural institution famous for its juried fine art exhibition and the Pageant of the Masters".

This is a two month affair, running from July 1st to August 31st. If you are planning to visit beautiful Laguna Beach during that time, please stop by and look for me!

July 1st - July 4th     10:00 am - 6:00 pm
July 5th - Aug 31st   10:00 am - 11:30 pm

For directions and parking, click here.


Icarus Art March 2012 Newsletter

The Icarus Art March 2012 Newsletter was just sent out. If you'd like to register for our newsletter, you can go to the homepage of Icarus Art and click the sign-up button on the top right corner.

Blog update: I haven't been able to post lately because of two important deadlines I have to meet before the end of the month. I'll be back to a more regular schedule soon. Thank you for your patience and your continued support.


You Ask, I Answer

Questions from Nannette: "I'd like to know how you begin. Do you grid? Do you use graphite? Do you use photos to work from - and if so do you take them yourself? What other subjects do you enjoy besides pebbles? Is there something you really don't like to draw?"

I take my own photo references since my creative process is deeply entwined with the subjects I study and - dare I say - even obsess over. Photos are secondary to my vision and I always seek to recreate those images that are already in my mind. I rarely get a perfect picture! I'm not a great photographer but I compensate by taking hundreds of shots. Below are examples of experimentation with pebbles and ice that I did at home.

Experimenting with Pebbles and IceMore Experimenting


I usually work on the composition in Photoshop from one or several images. Then I trace a rough outline directly from the computer monitor onto a sheet of tracing paper using a soft graphite pencil and a very light touch. Sometimes I free-hand the outline, depending on the complexity (I don't grid anymore but I used to). Finally I scan the pencil drawing and enlarge it with this program: PosteRazor: Make your own poster!

After printing out the enlargement and taping the individual sheets together, I trace the drawing onto the final paper. In the picture below you can see me tracing over a sheet of glass. At this stage I use Verithin colored pencils in the local colors of the drawing because I don't like to erase graphite.

Improvised Light Box

Whenever possible I prefer to work directly from the computer monitor versus a printed photo. It gives me more freedom during the "painting" phase. I can adjust colors and values, enlarge details, lighten dark areas, not to mention the saving in printer ink and photo paper.

Work Station

In the past I've explored various subjects and techniques, however in the last several years I've been focused on flowers and rocks and their interaction with water. I study them above water, below, and in-between, and observe how their visual characteristics change and relate to each other.

In general I don't enjoy drawing man-made things like buildings, cities, cars, or mechanical objects.

Thank you Nannette for asking these questions. It gave me an opportunity to share my thoughts and process with other artists.

More "You ask, I Answer" posts coming up in the near future. Look for a post on "burnishing" and another on "how I make my pebbles shine".

If you have questions that relate to my art and especially my process and technique, please feel free to ask them in a comment.